- product information
How to Use Tabletop Pancake Cooker
How to Use Tabletop Pancake Cooker
In this article, we will explain how to actually use your Tabletop Pancake Cooker after you receive it.
Upon receiving your Tabletop Pancake Cooker…
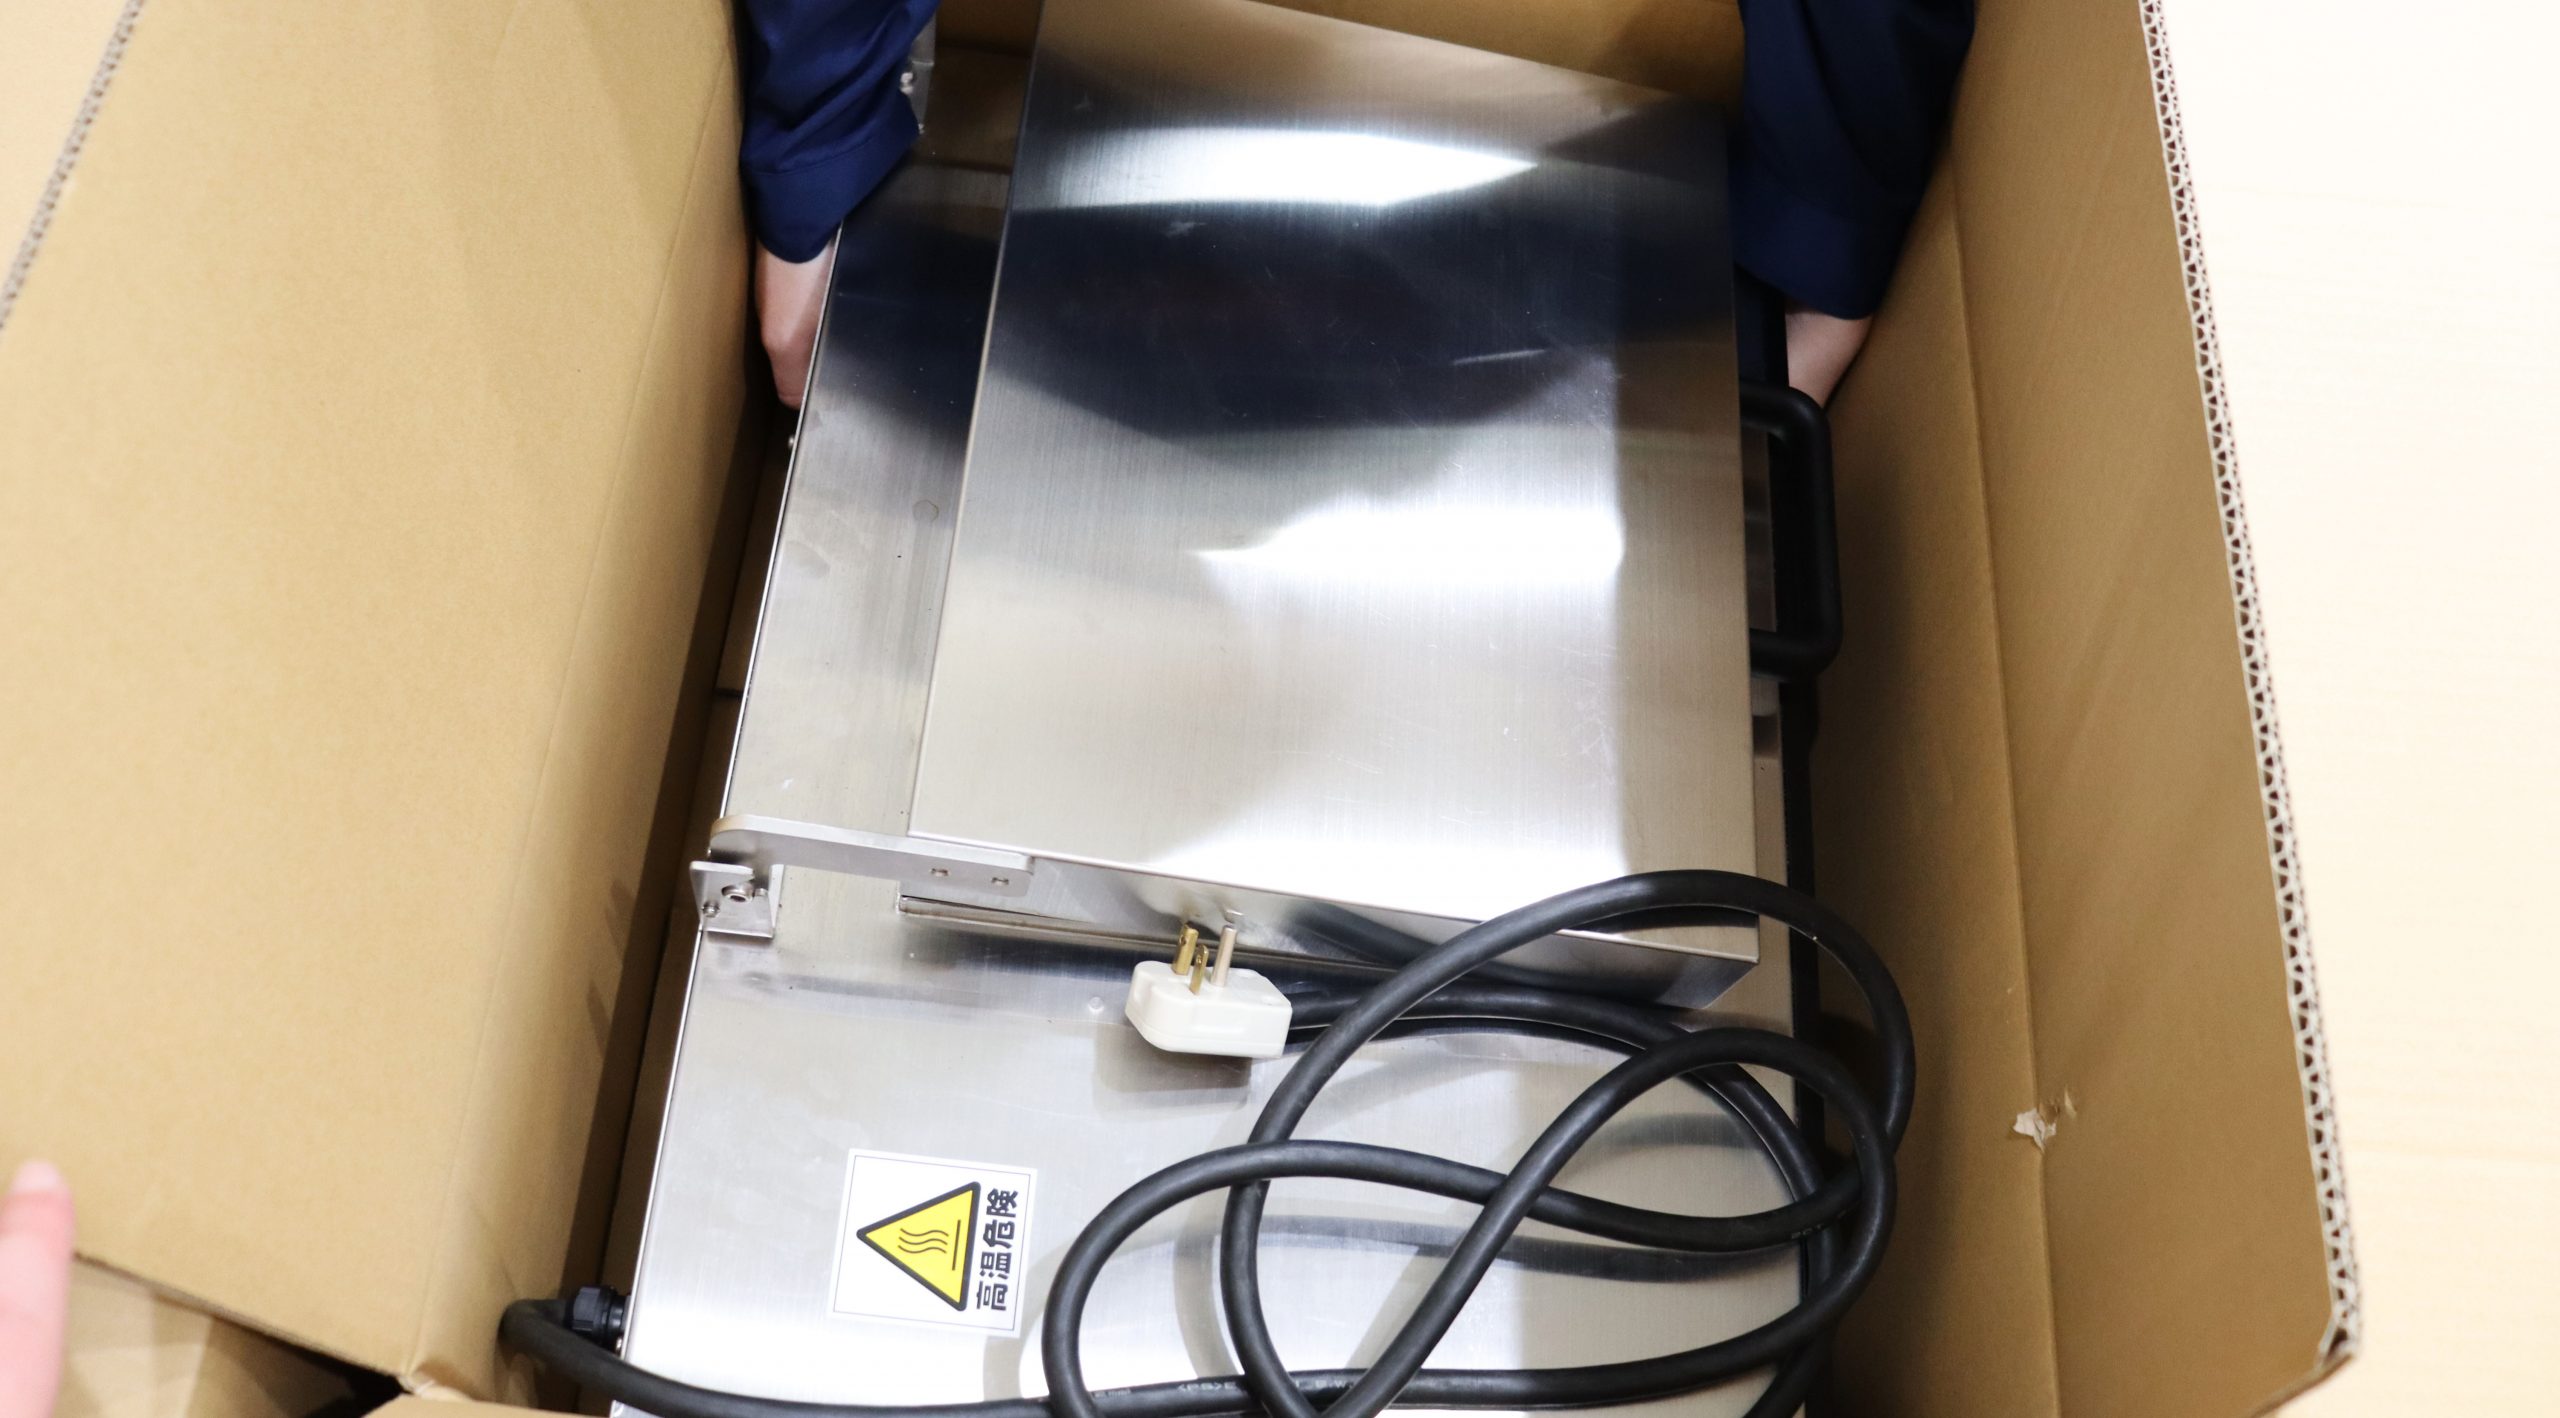
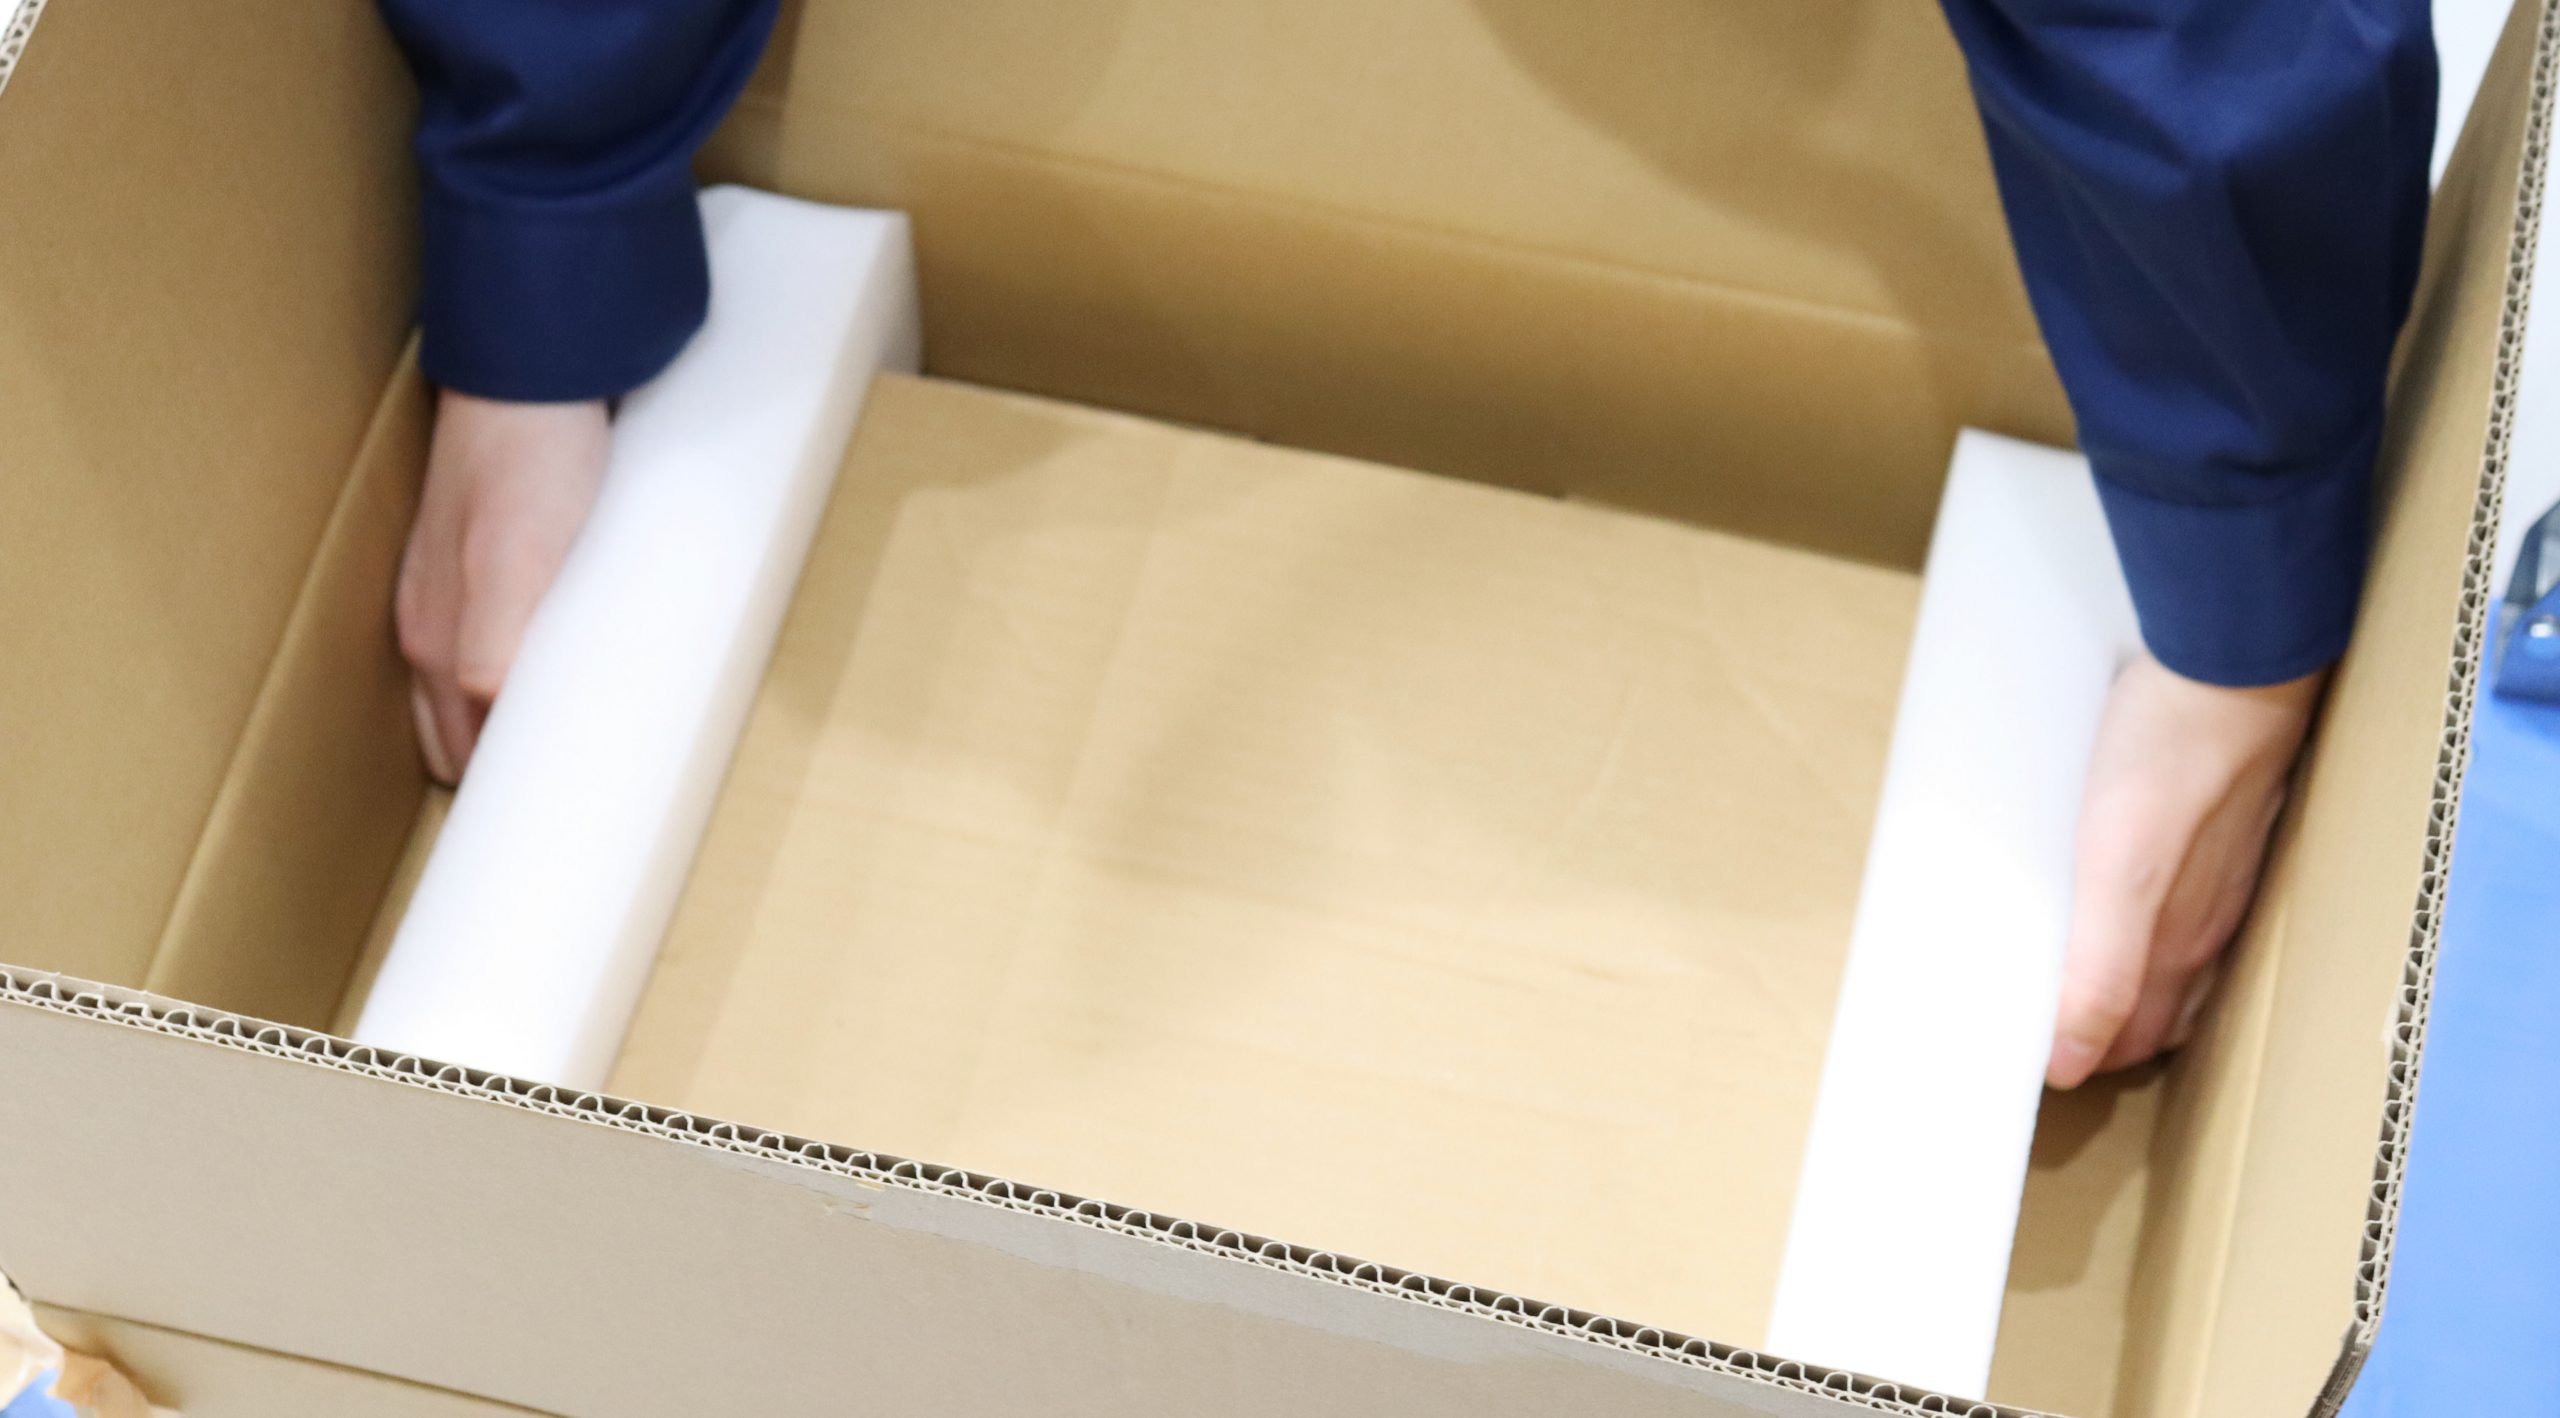
The Tabletop Pancake Cooker is delivered in two separate boxes. One contains the machine body, and the other contains the copper plate.
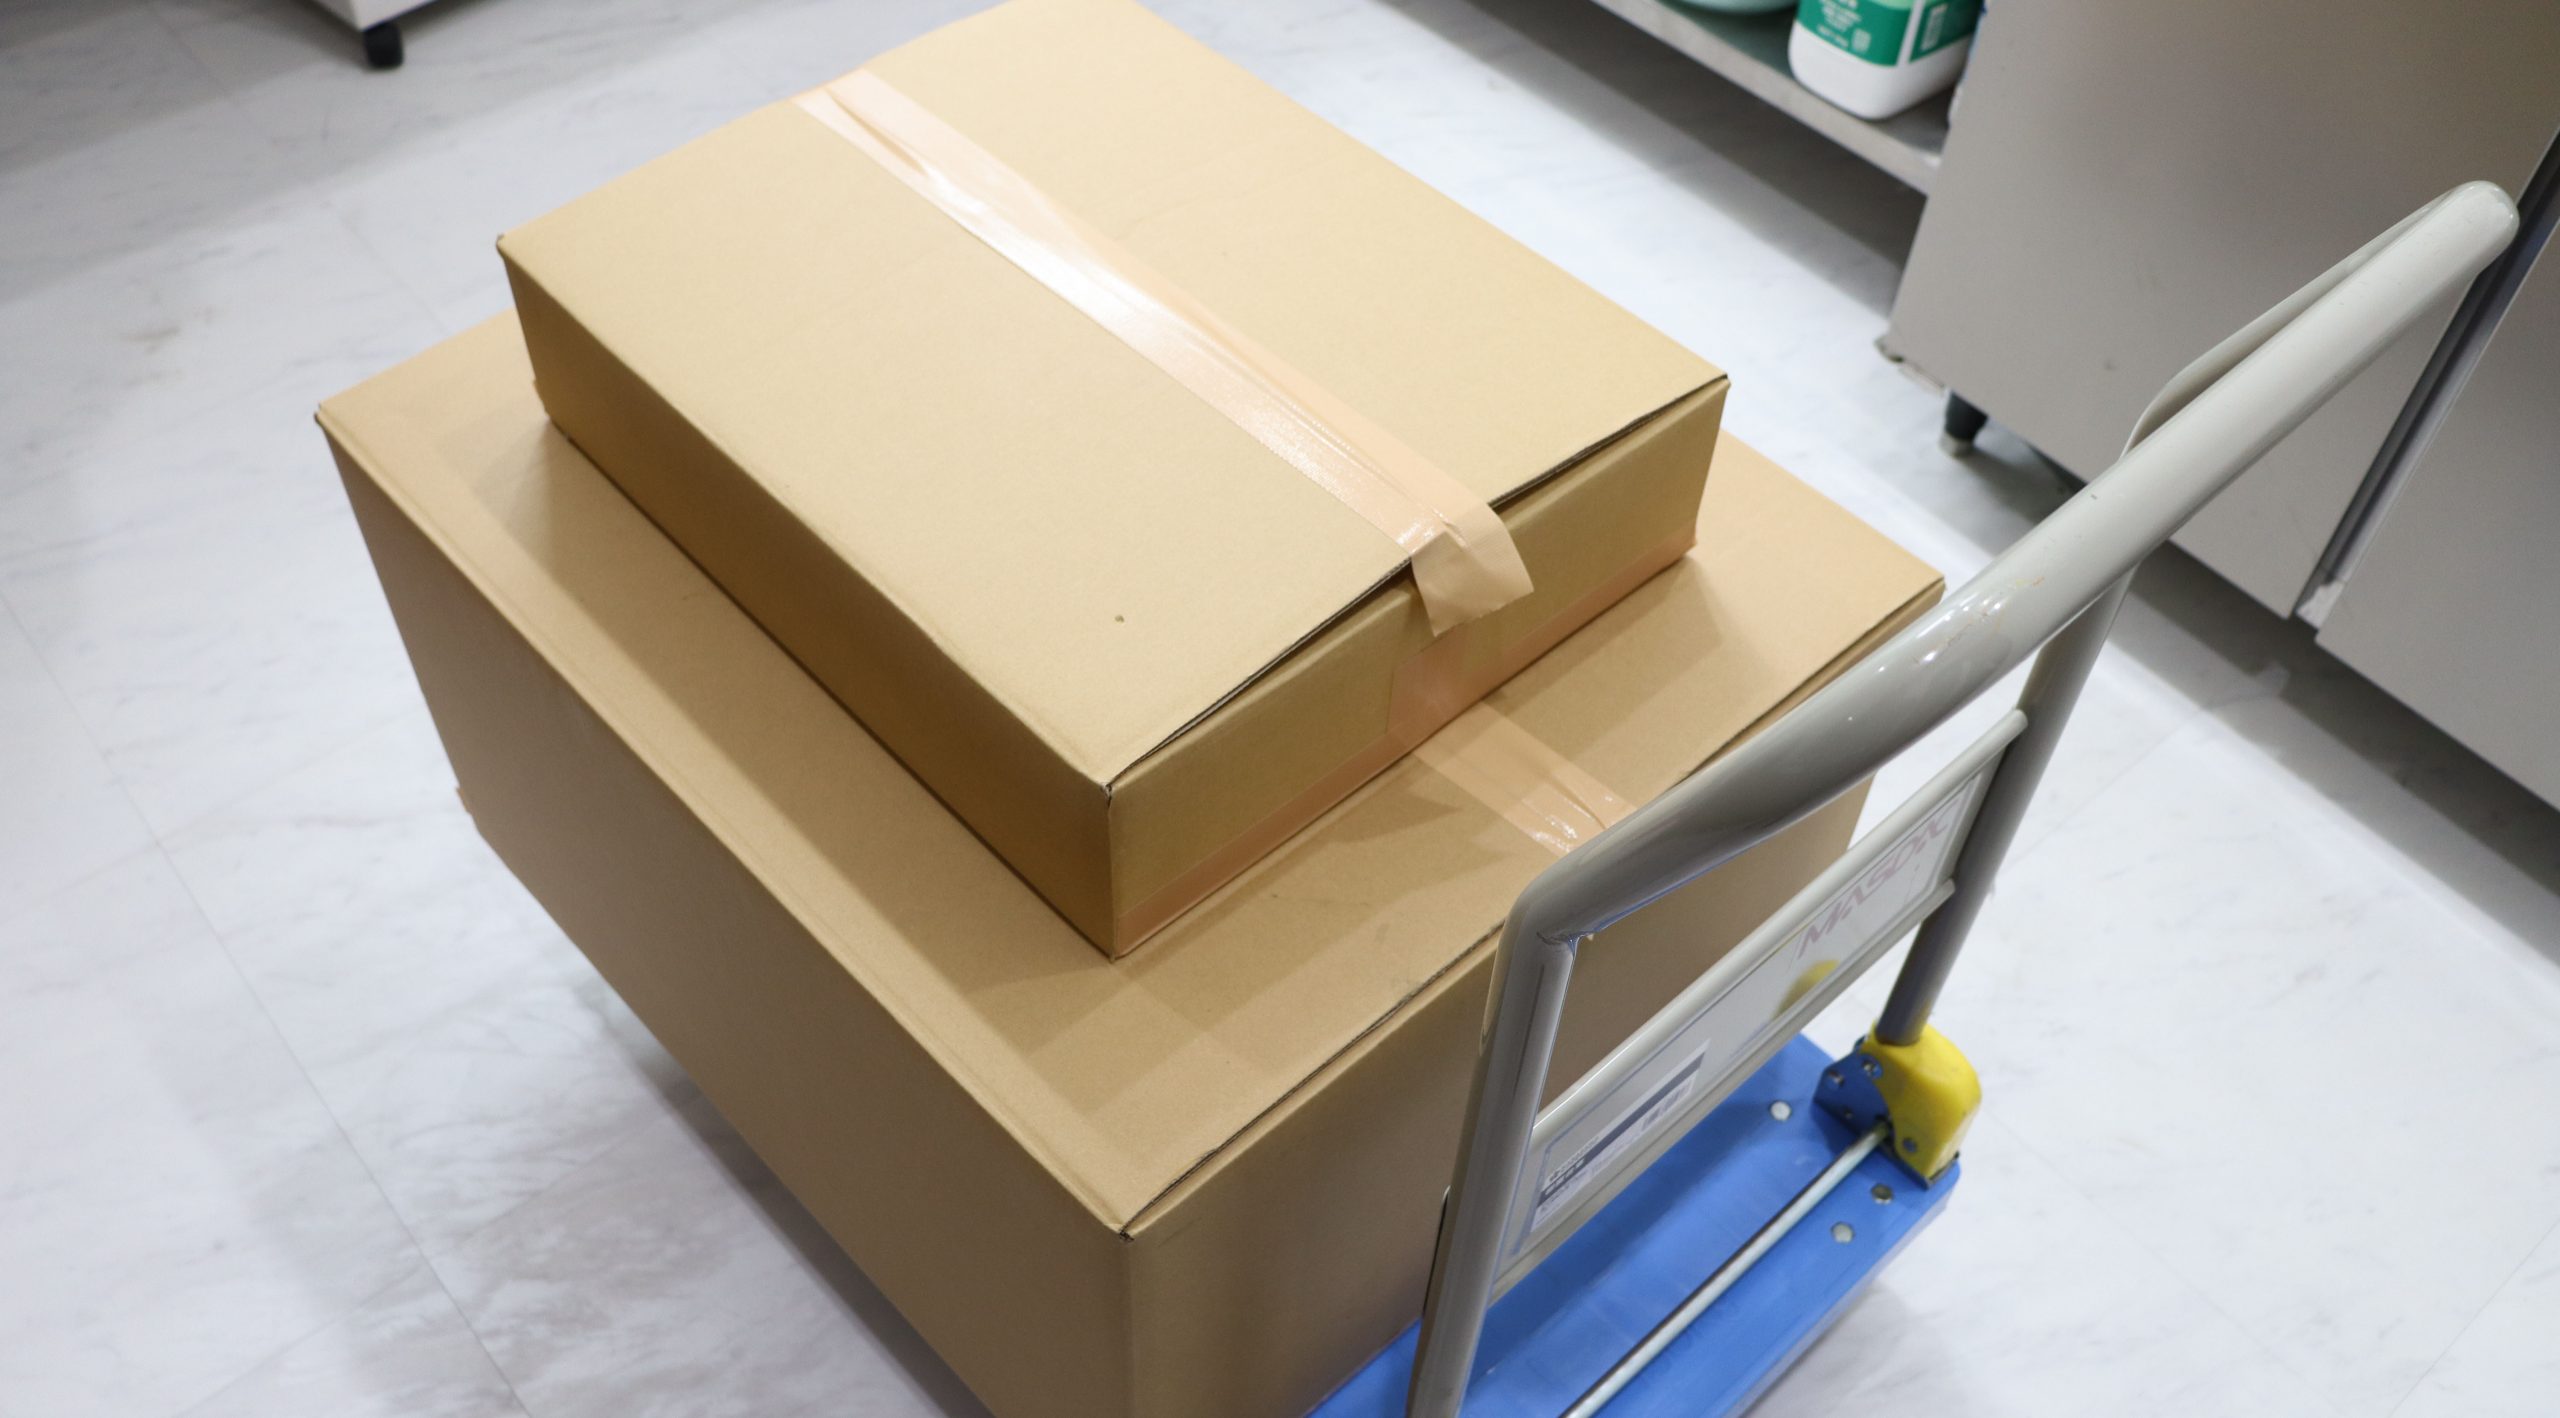
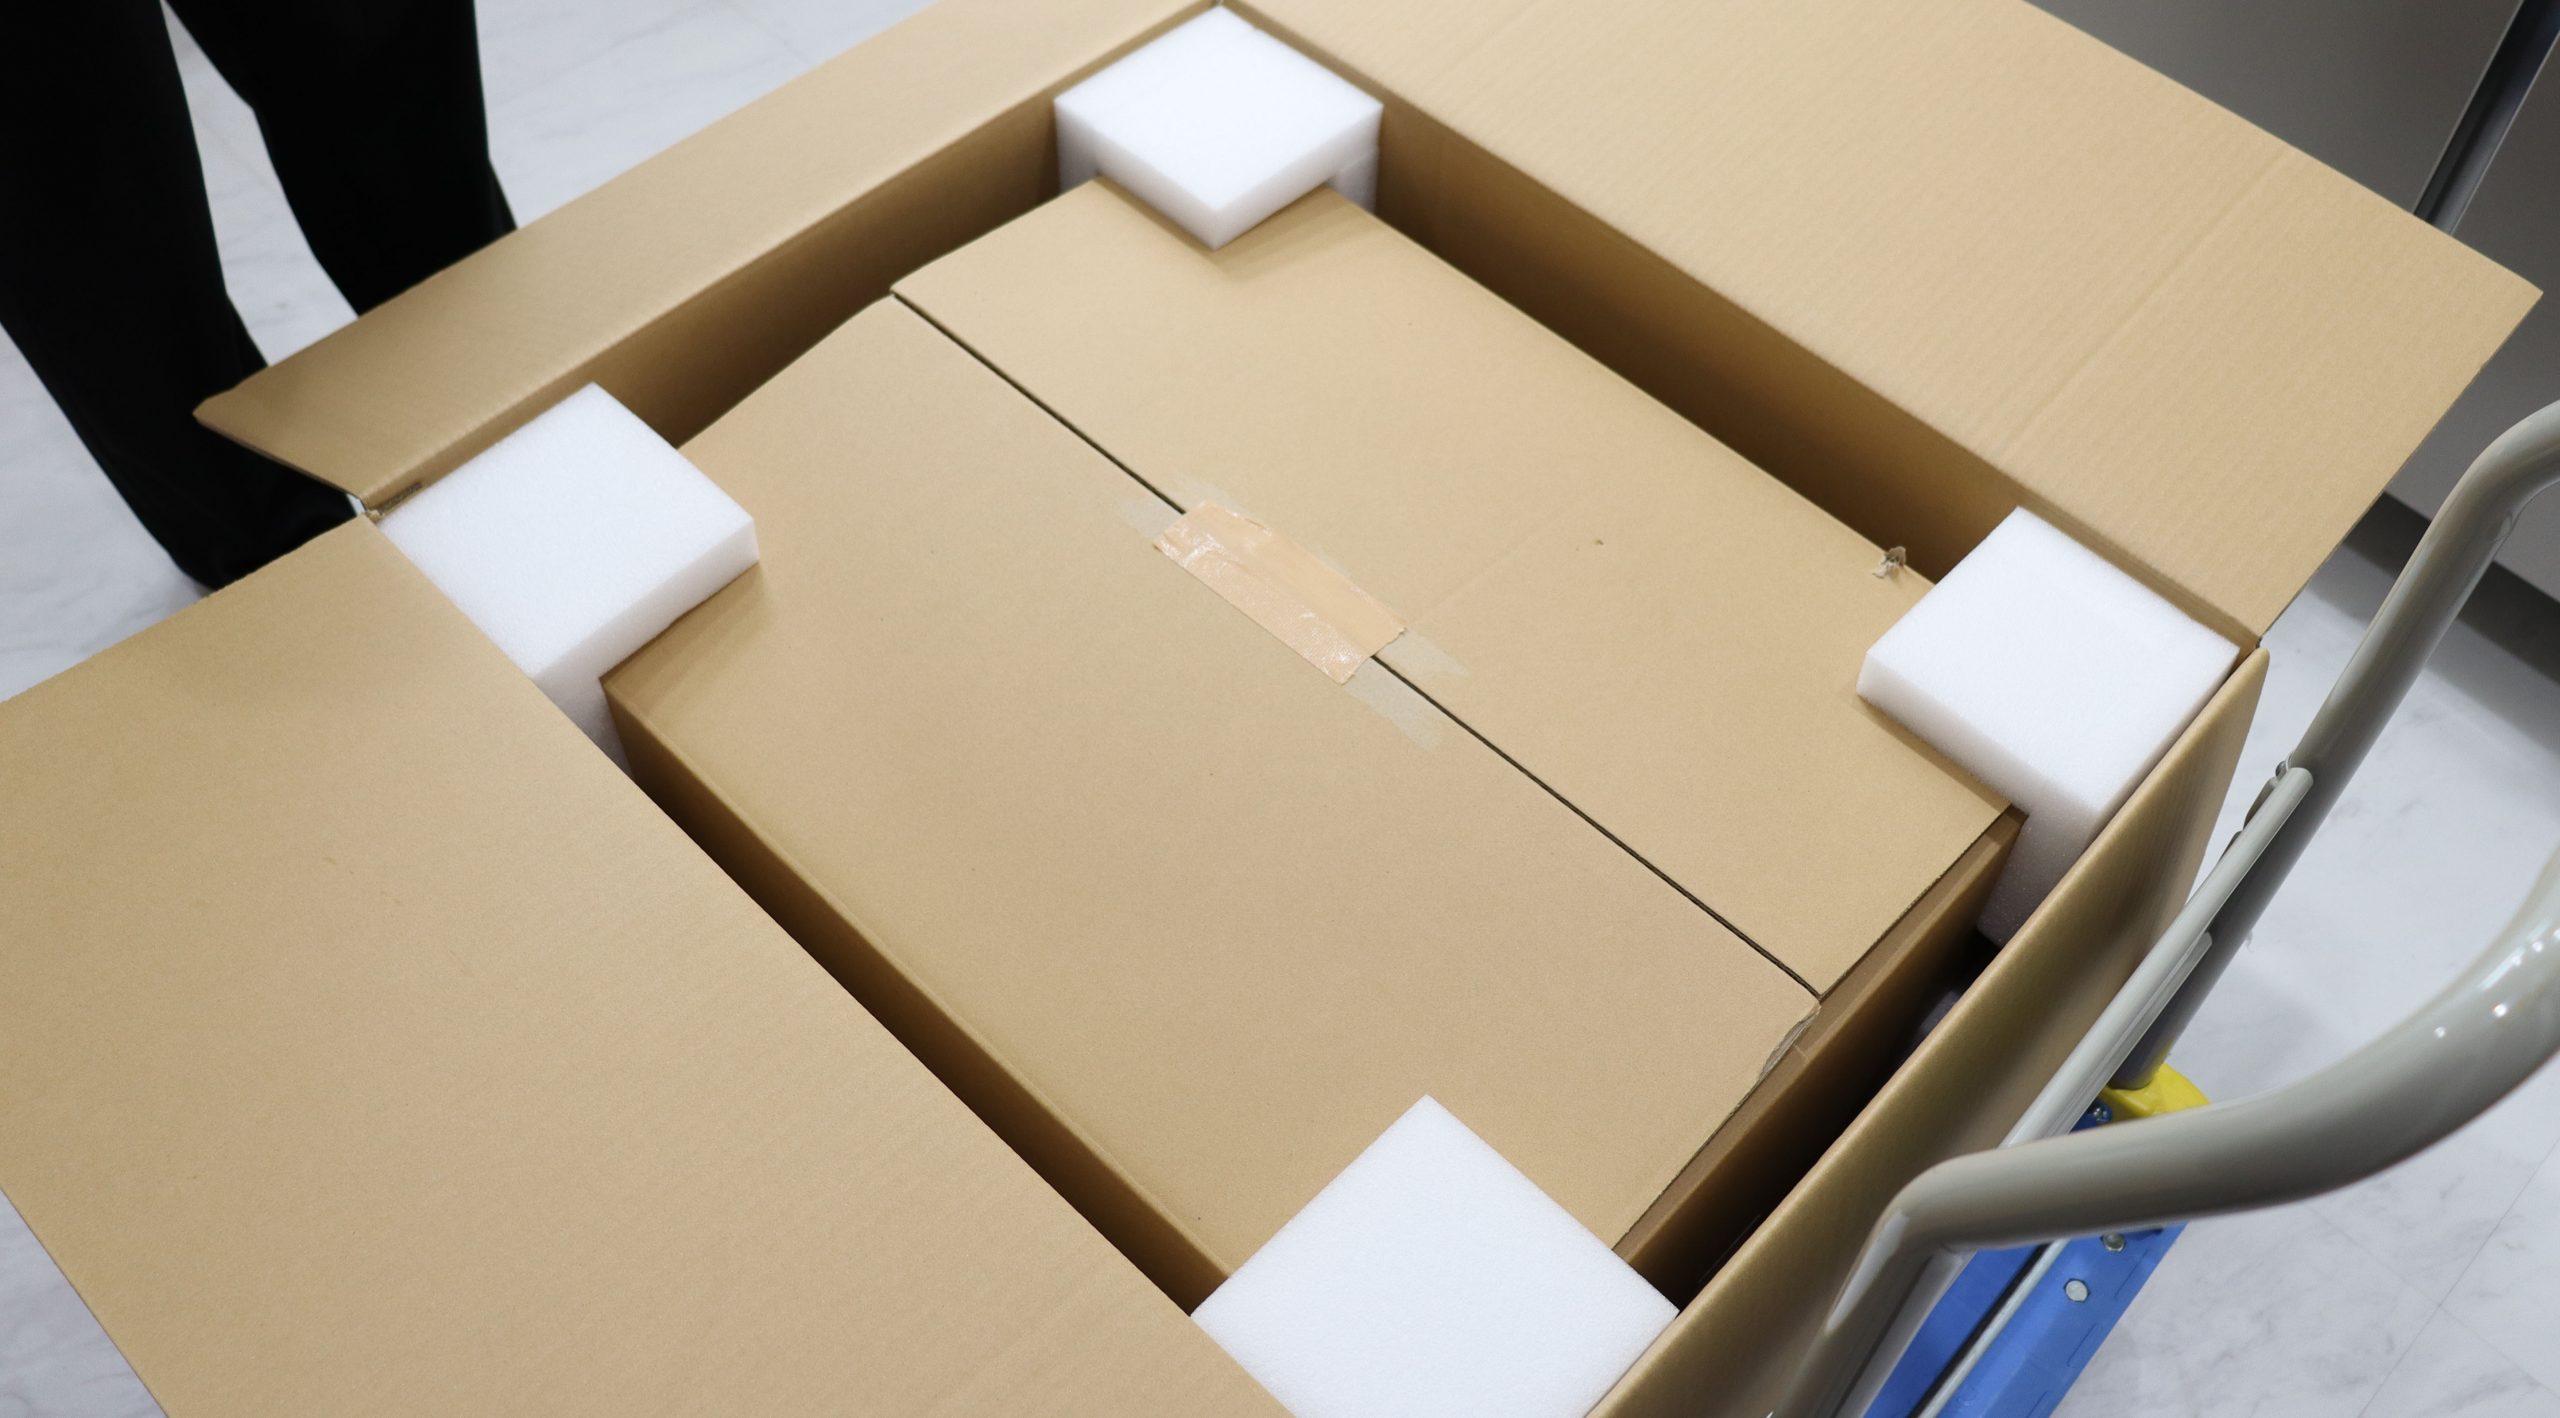
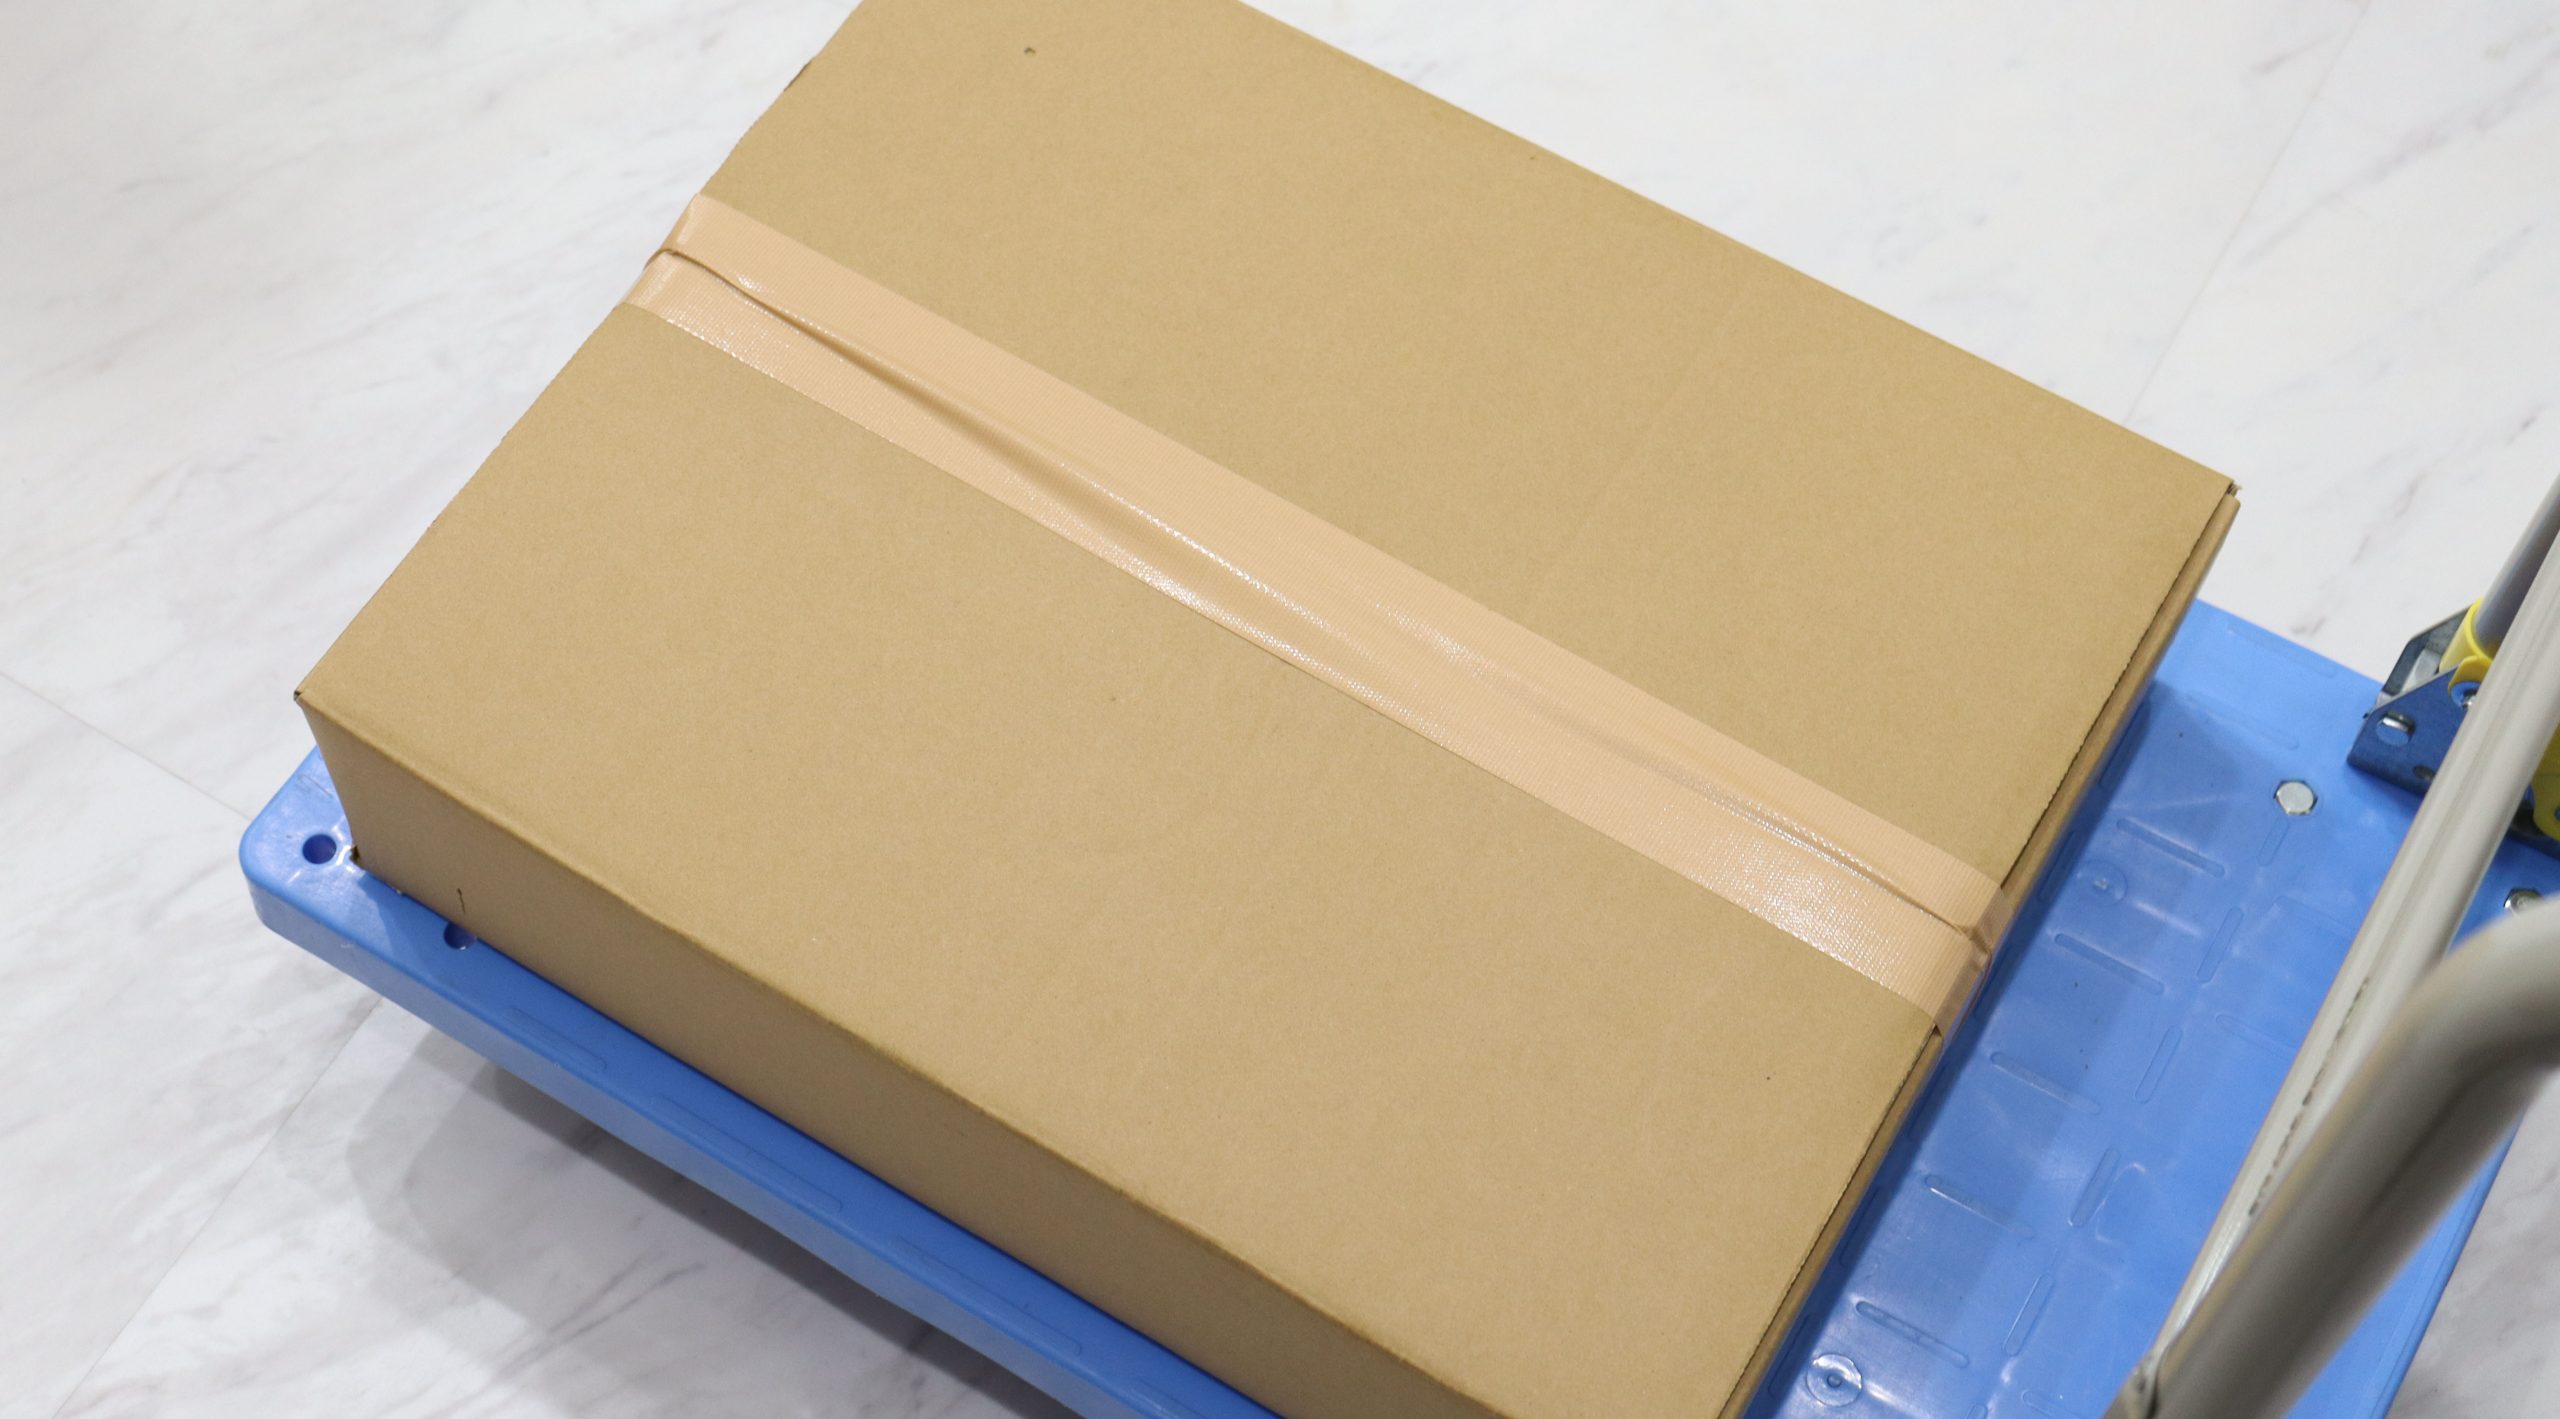
Remove the Tabletop Pancake Cooker from the box and set it up.
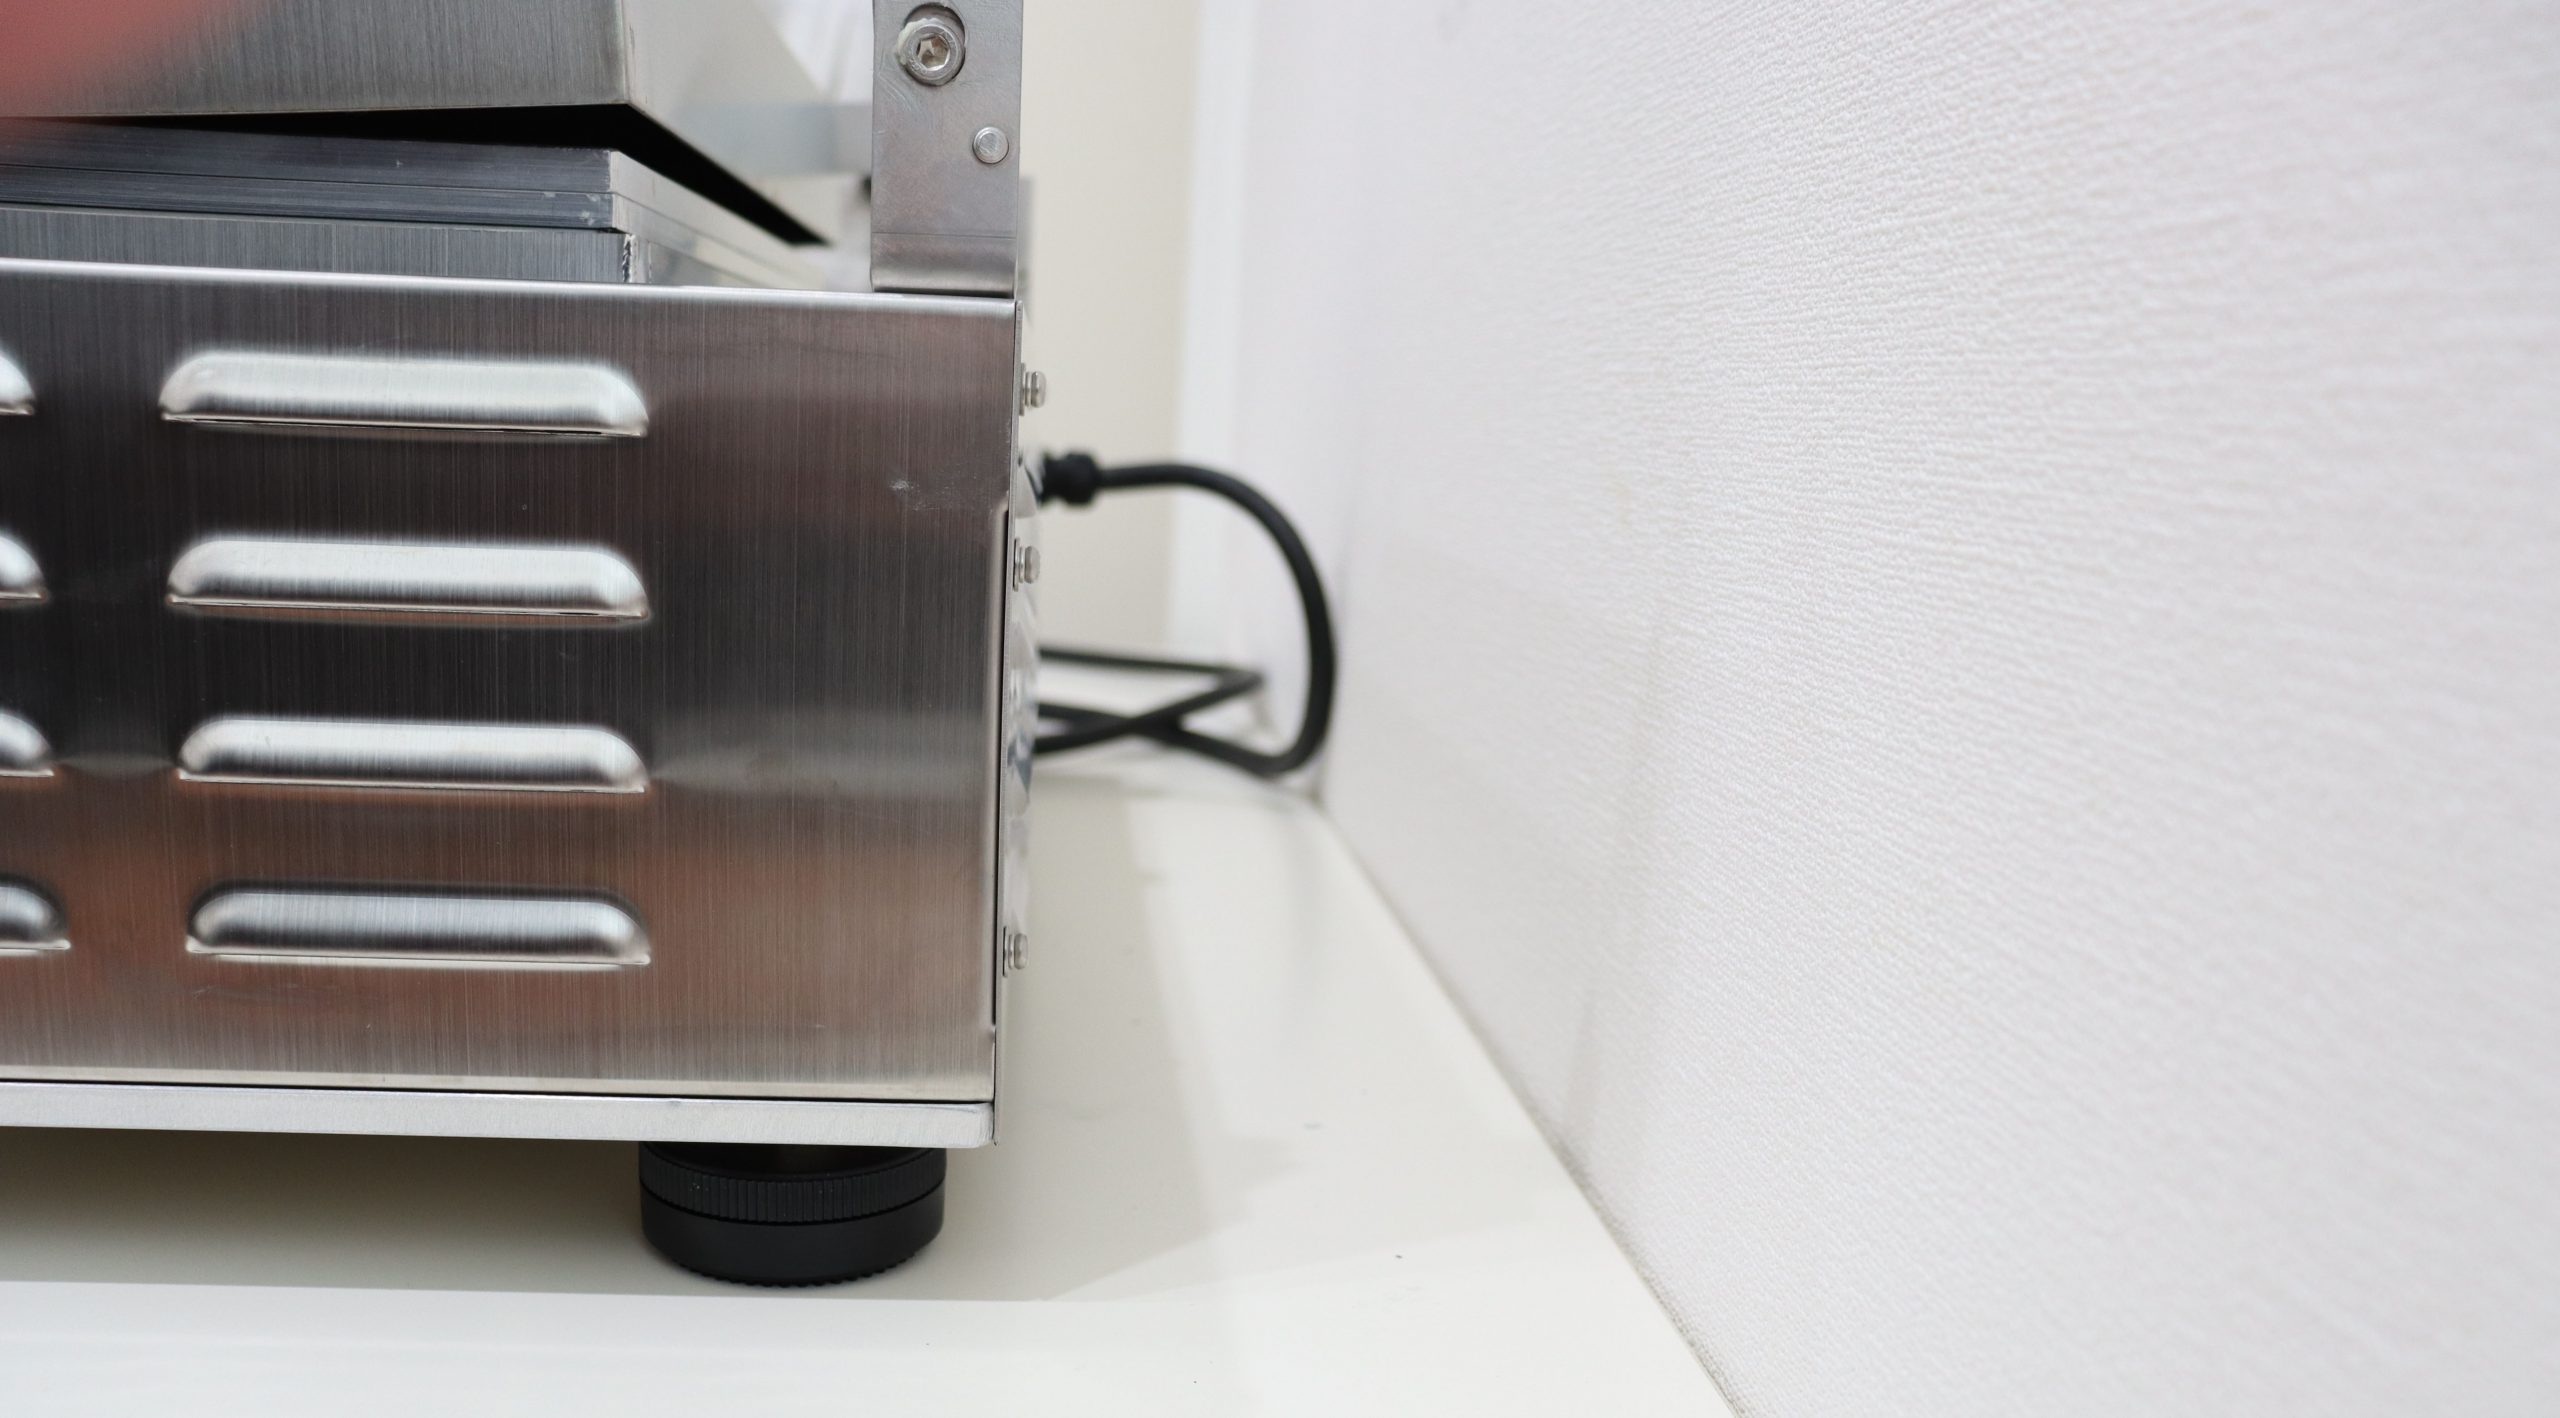
Place it about 100 mm away from the surrounding walls, etc. (130 mm from the back).
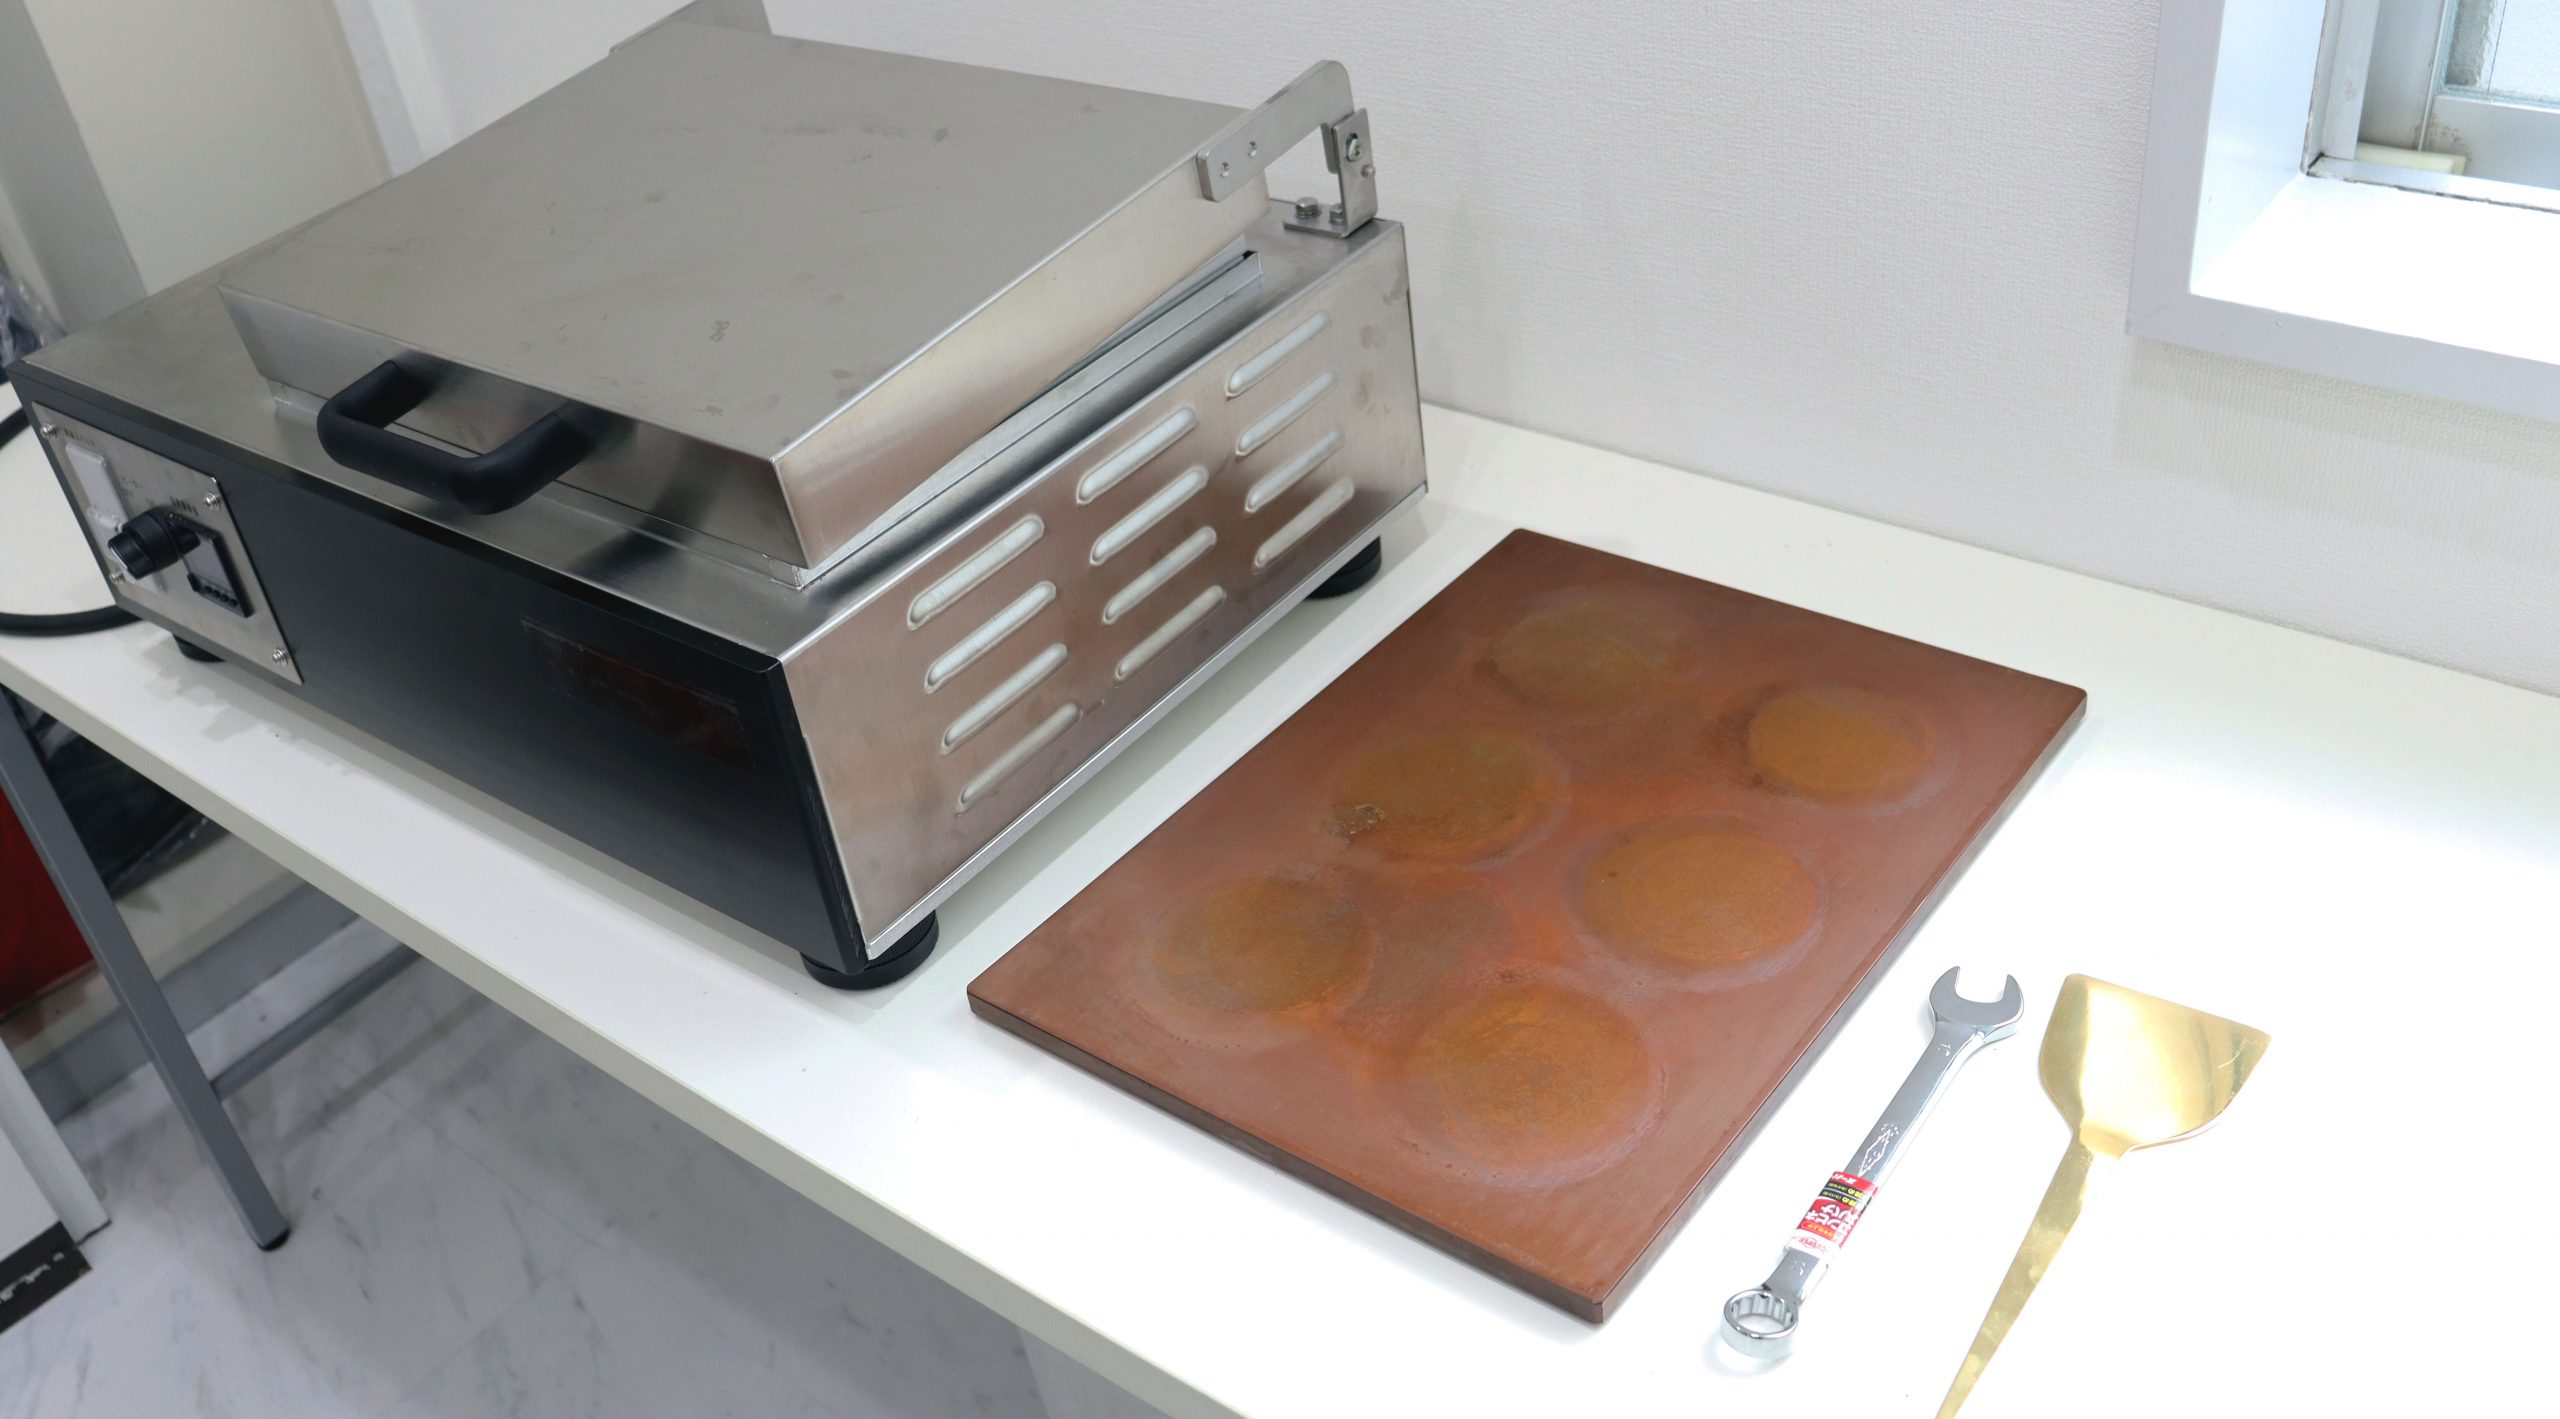
Place the copper plate on top of the machine body.
Hold the copper plate longitudinally with the bolts on the left and right side down and place it on the machine body so that the grooves and bolts fit together.
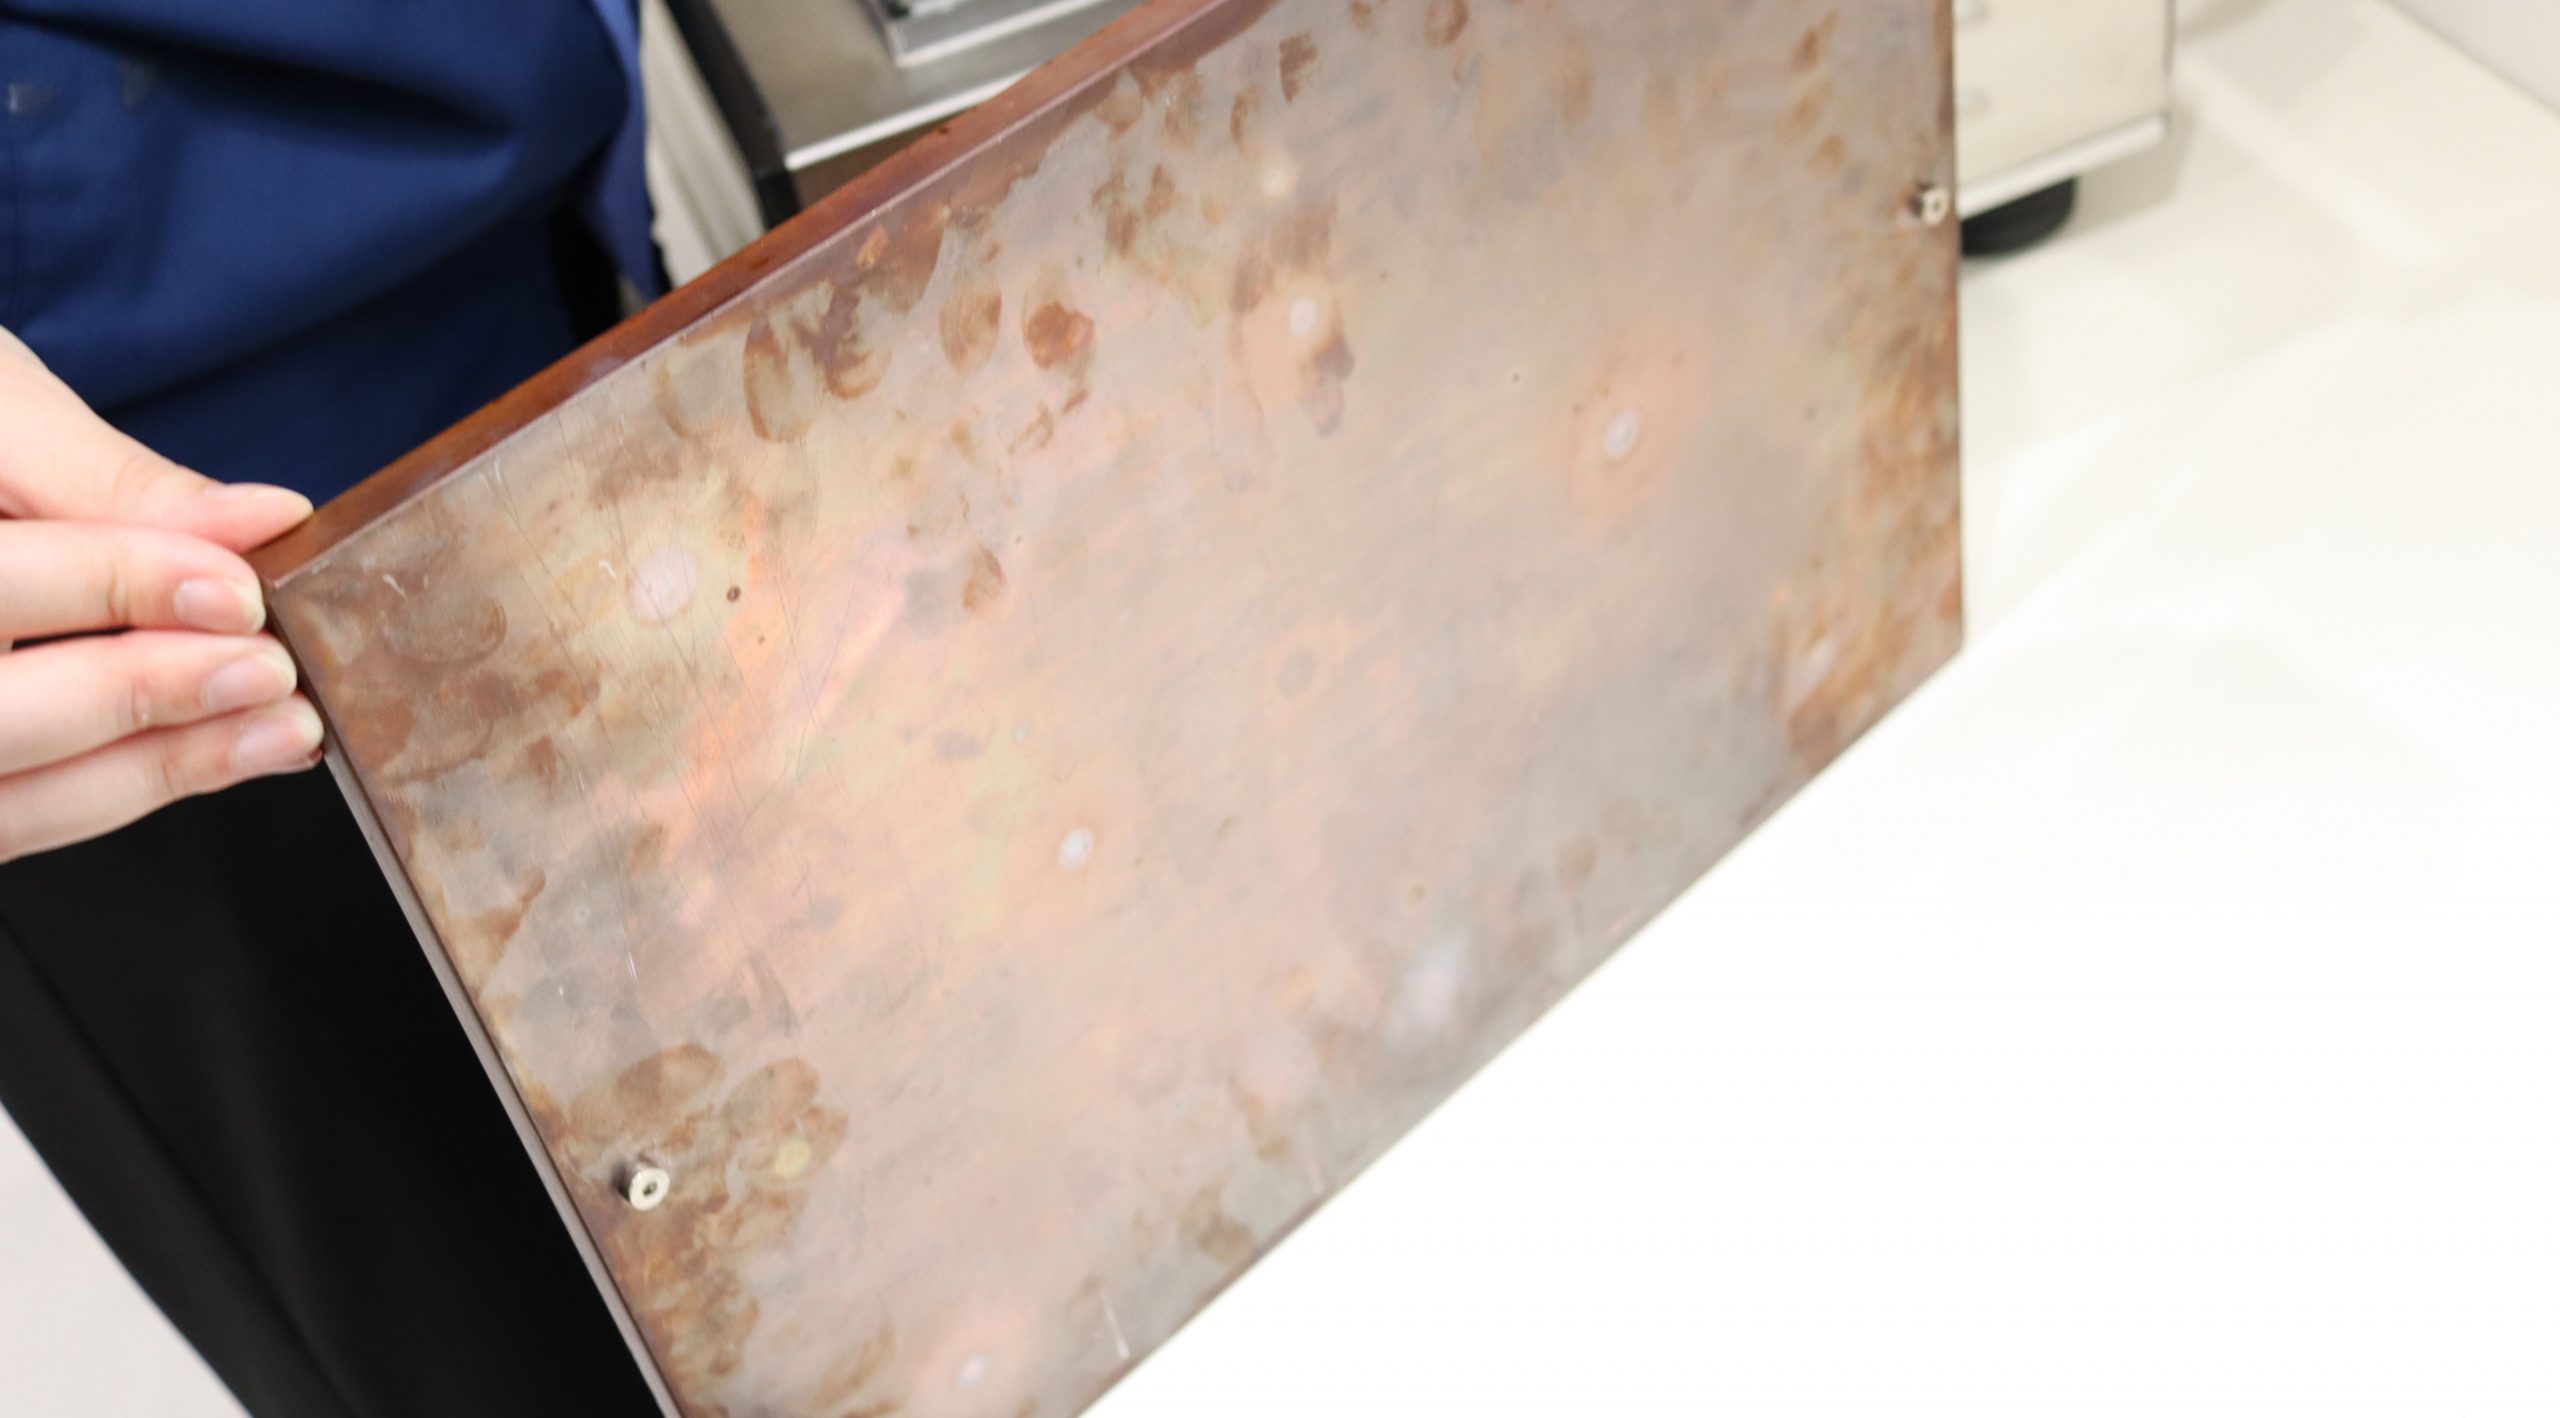
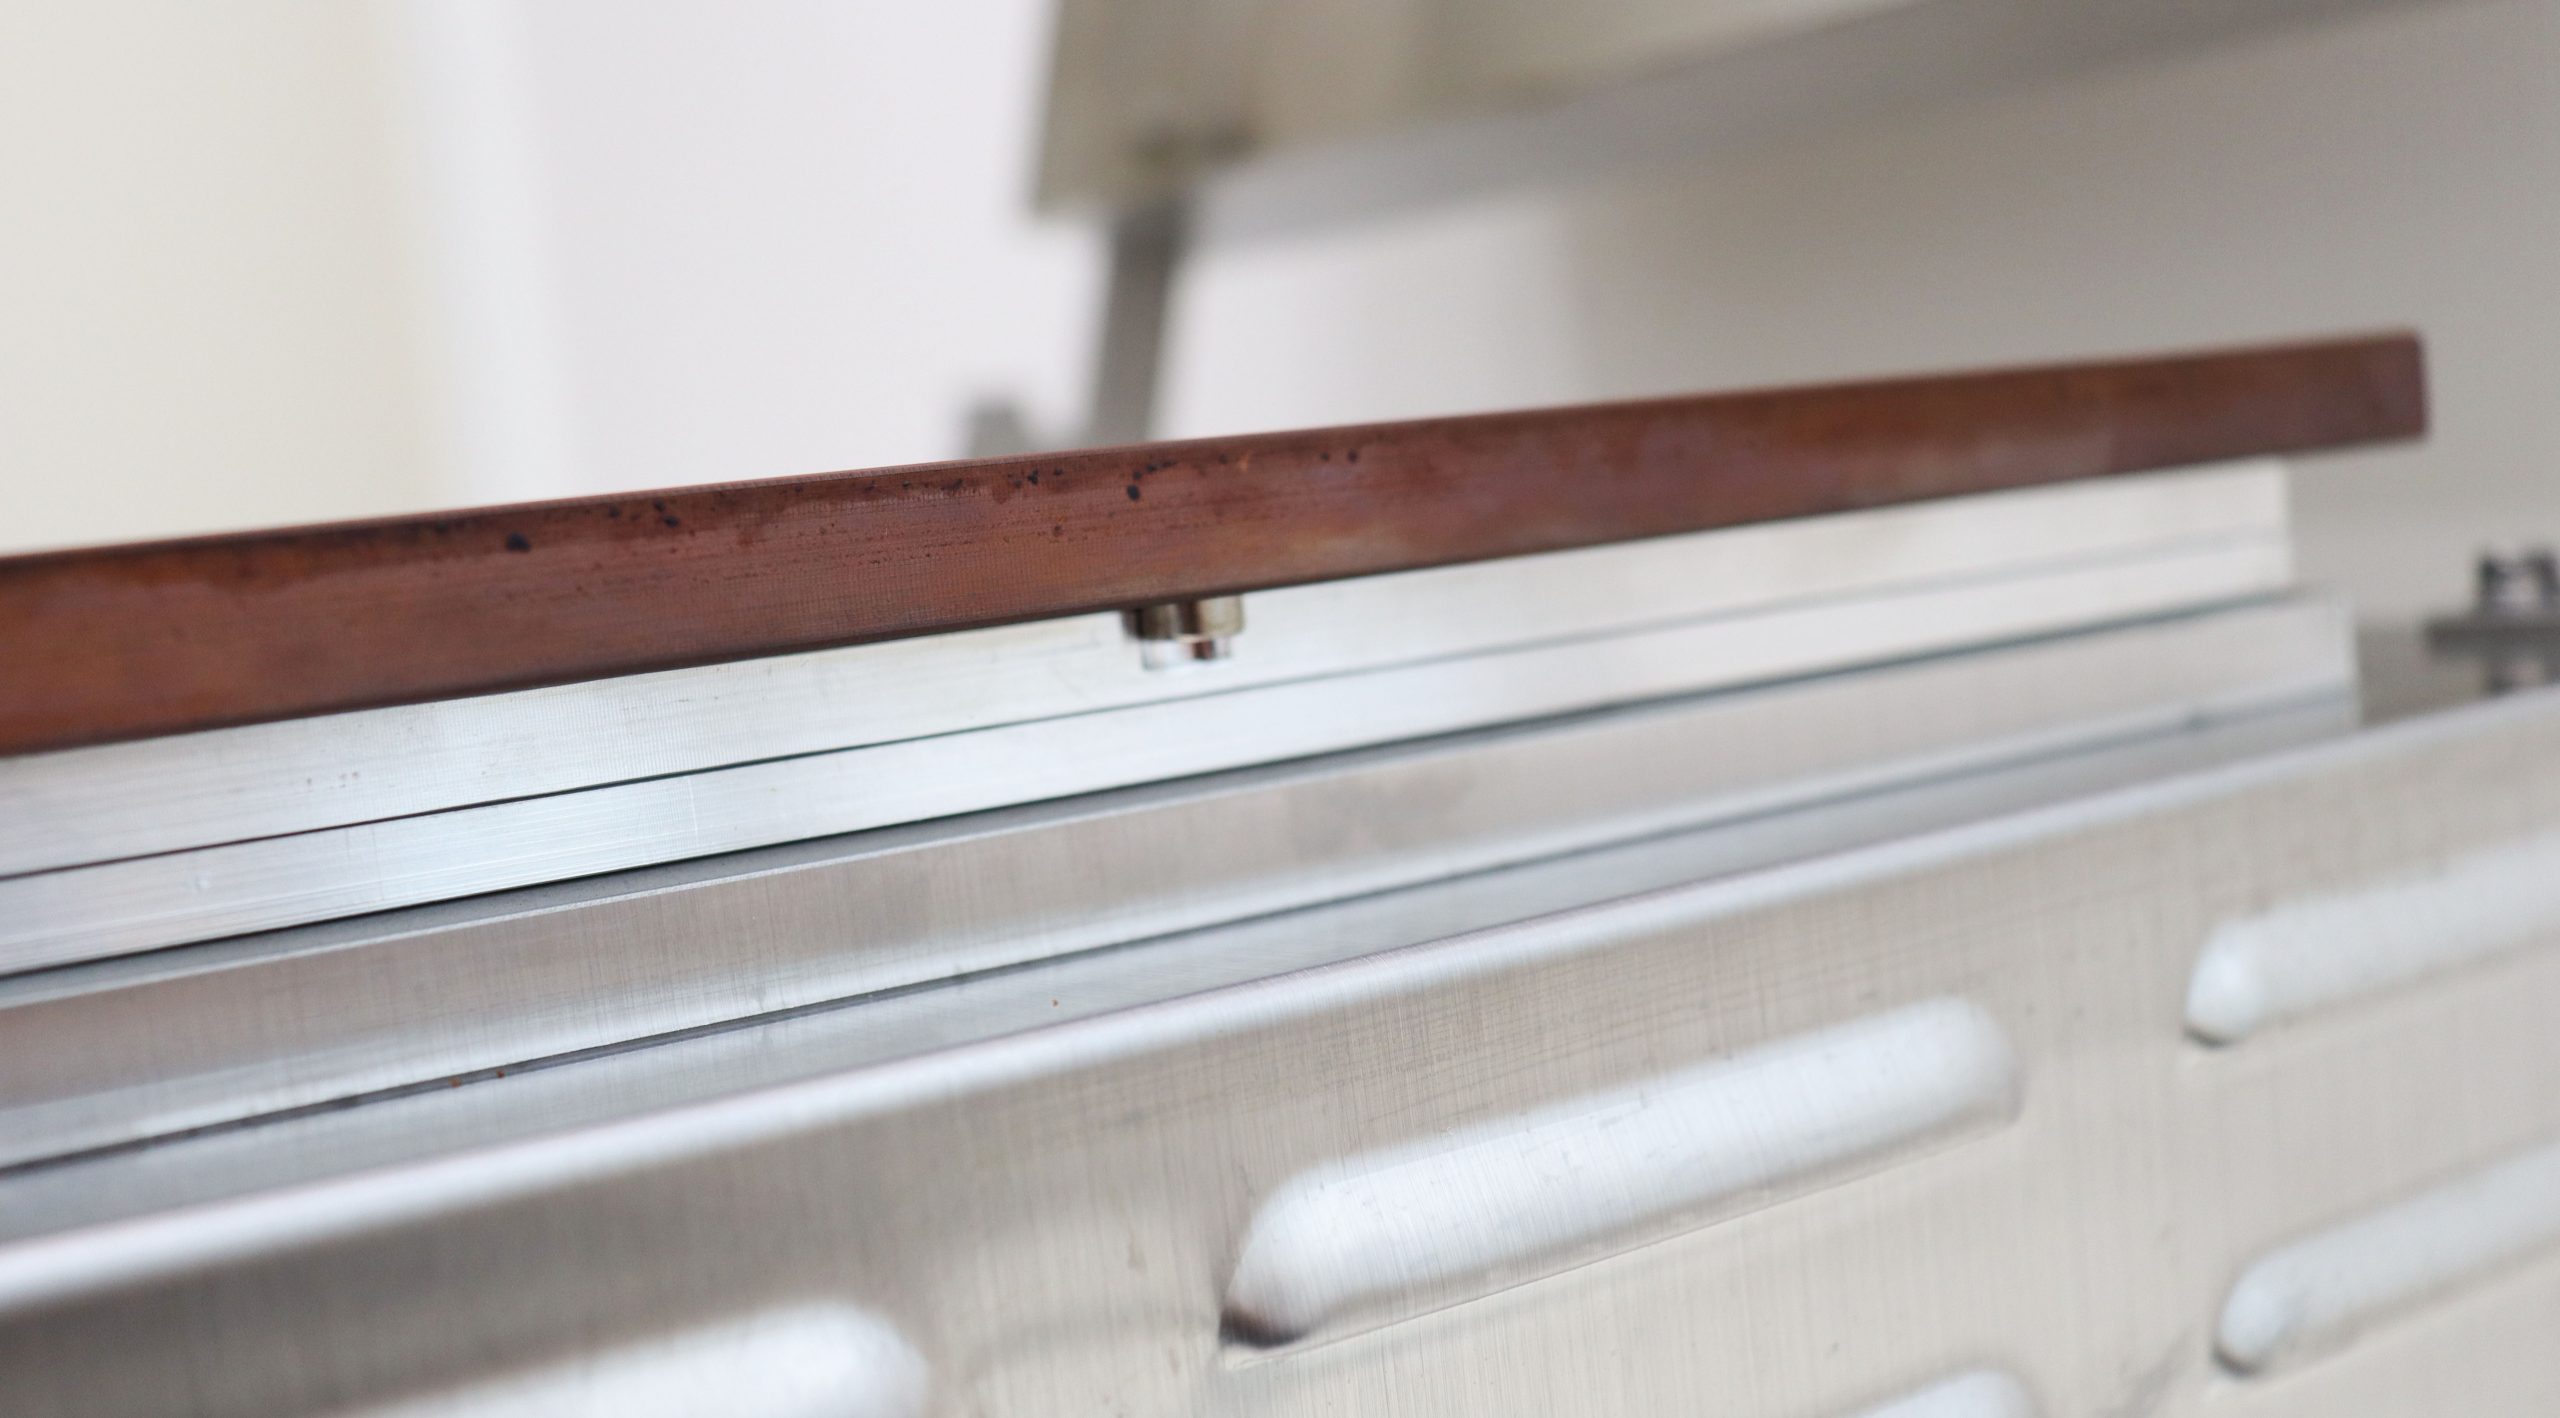
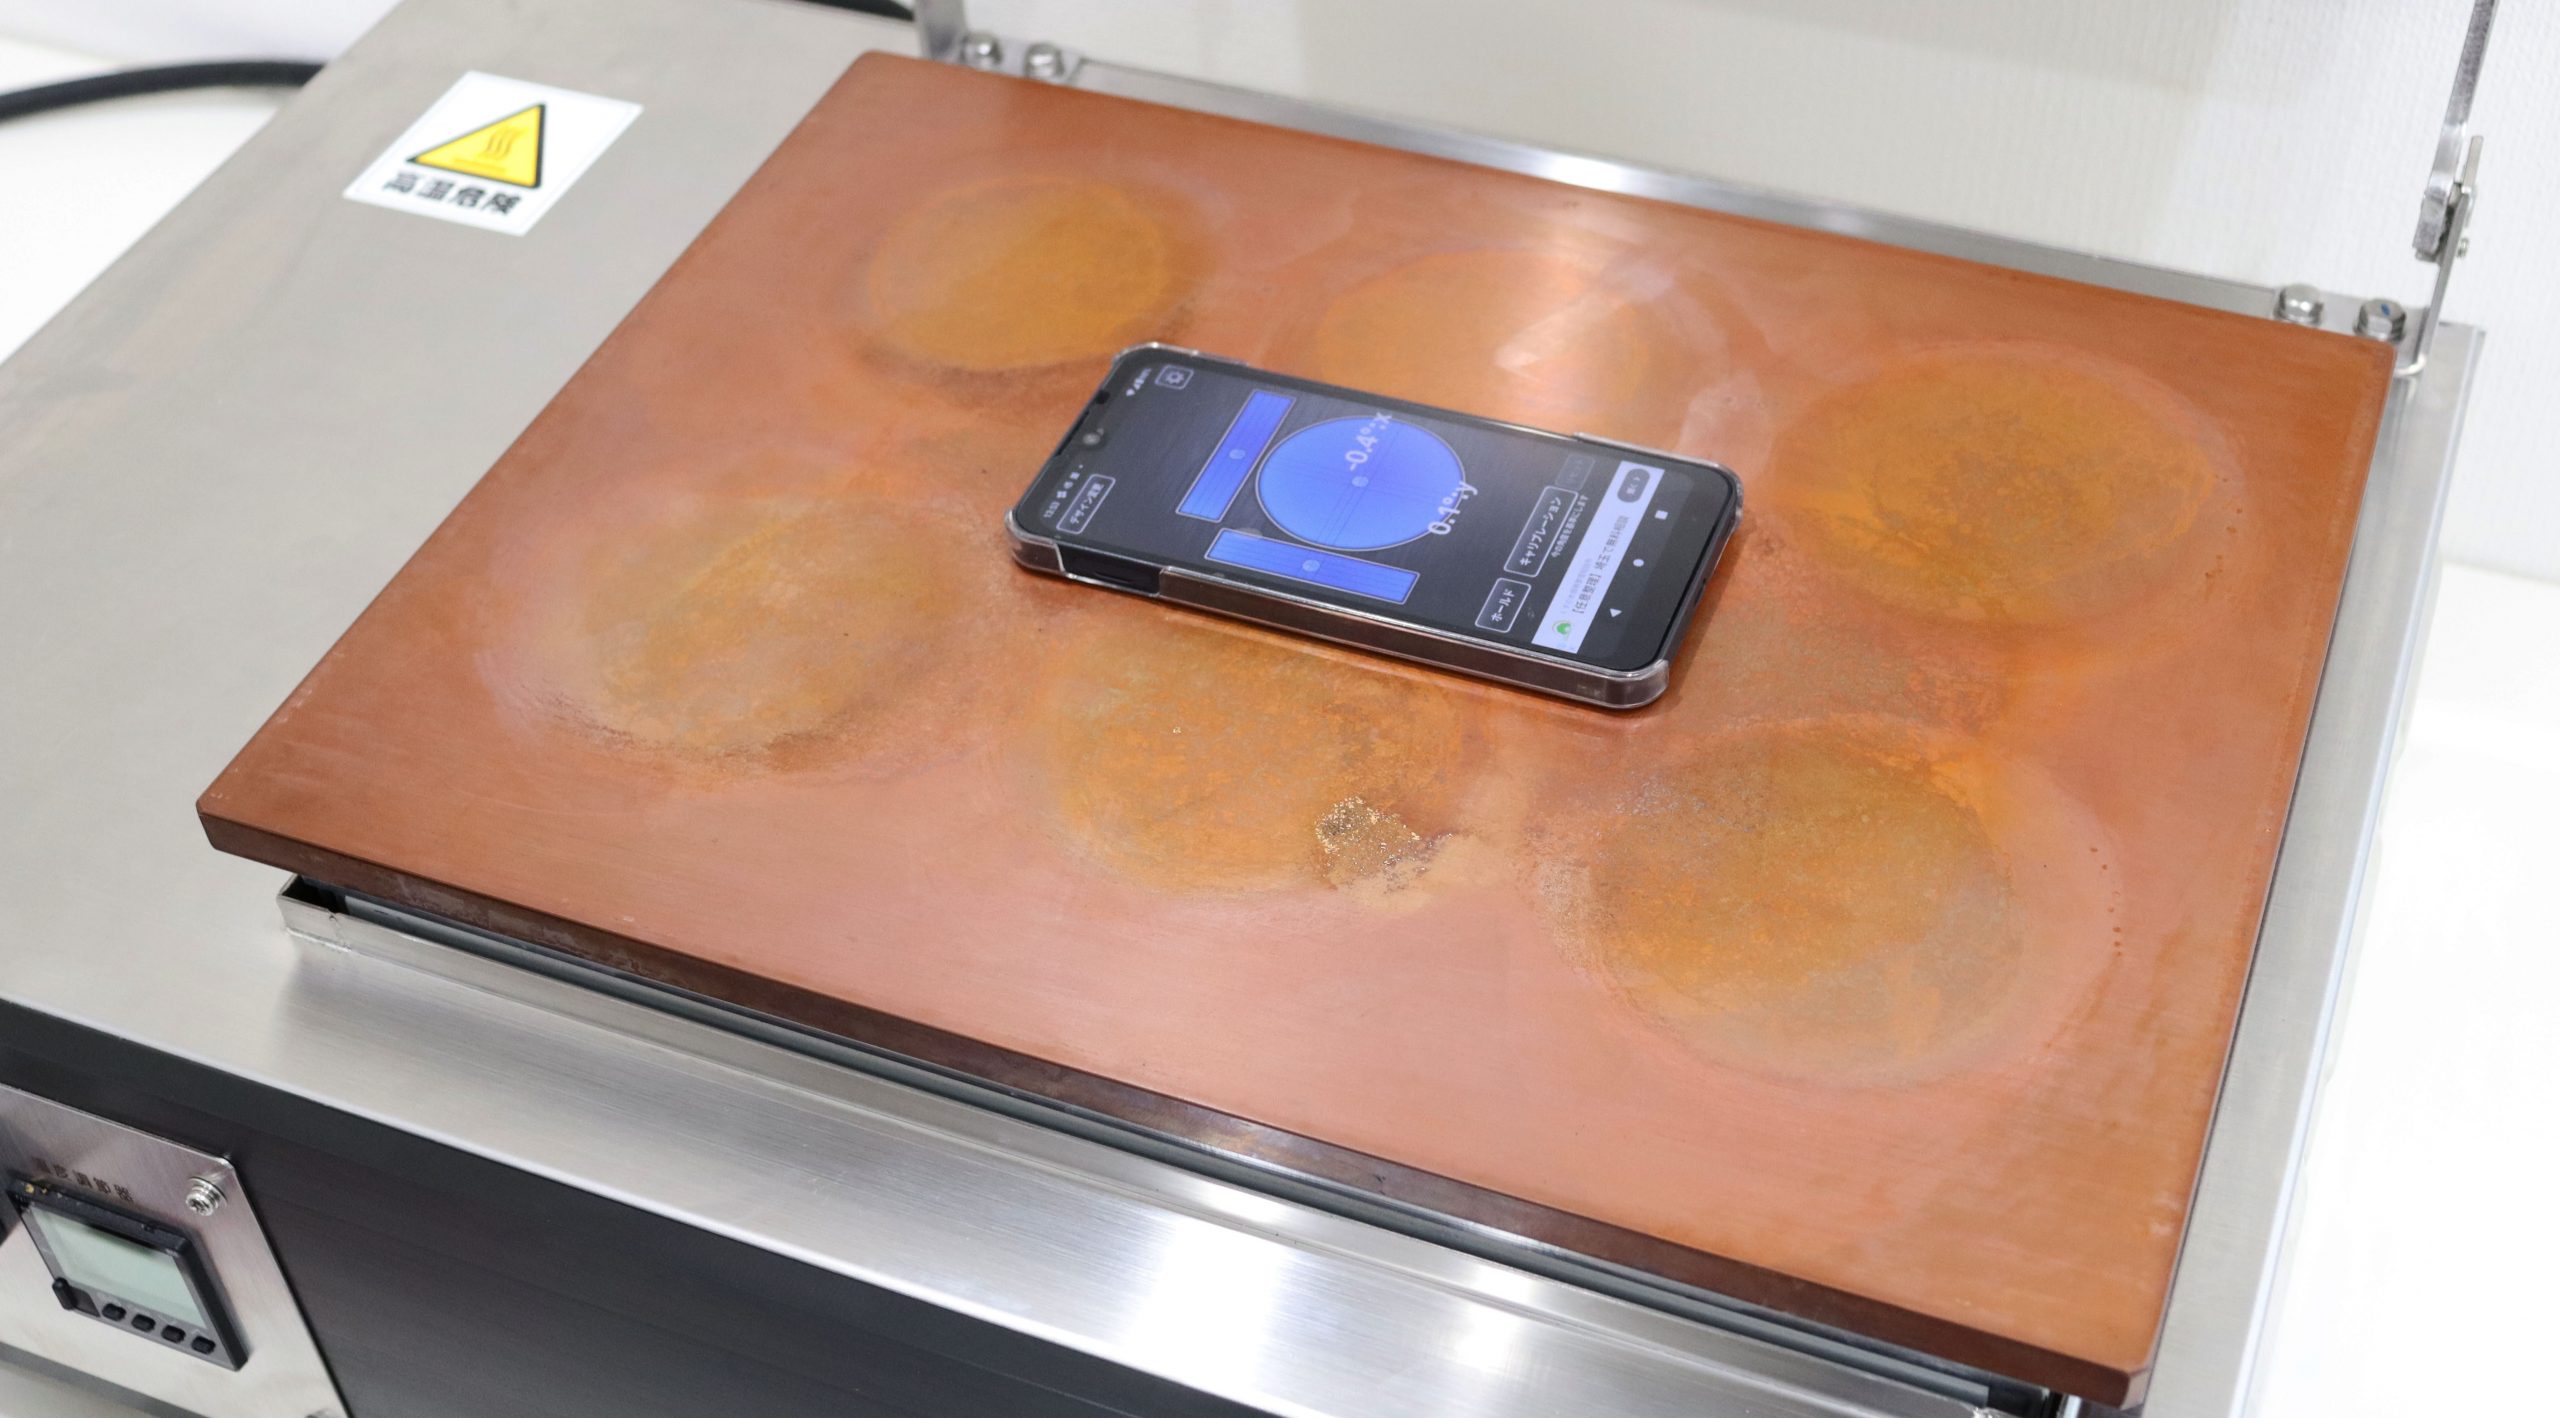
Make sure it is level
Once the copper plate is in place, check the level. You can also use a leveler or a smartphone app to check the level.
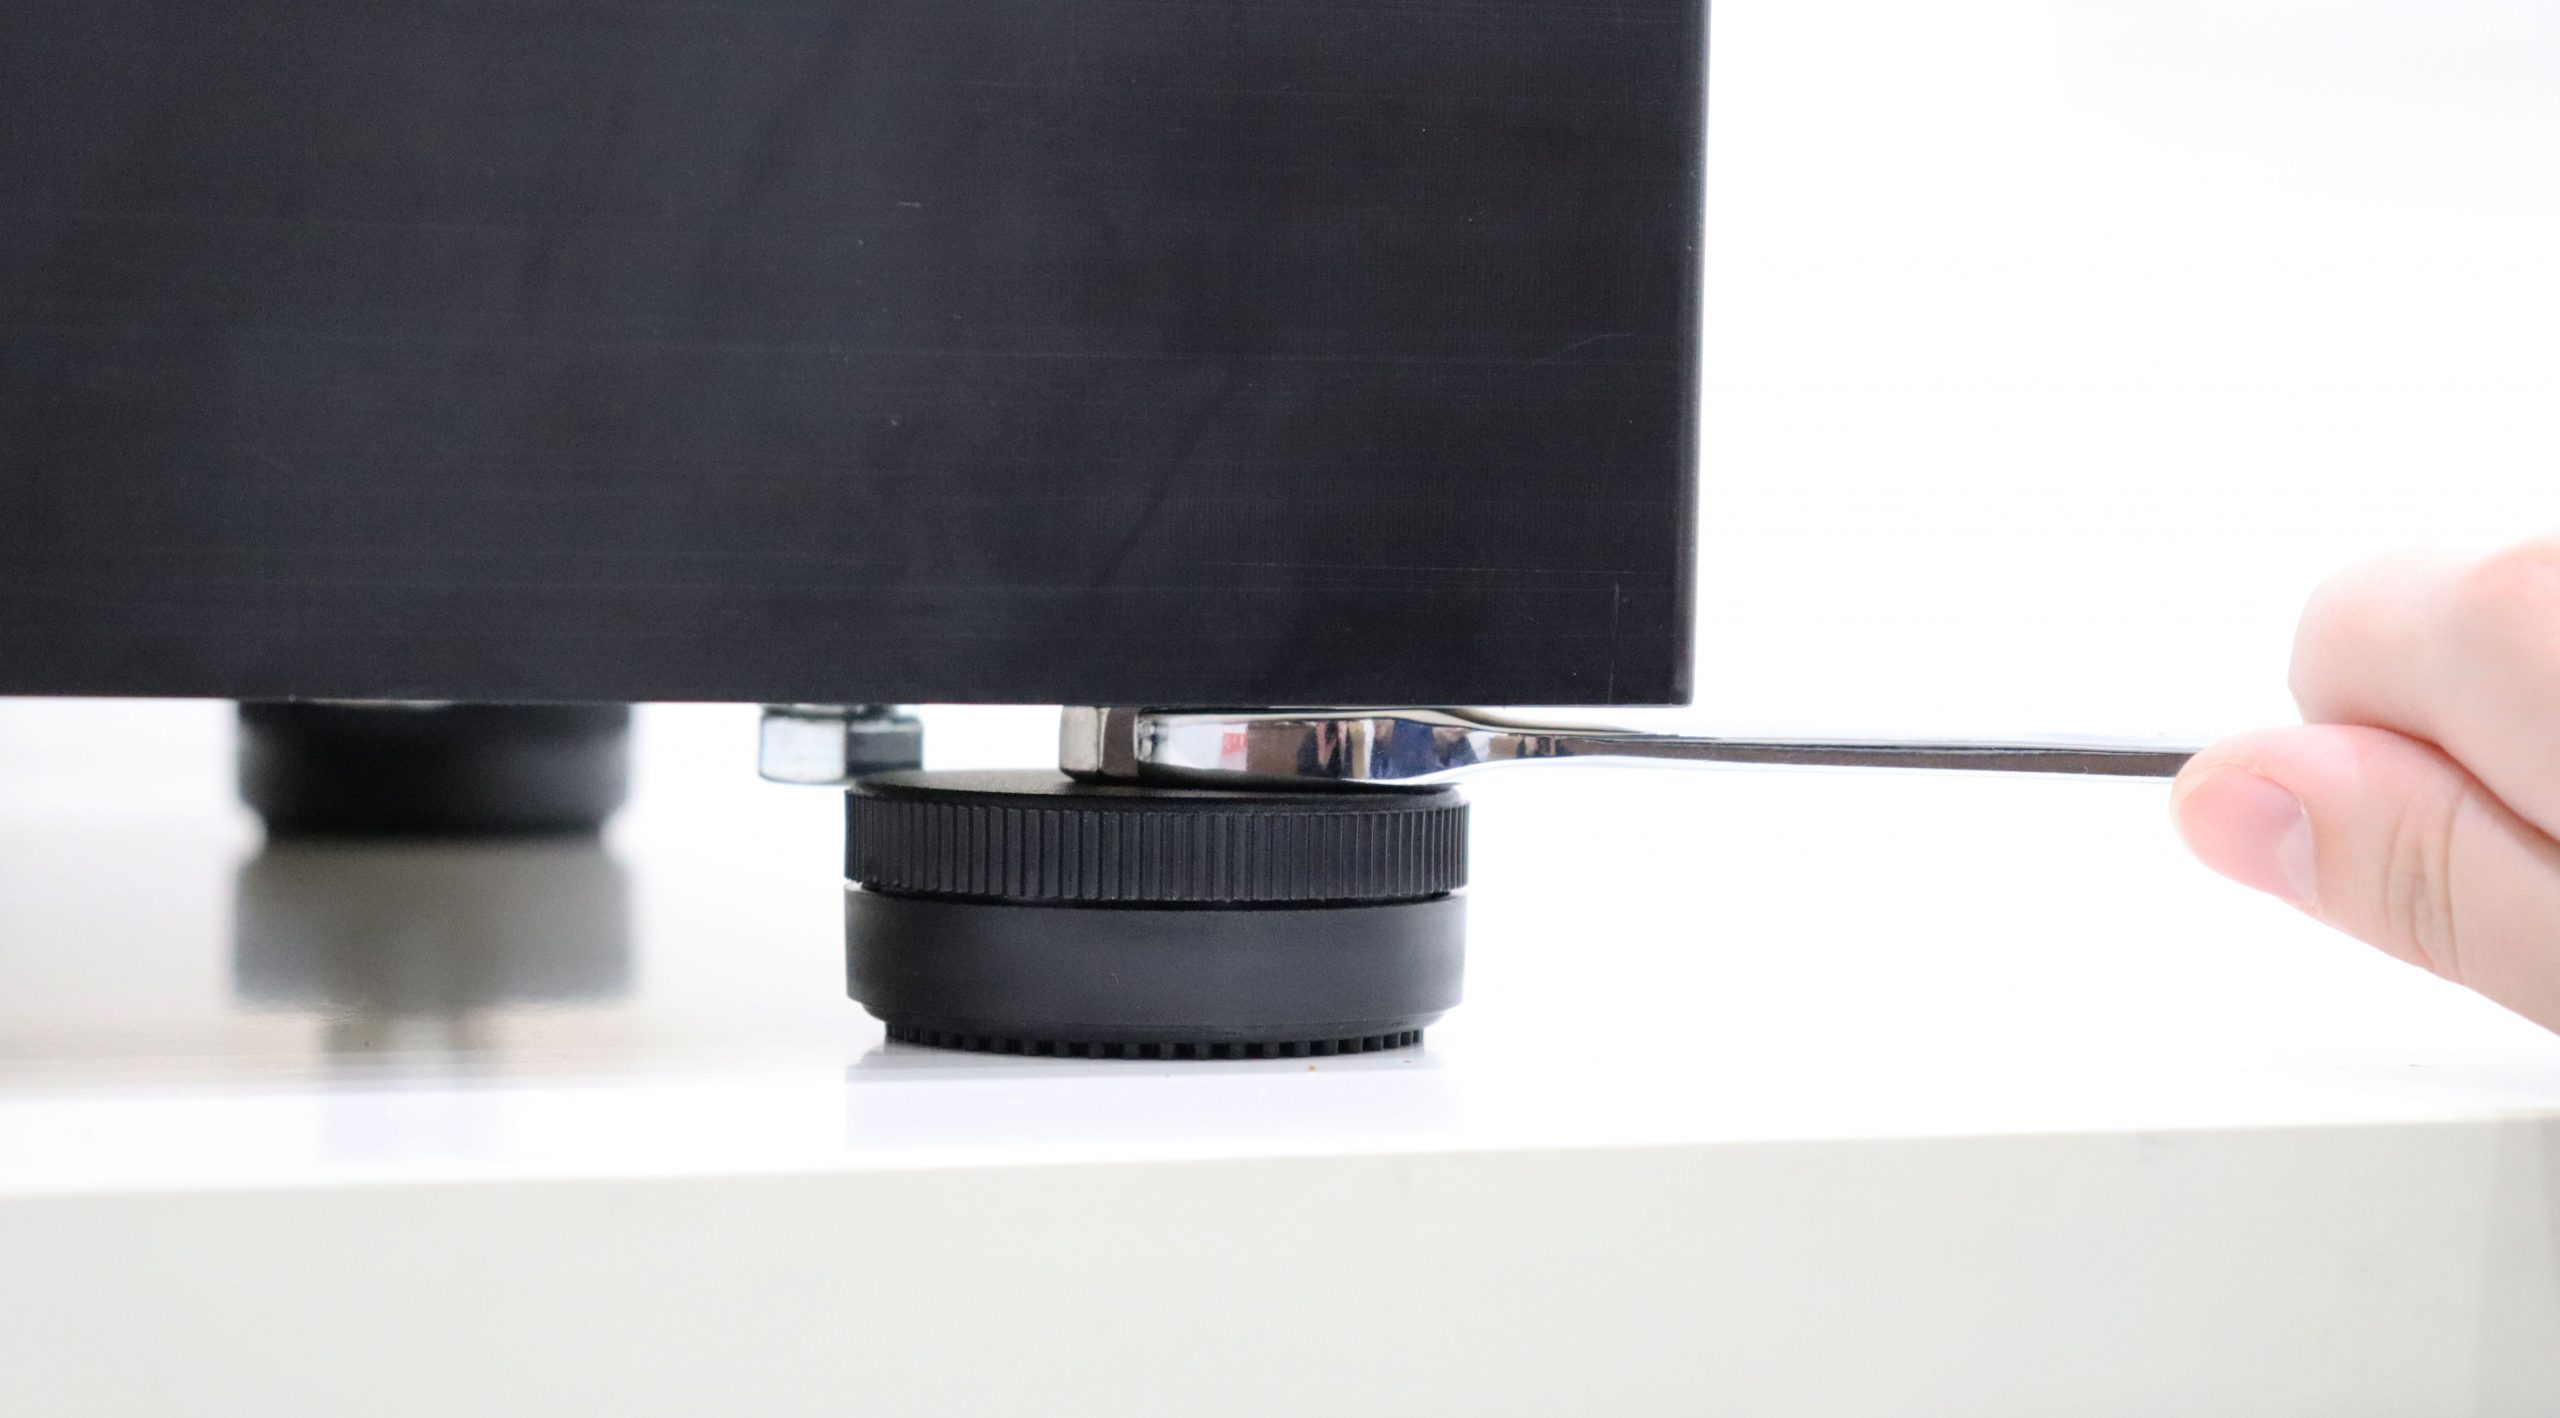
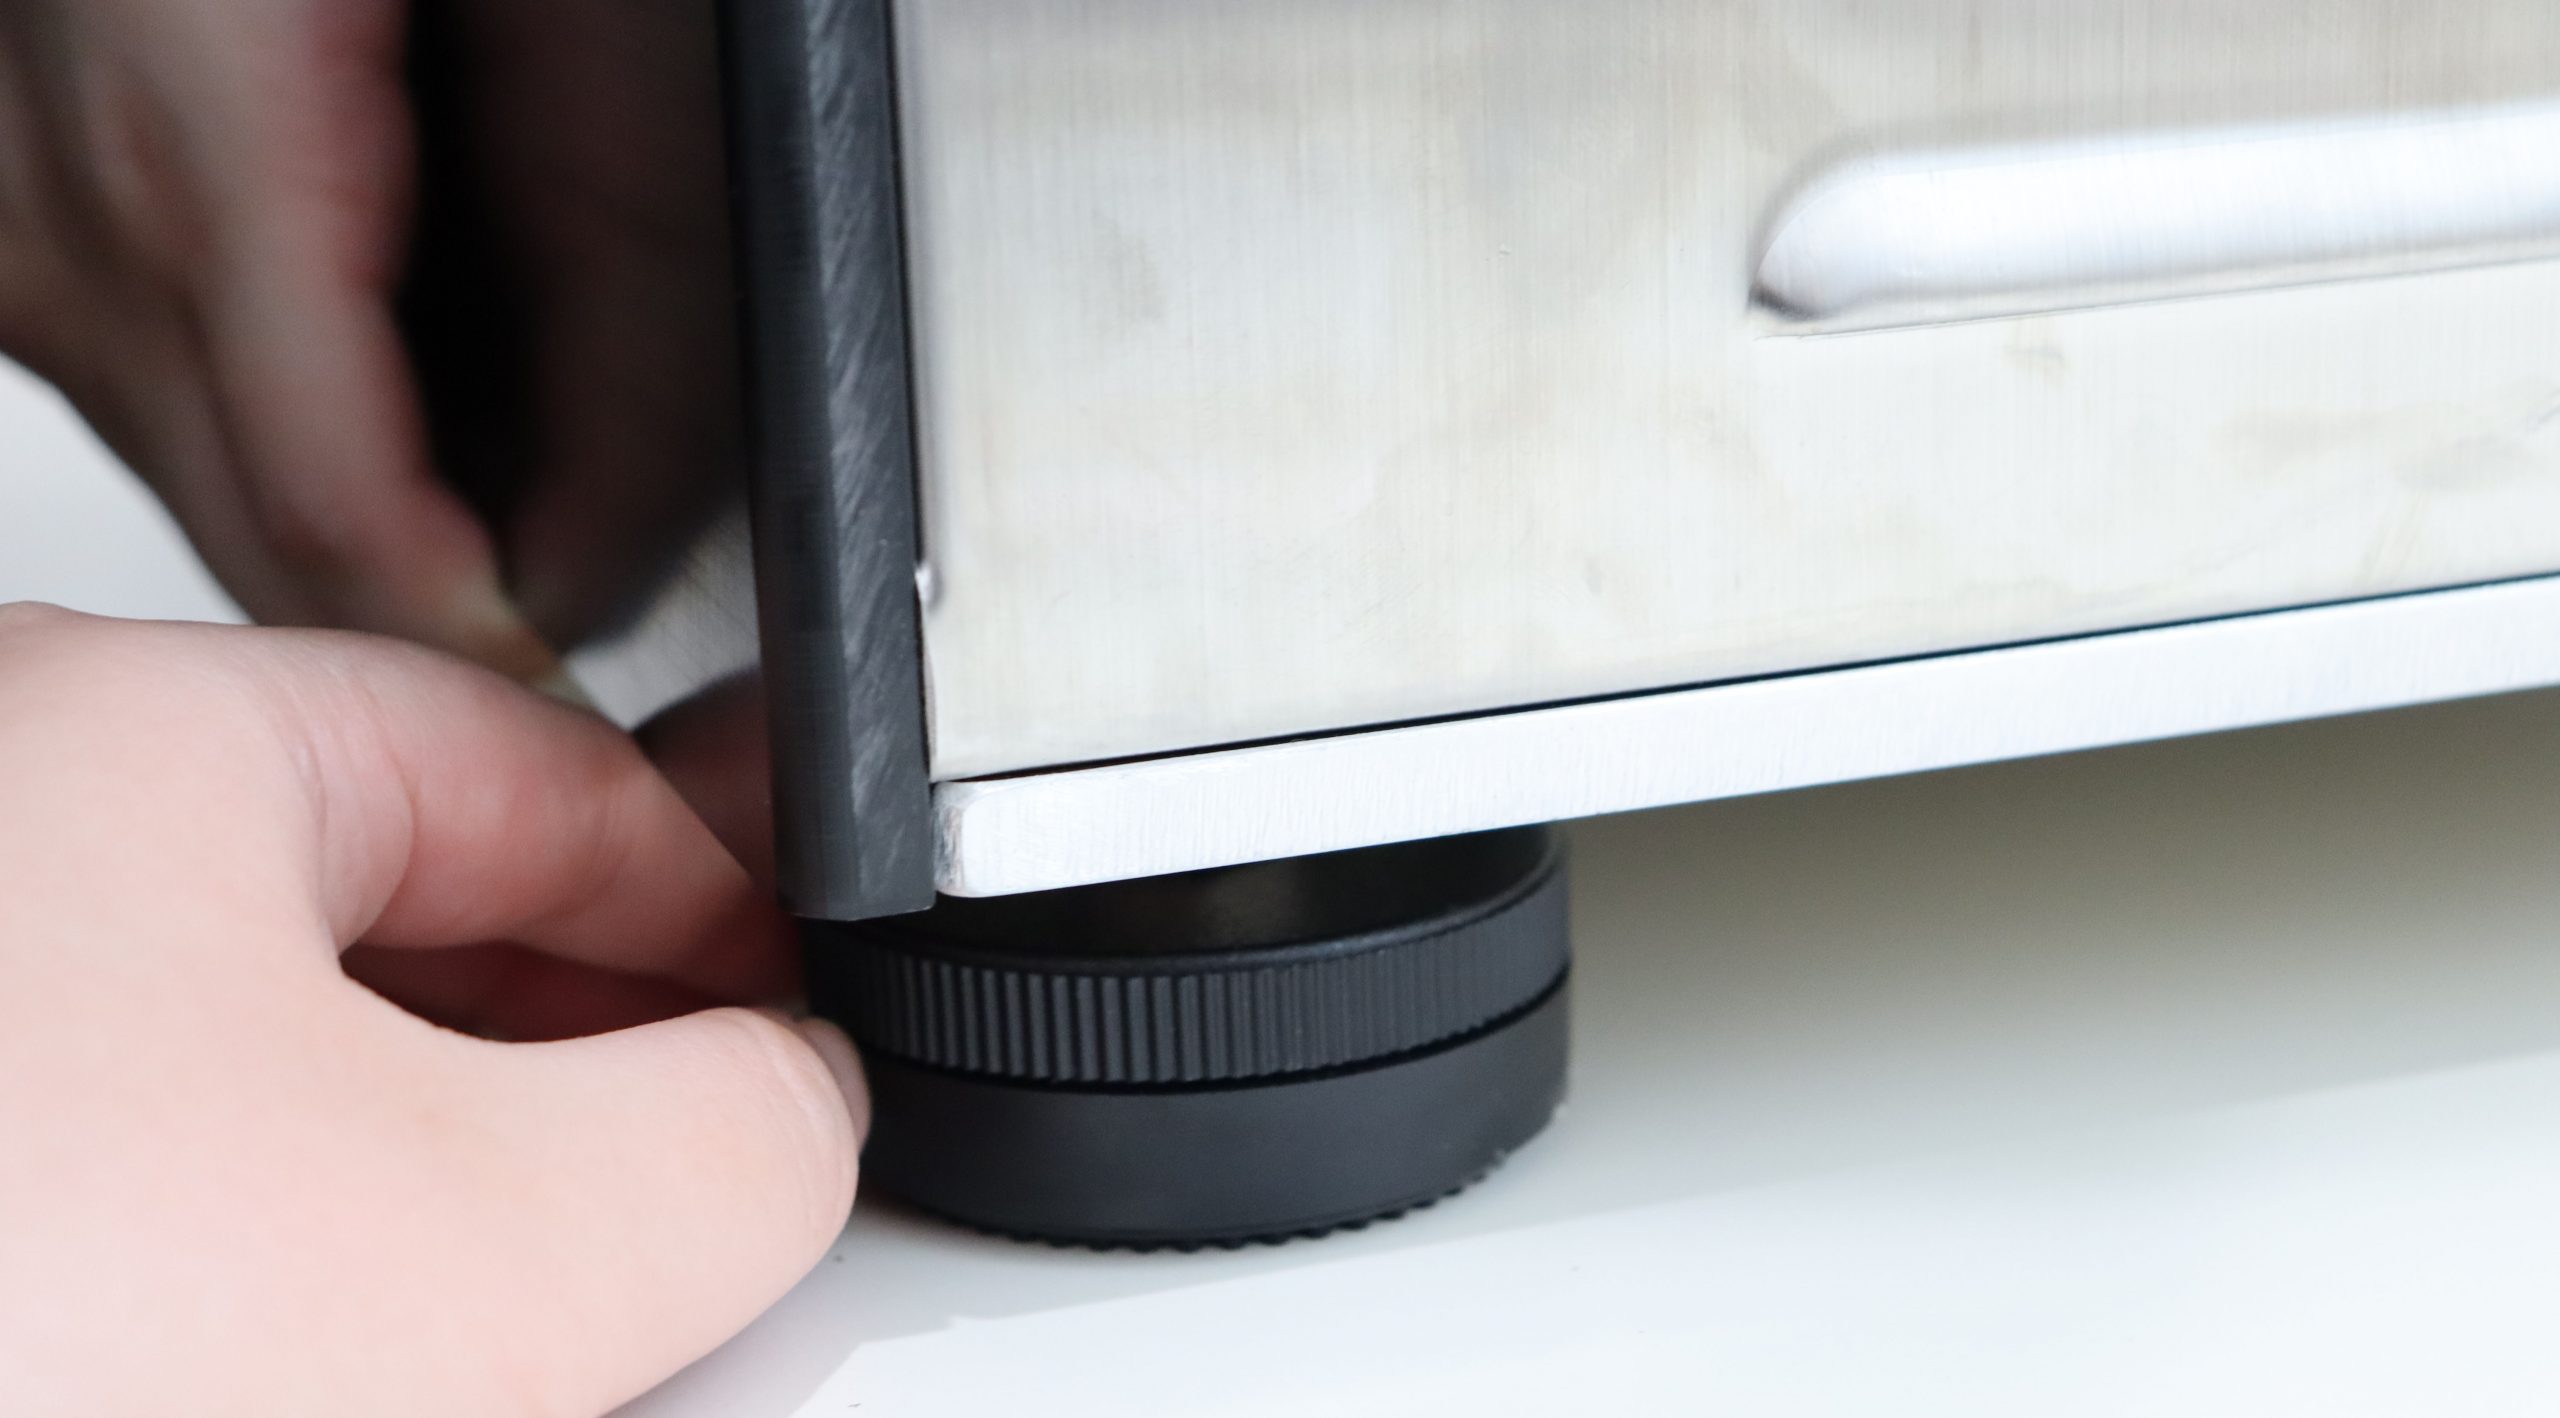
If it is not level, adjust the height by turning the legs.
Power on
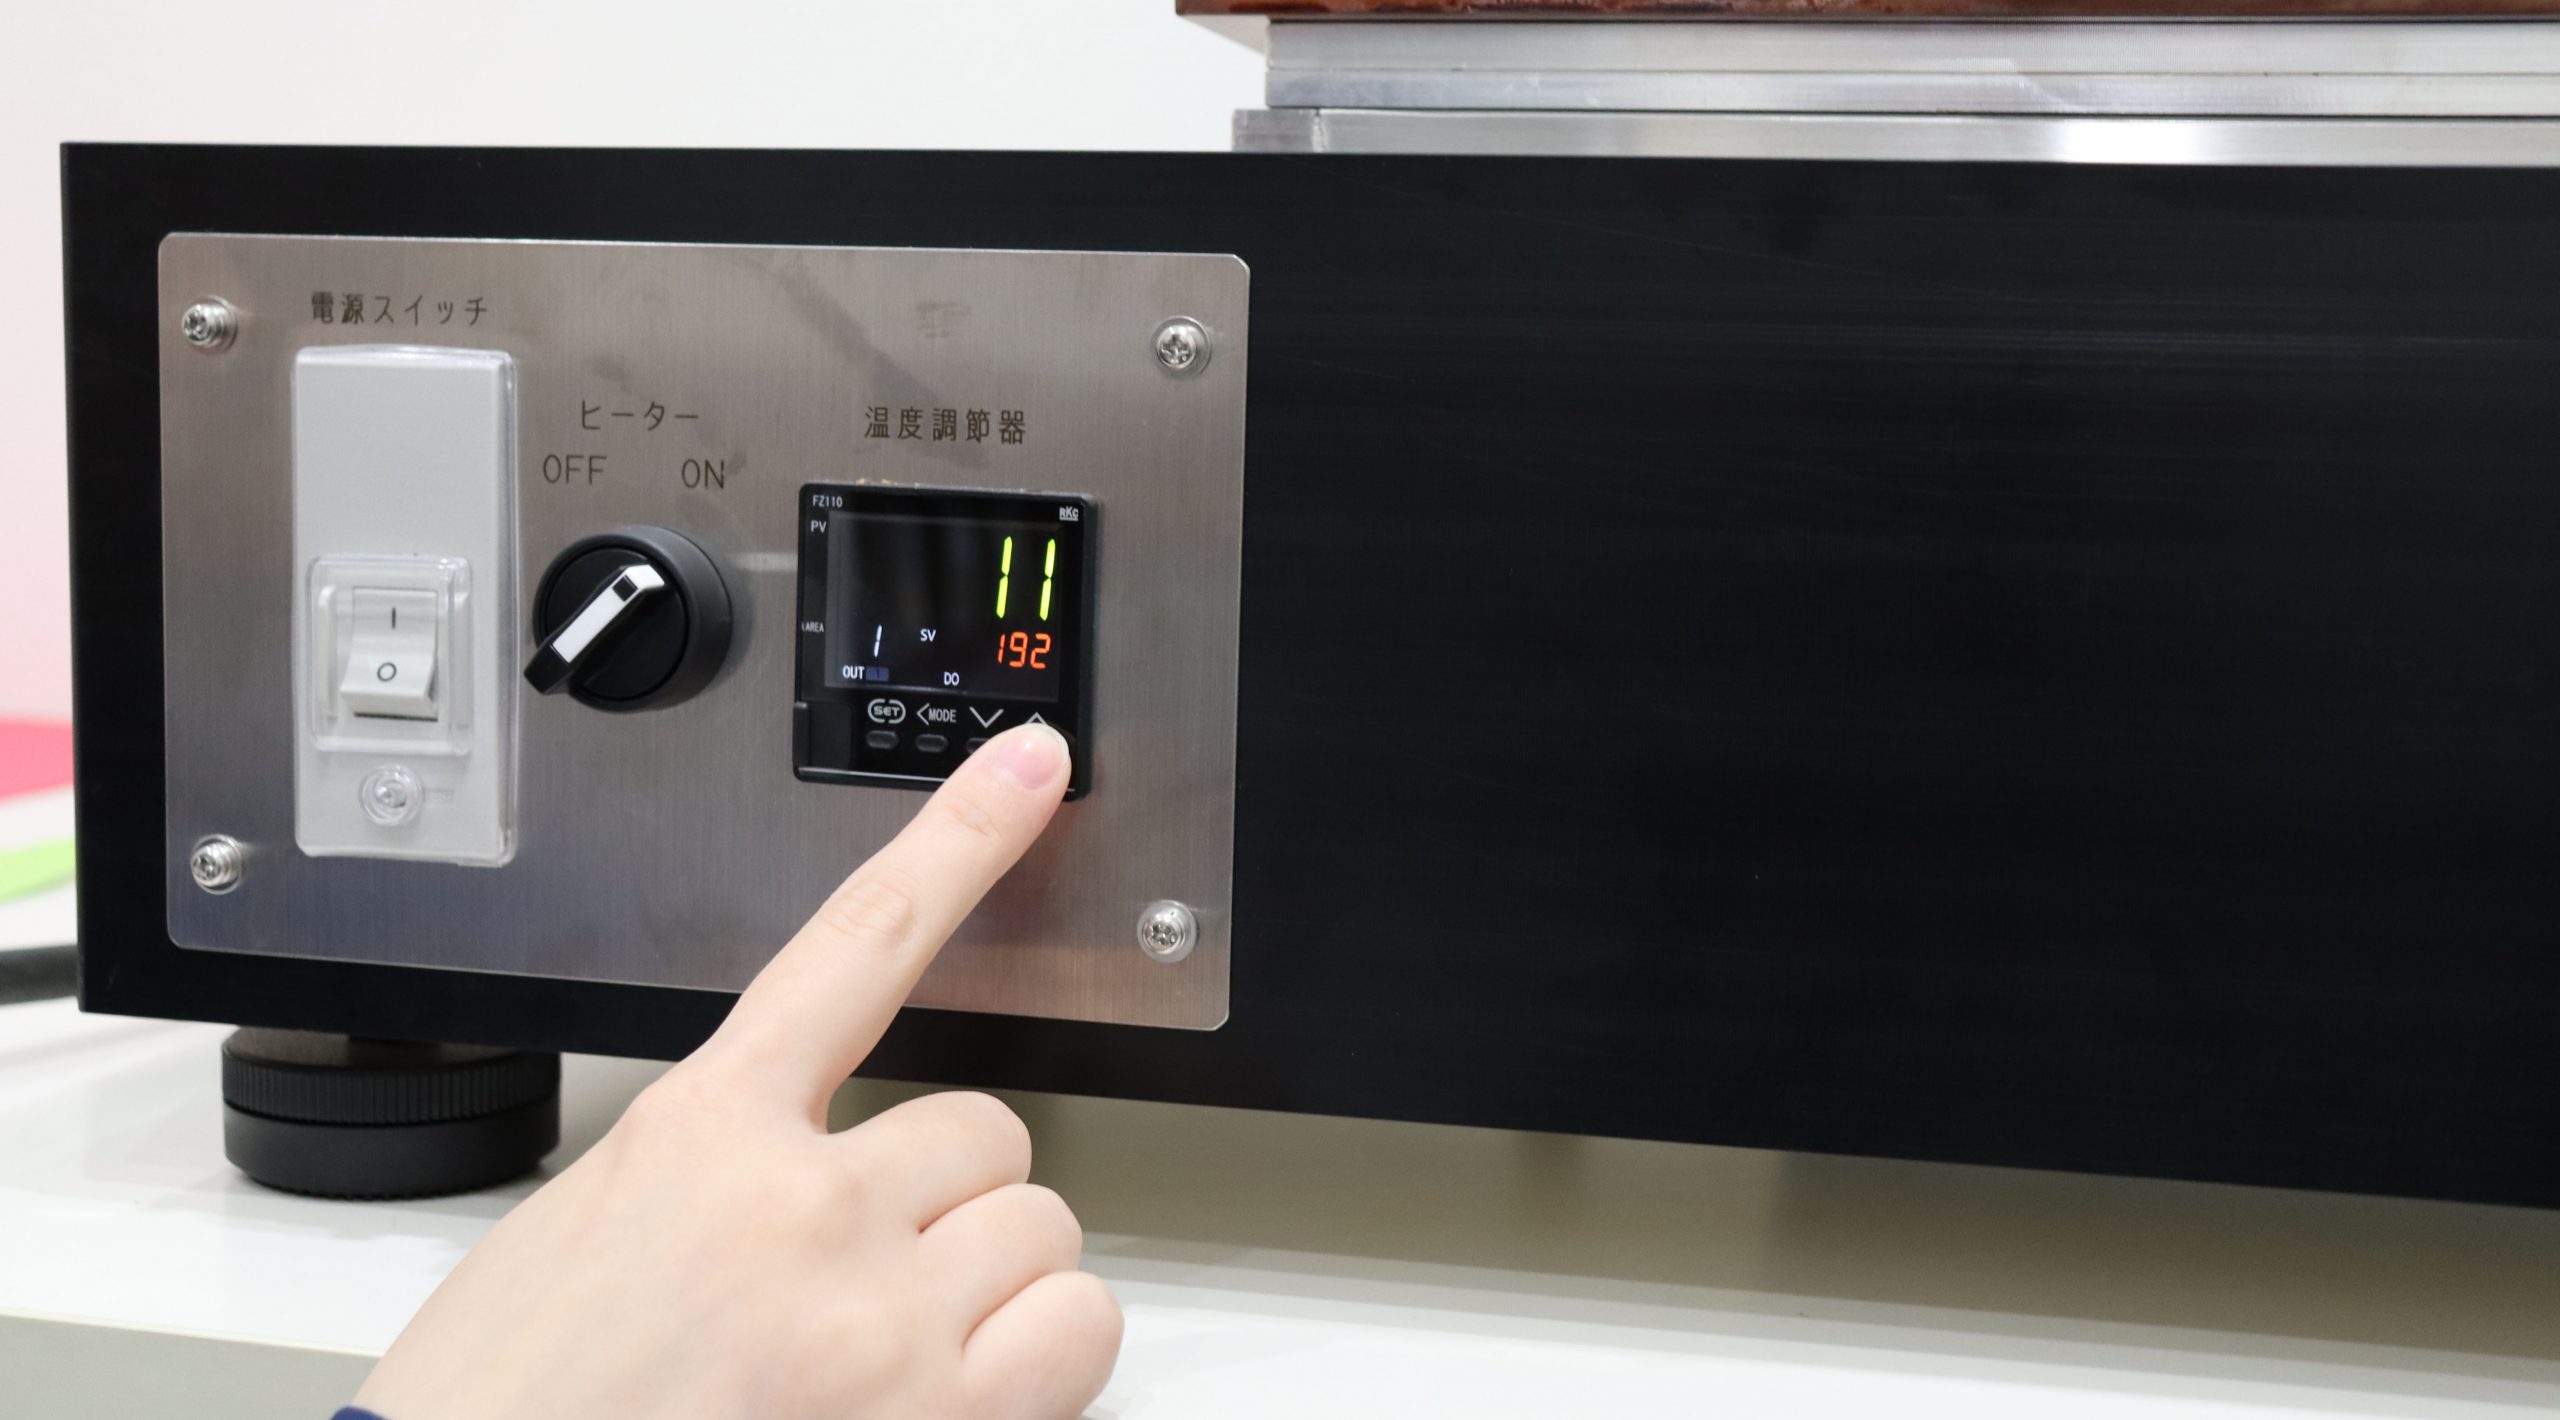
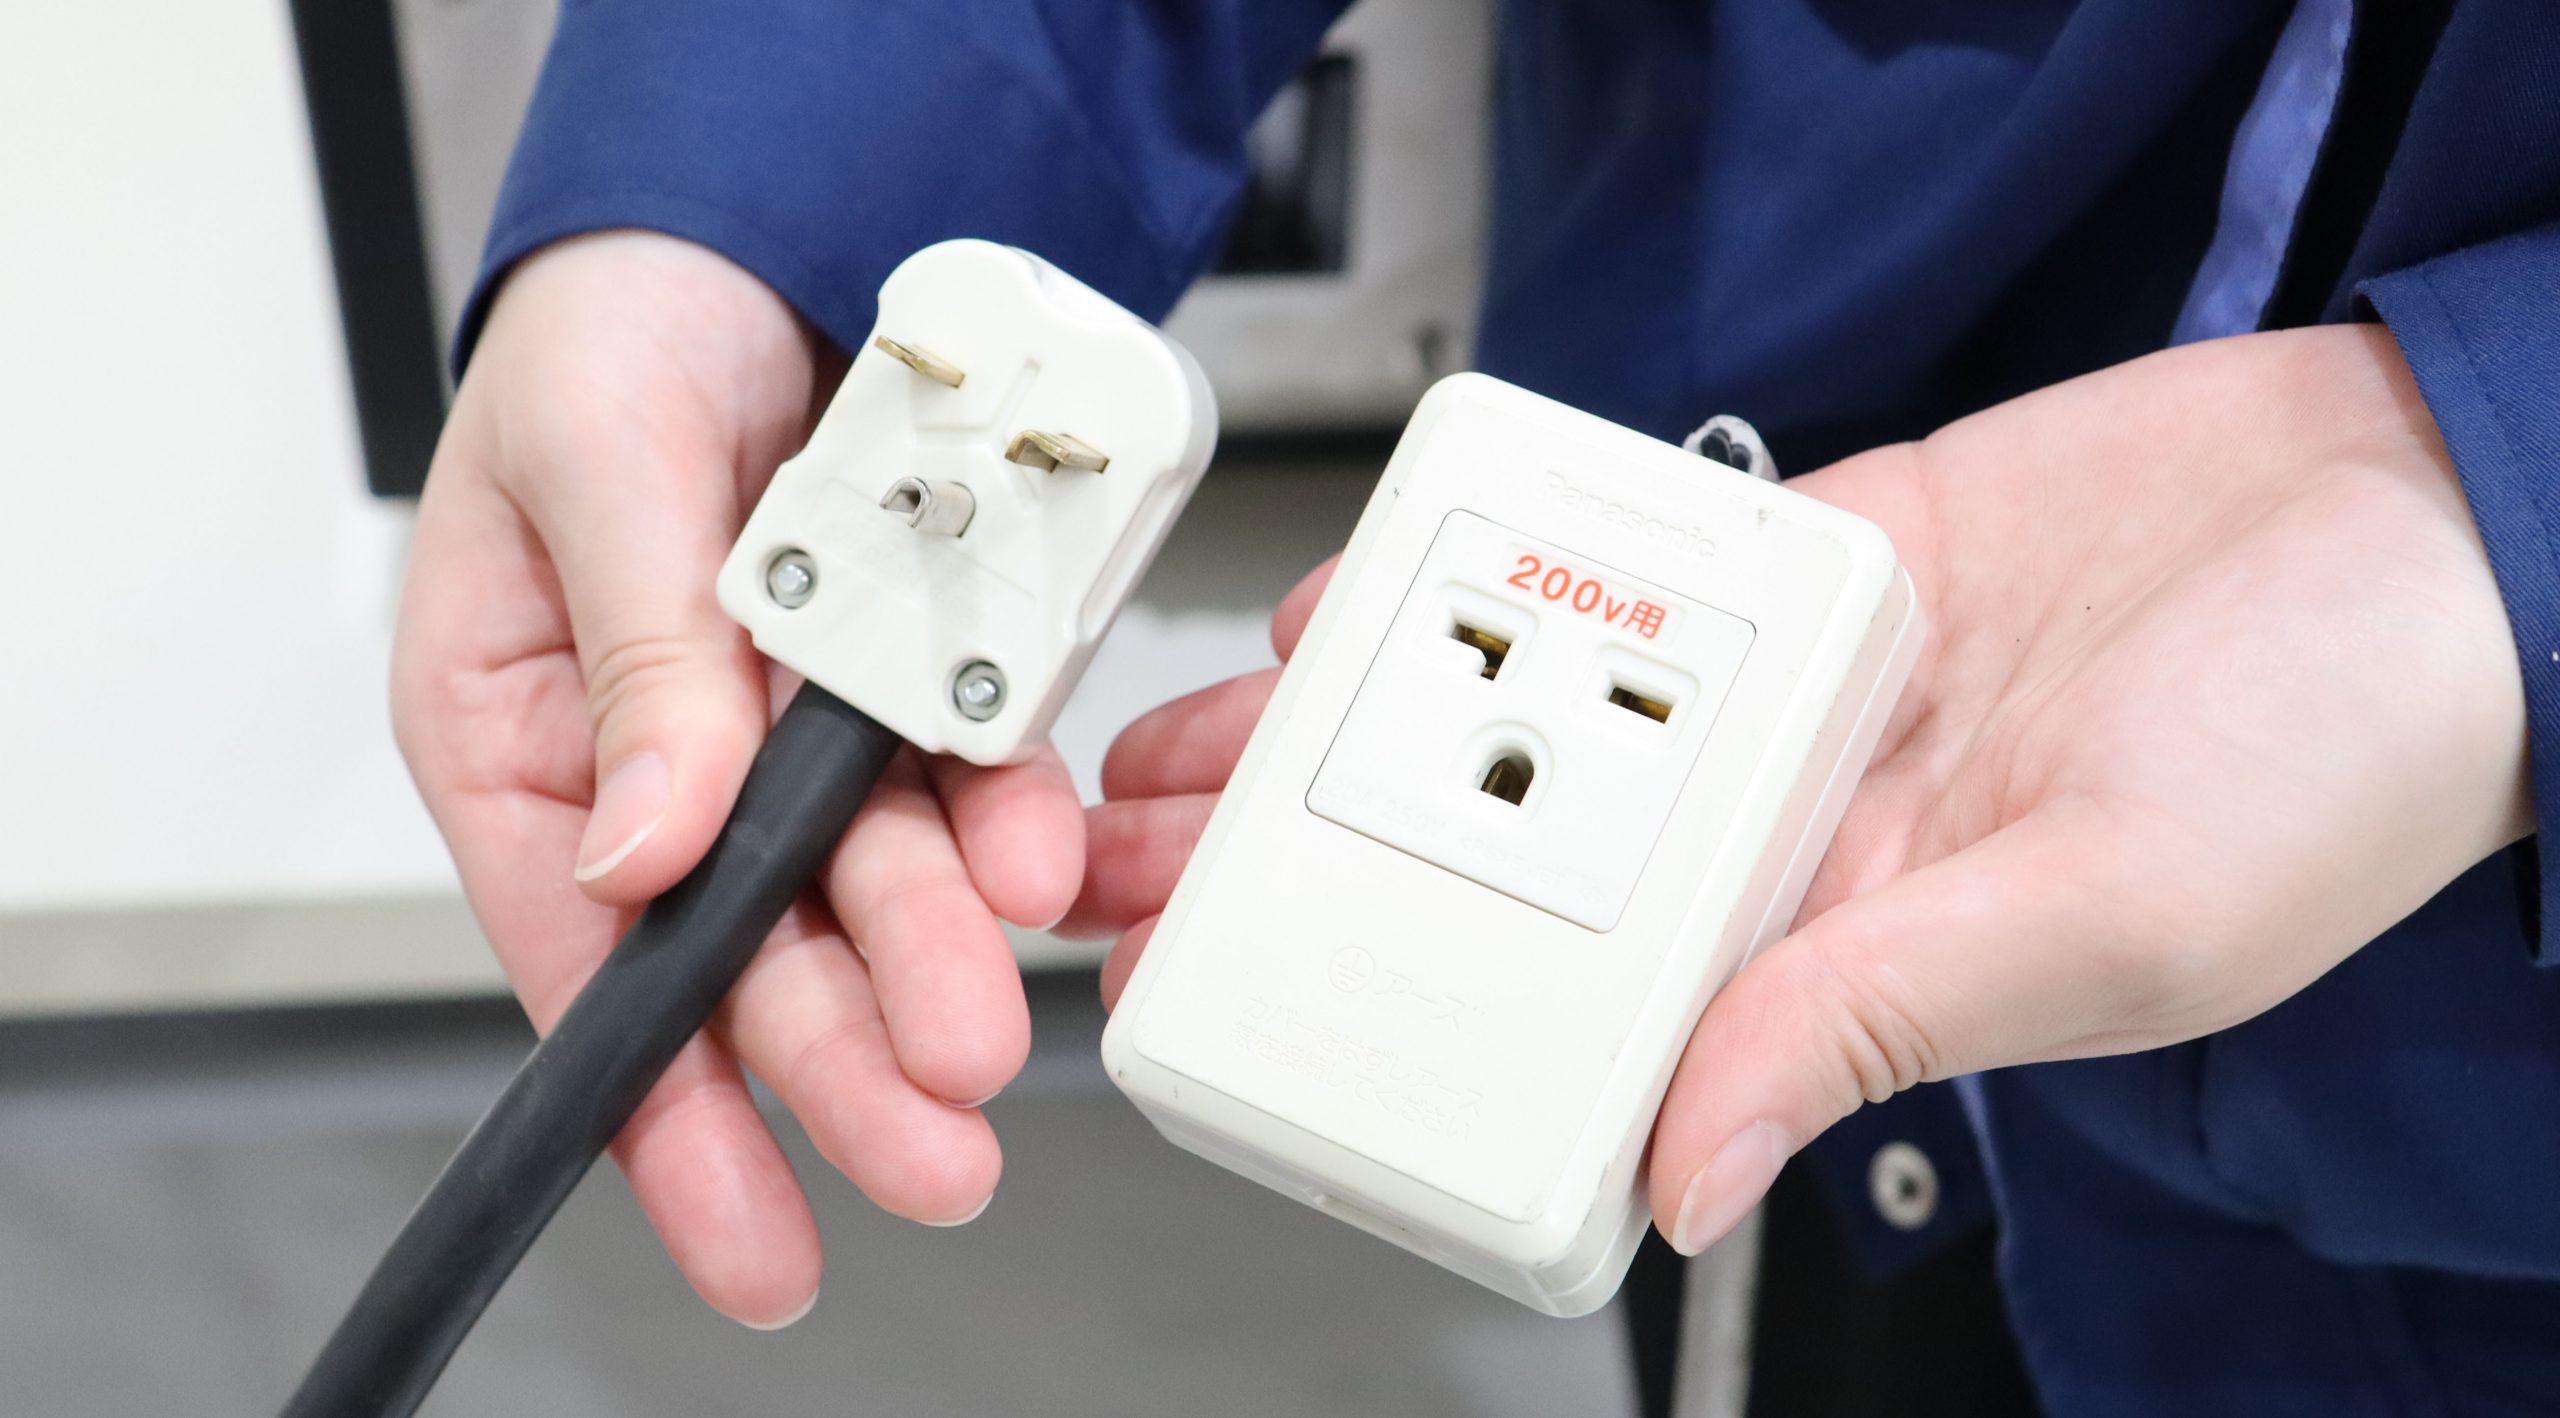
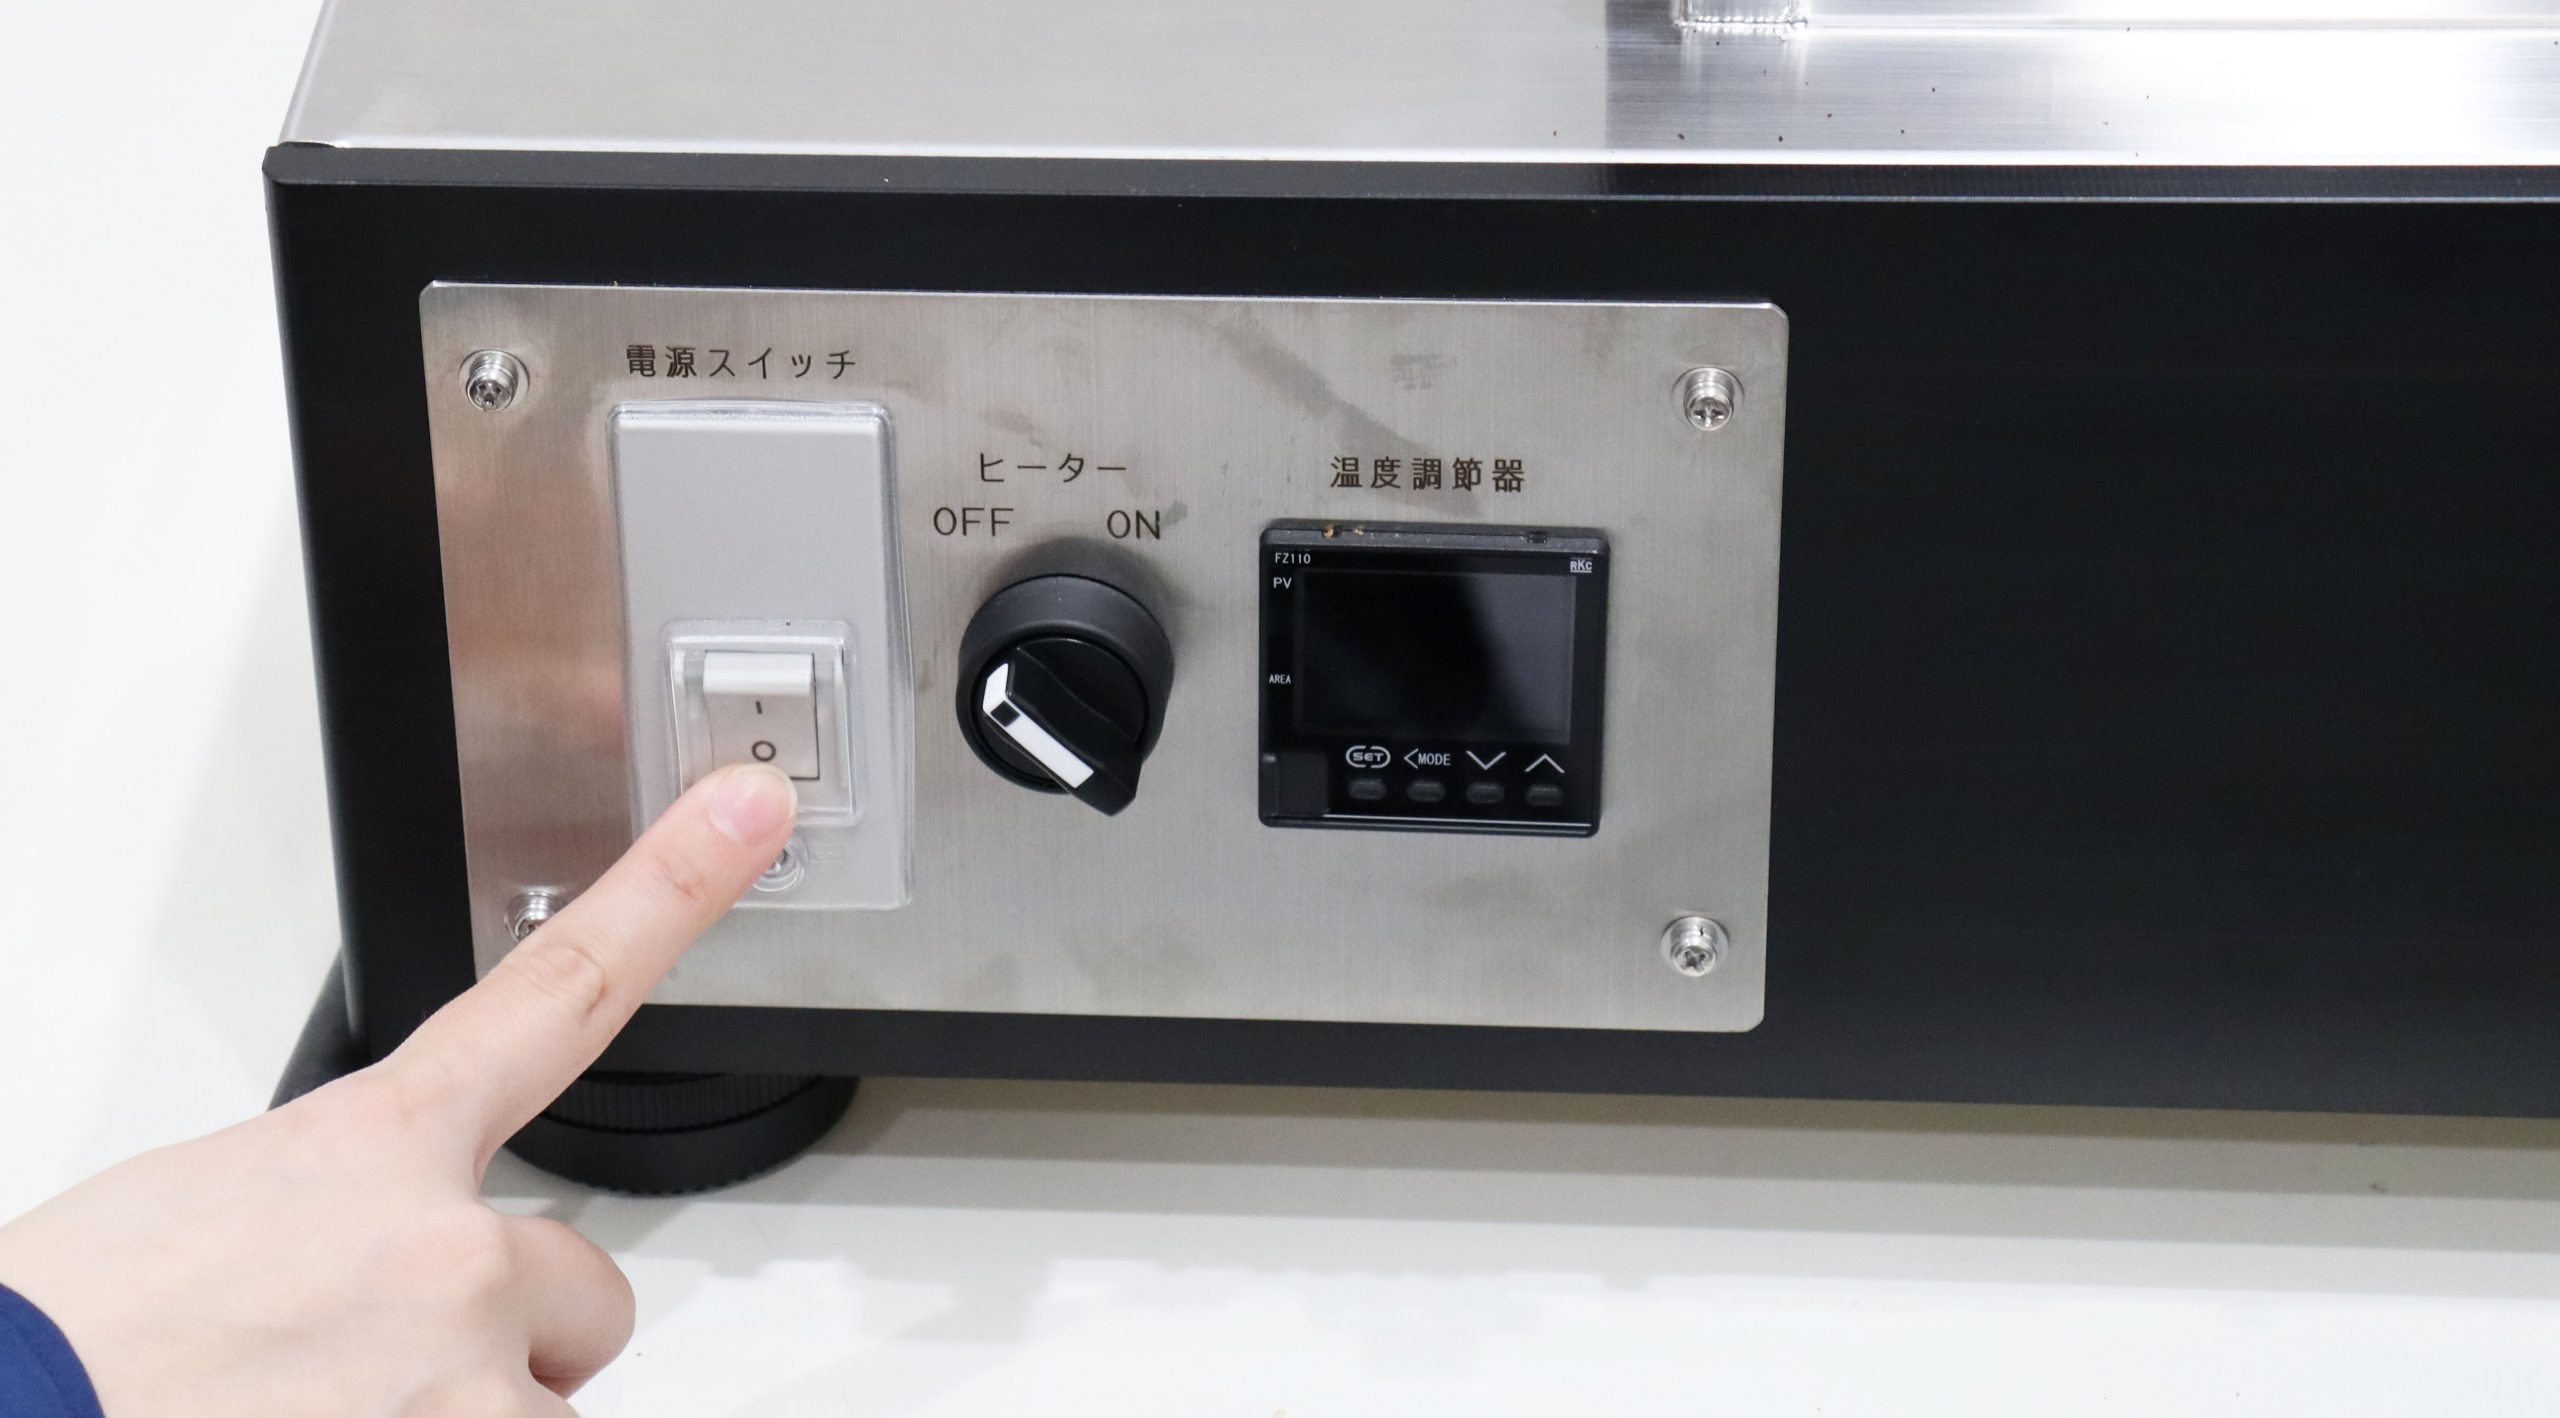
Plug it into the outlet and turn on the power. There are two switches: one for the main body and one for the heater.
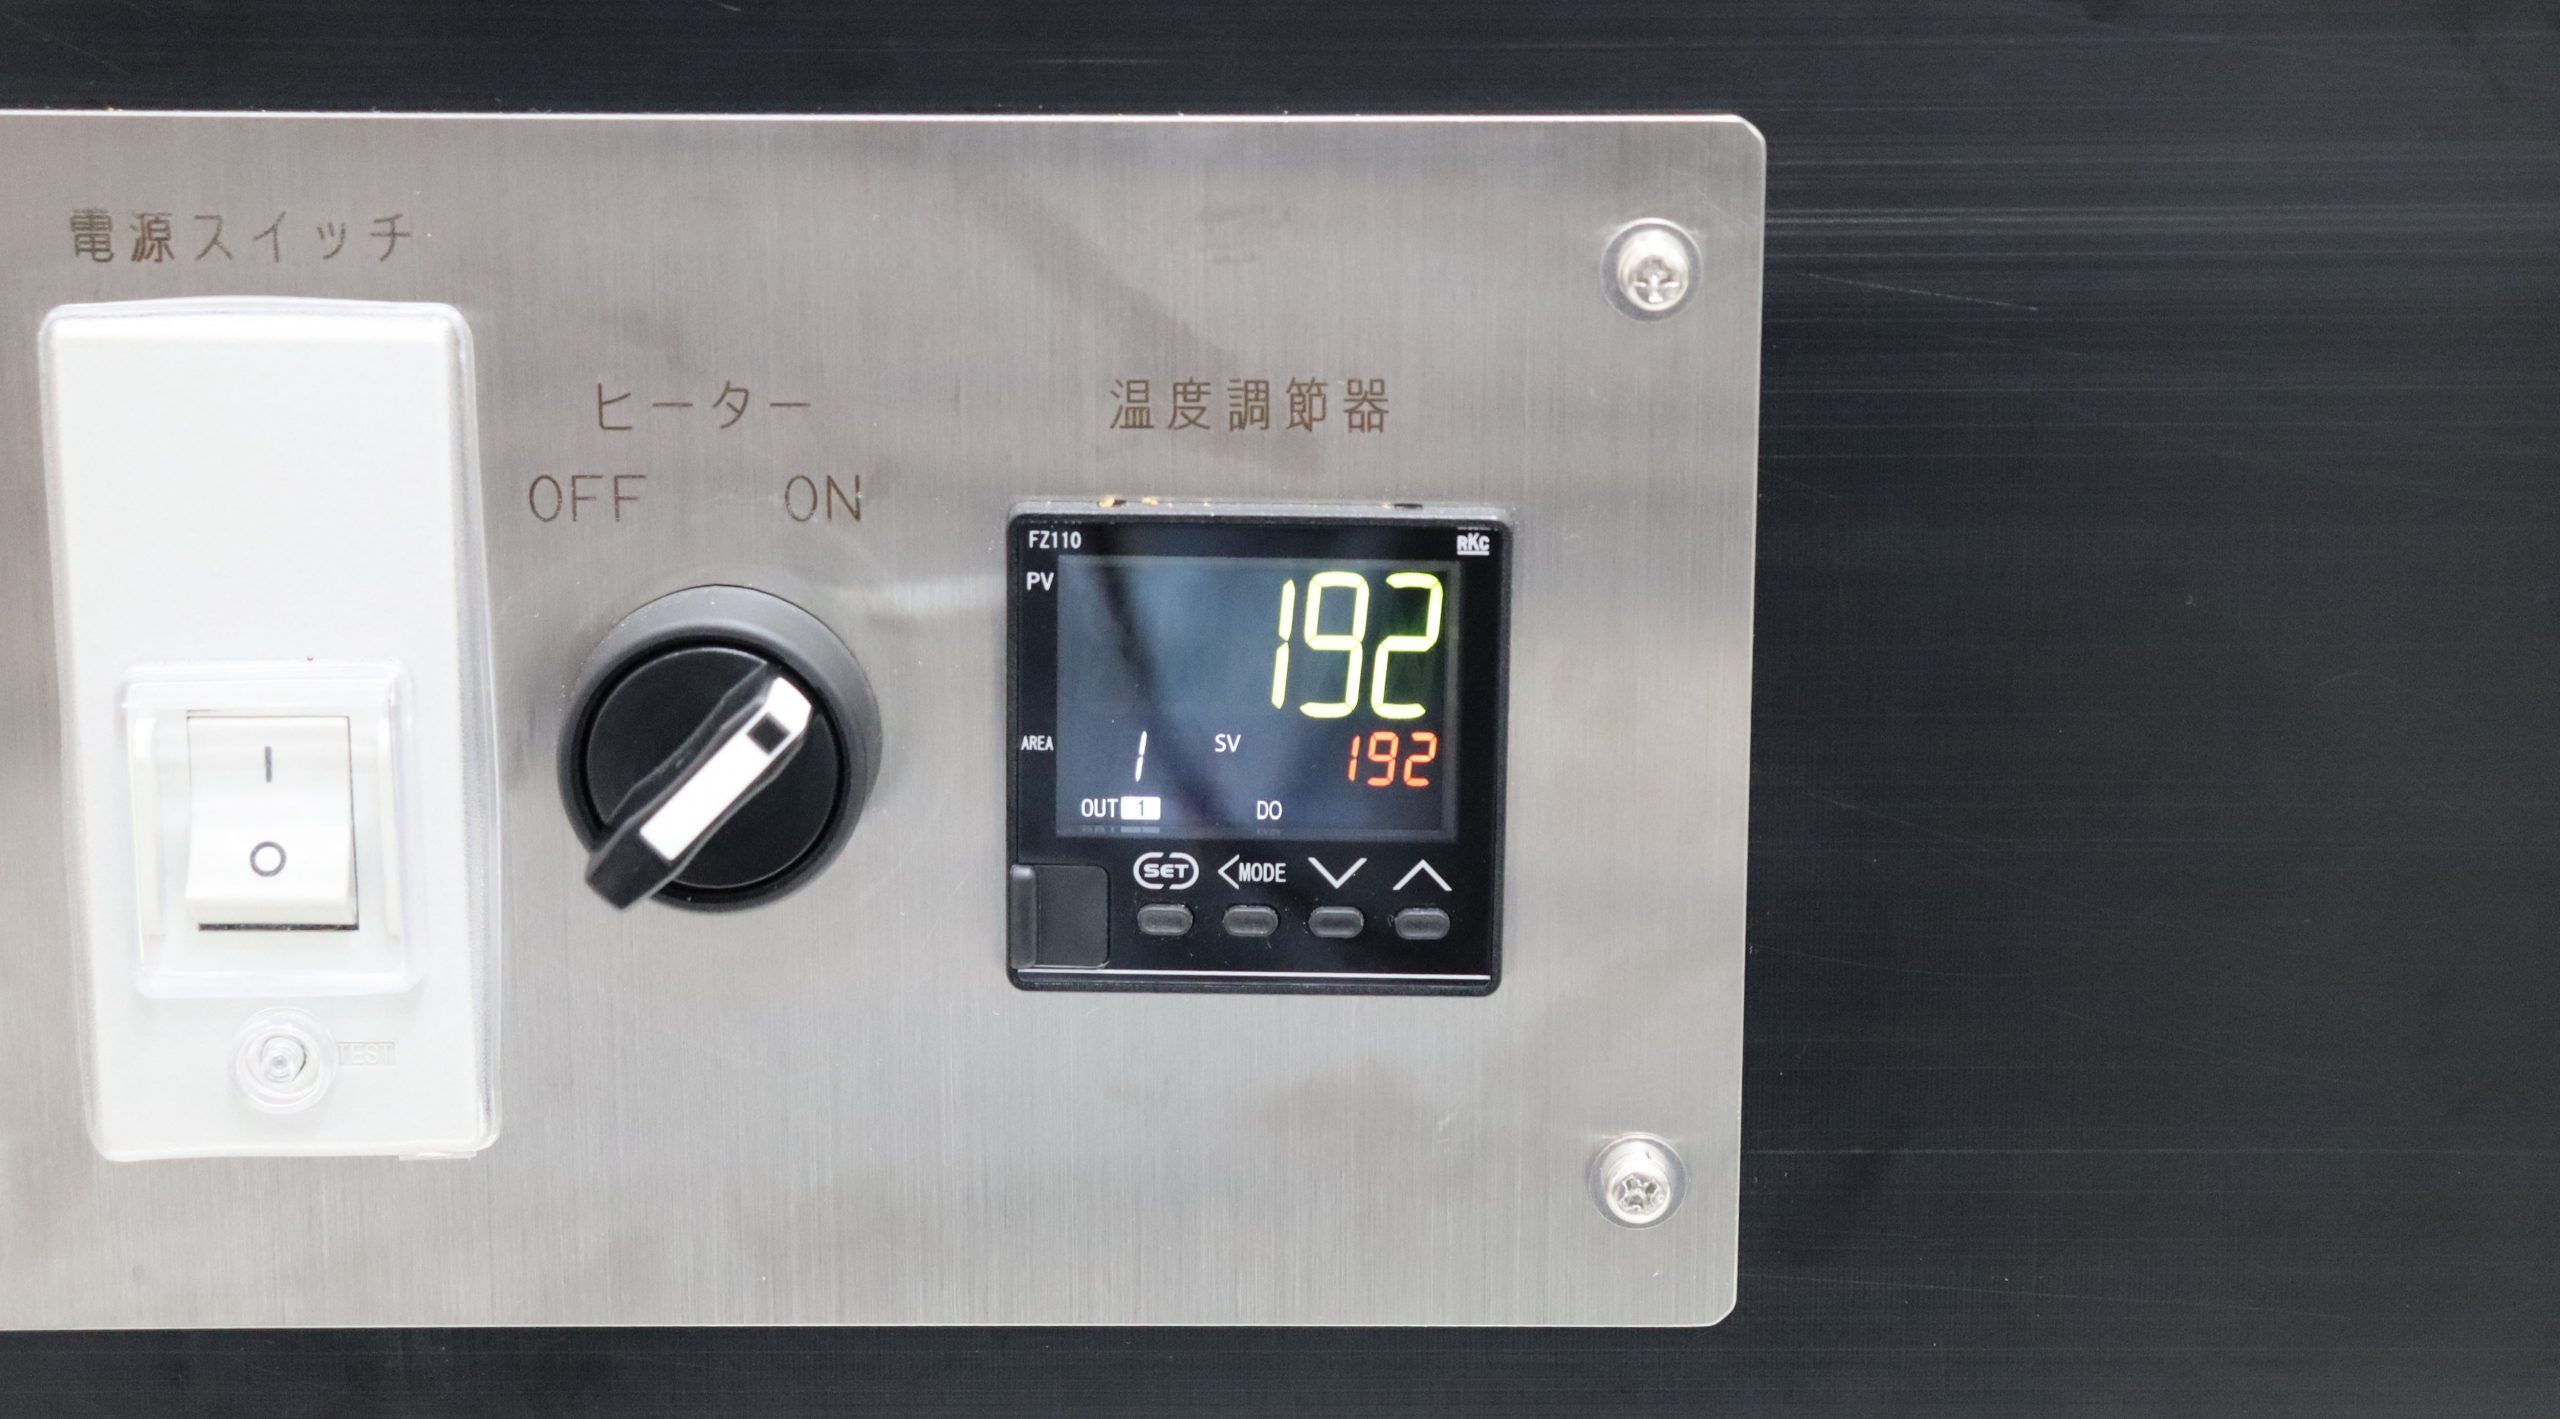
Turn on the power of the main body and the heater, and set the temperature of the heater.
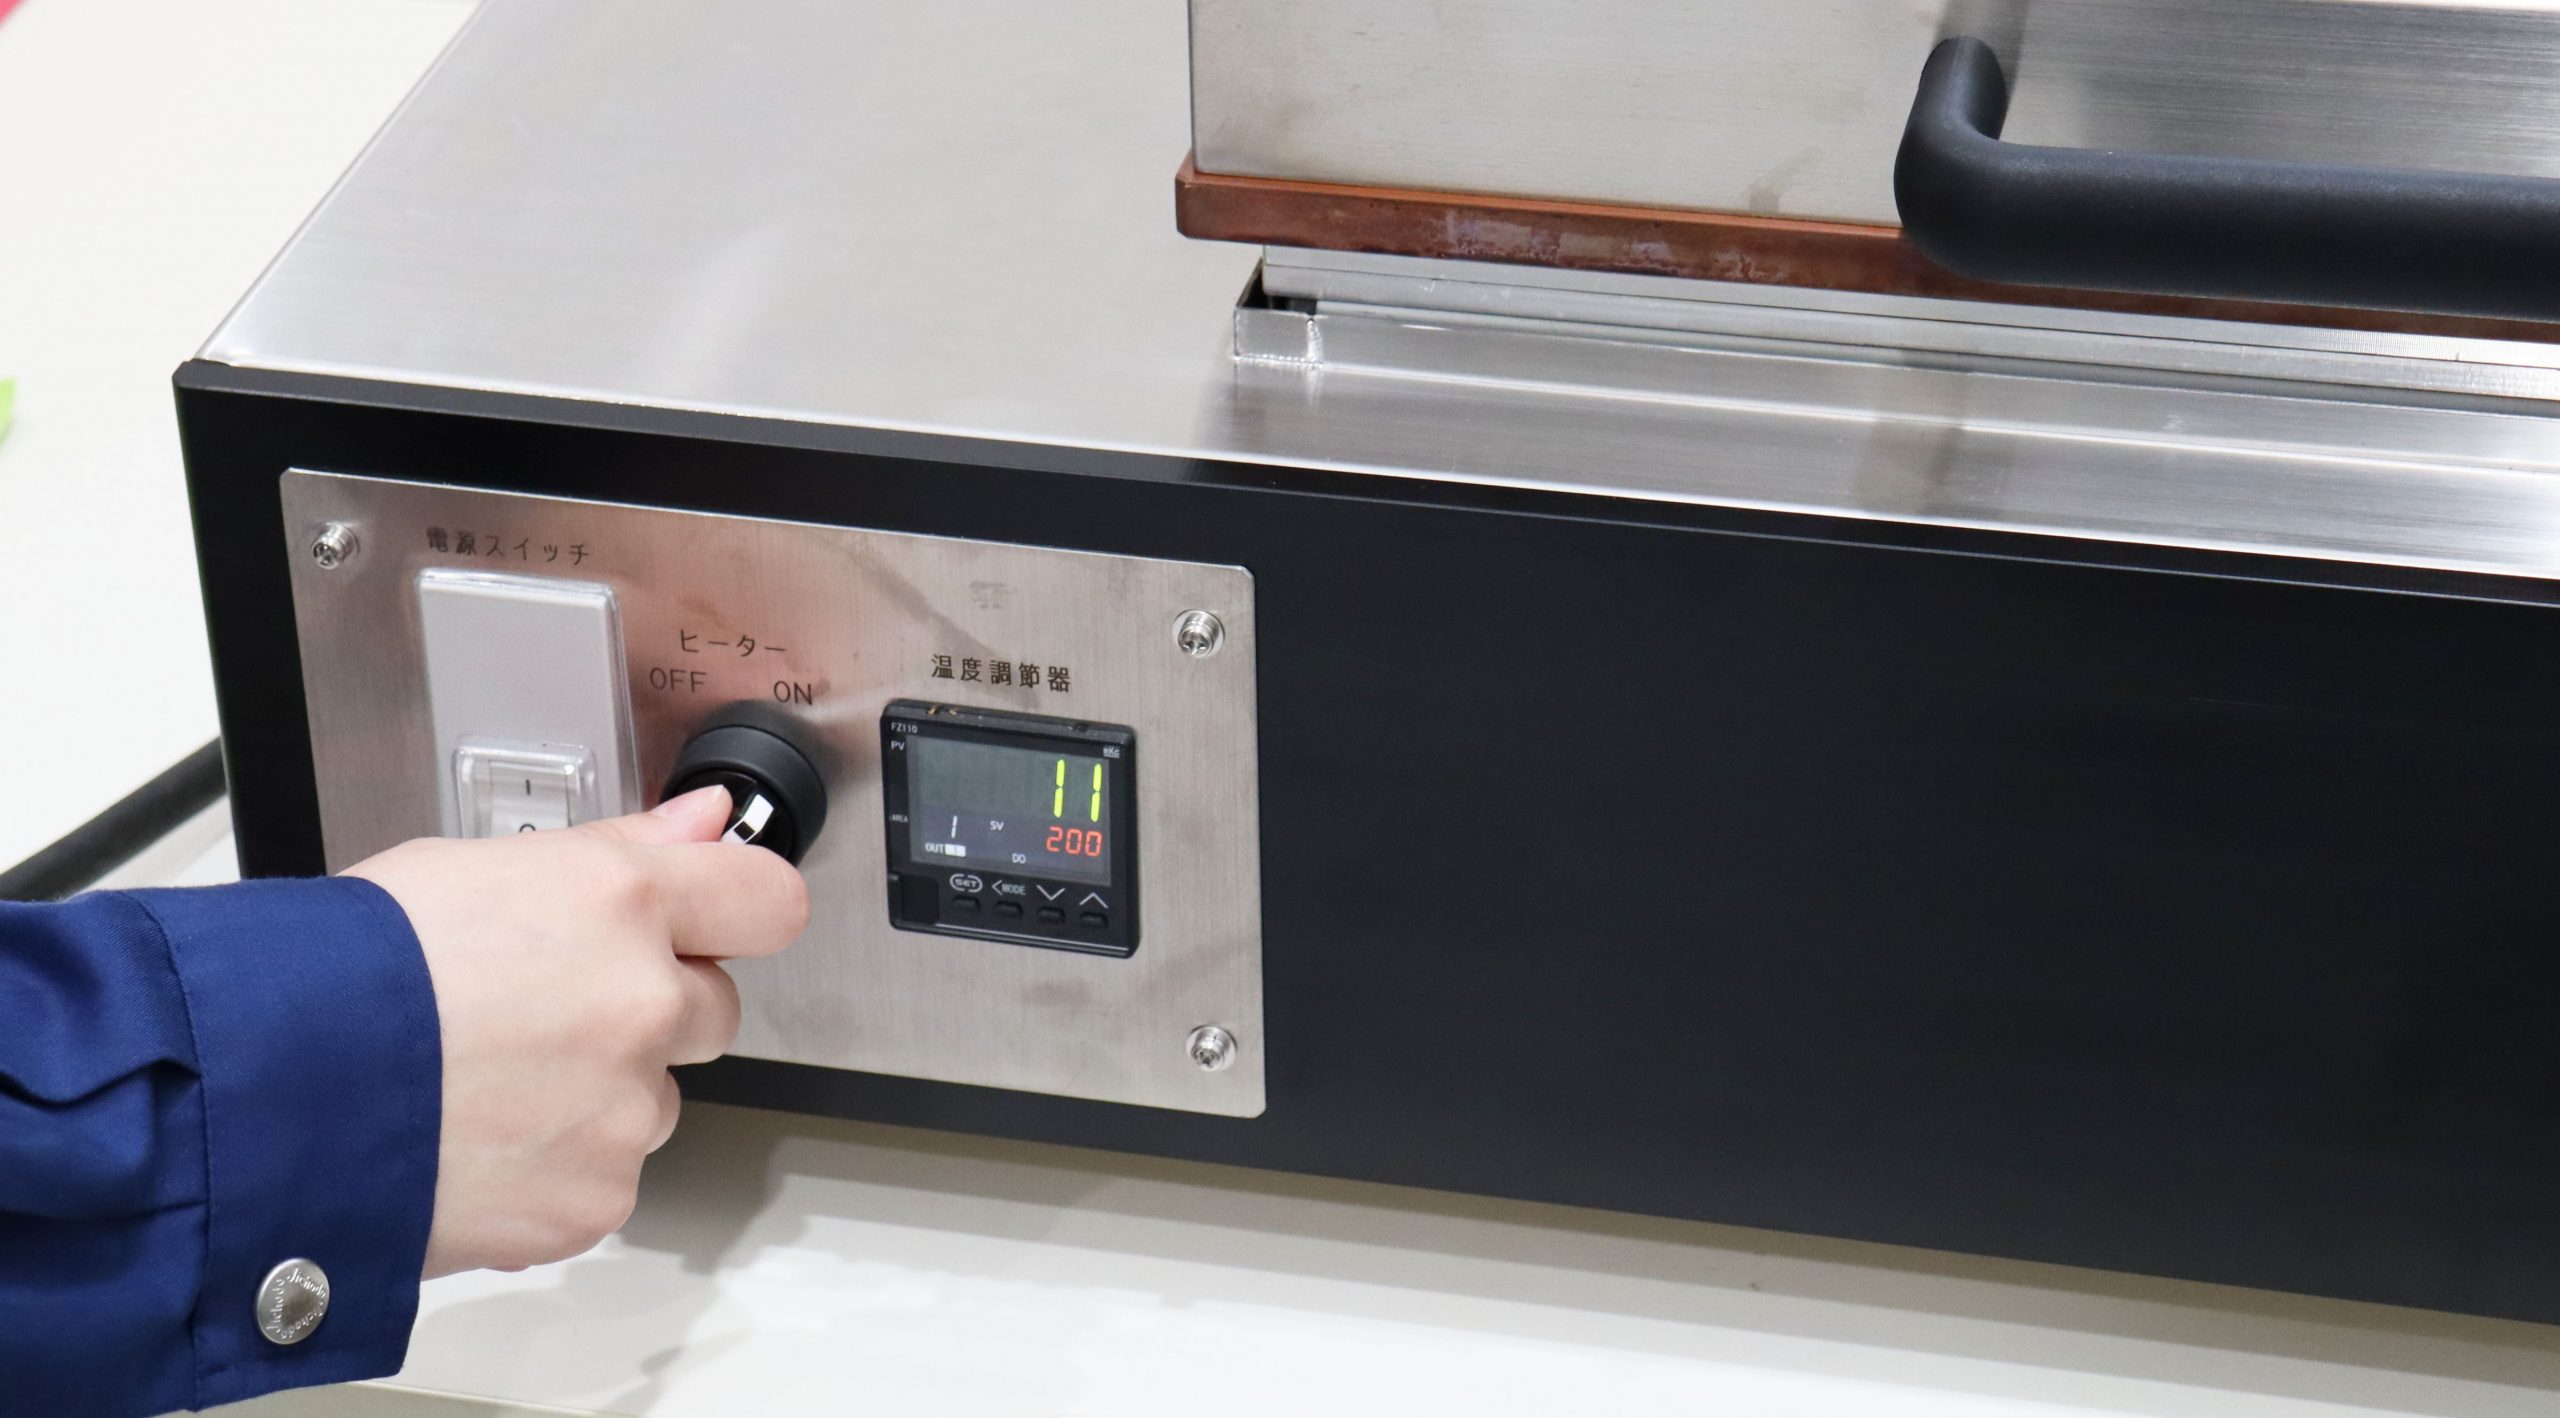
The heater’s temperature is displayed in red numbers. Use the △ button to increase the temperature and the ▽ button to decrease it. It takes about 30 minutes to reach the desired temperature, depending on the ambient temperature.
Note: The buttons “SET” and “MODE” next to ▽△ are not used (they do not respond when pressed).
After use…
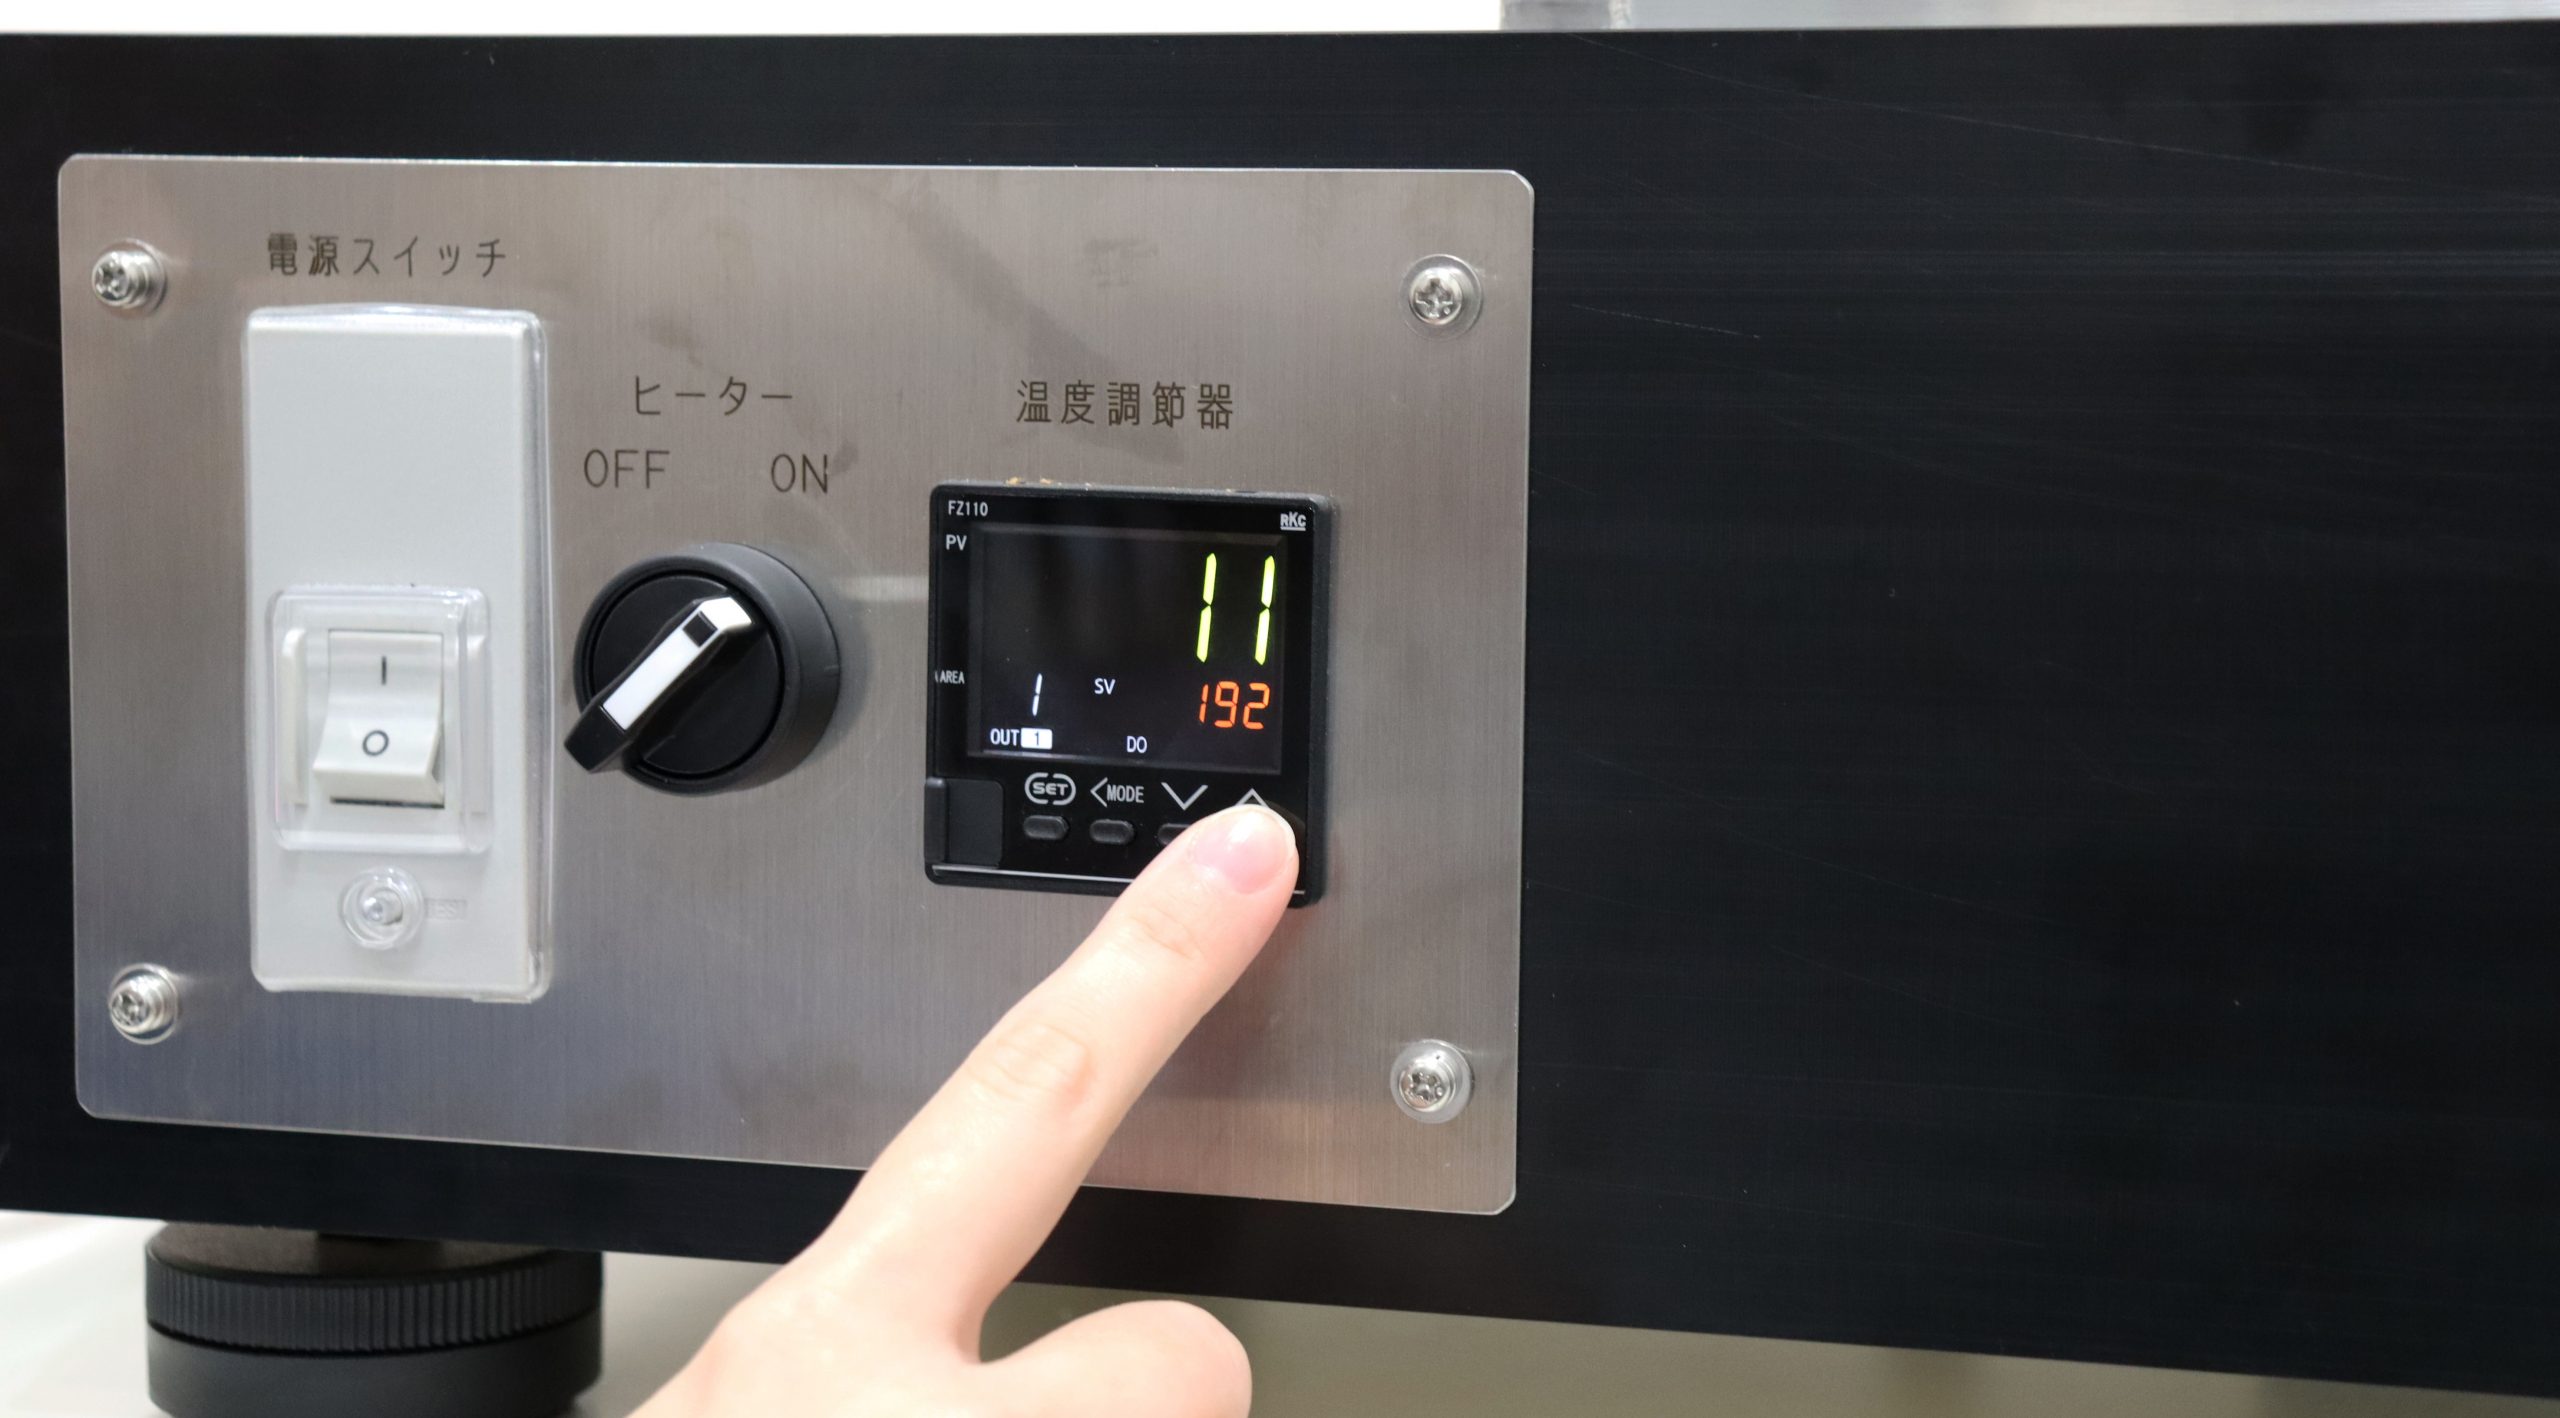
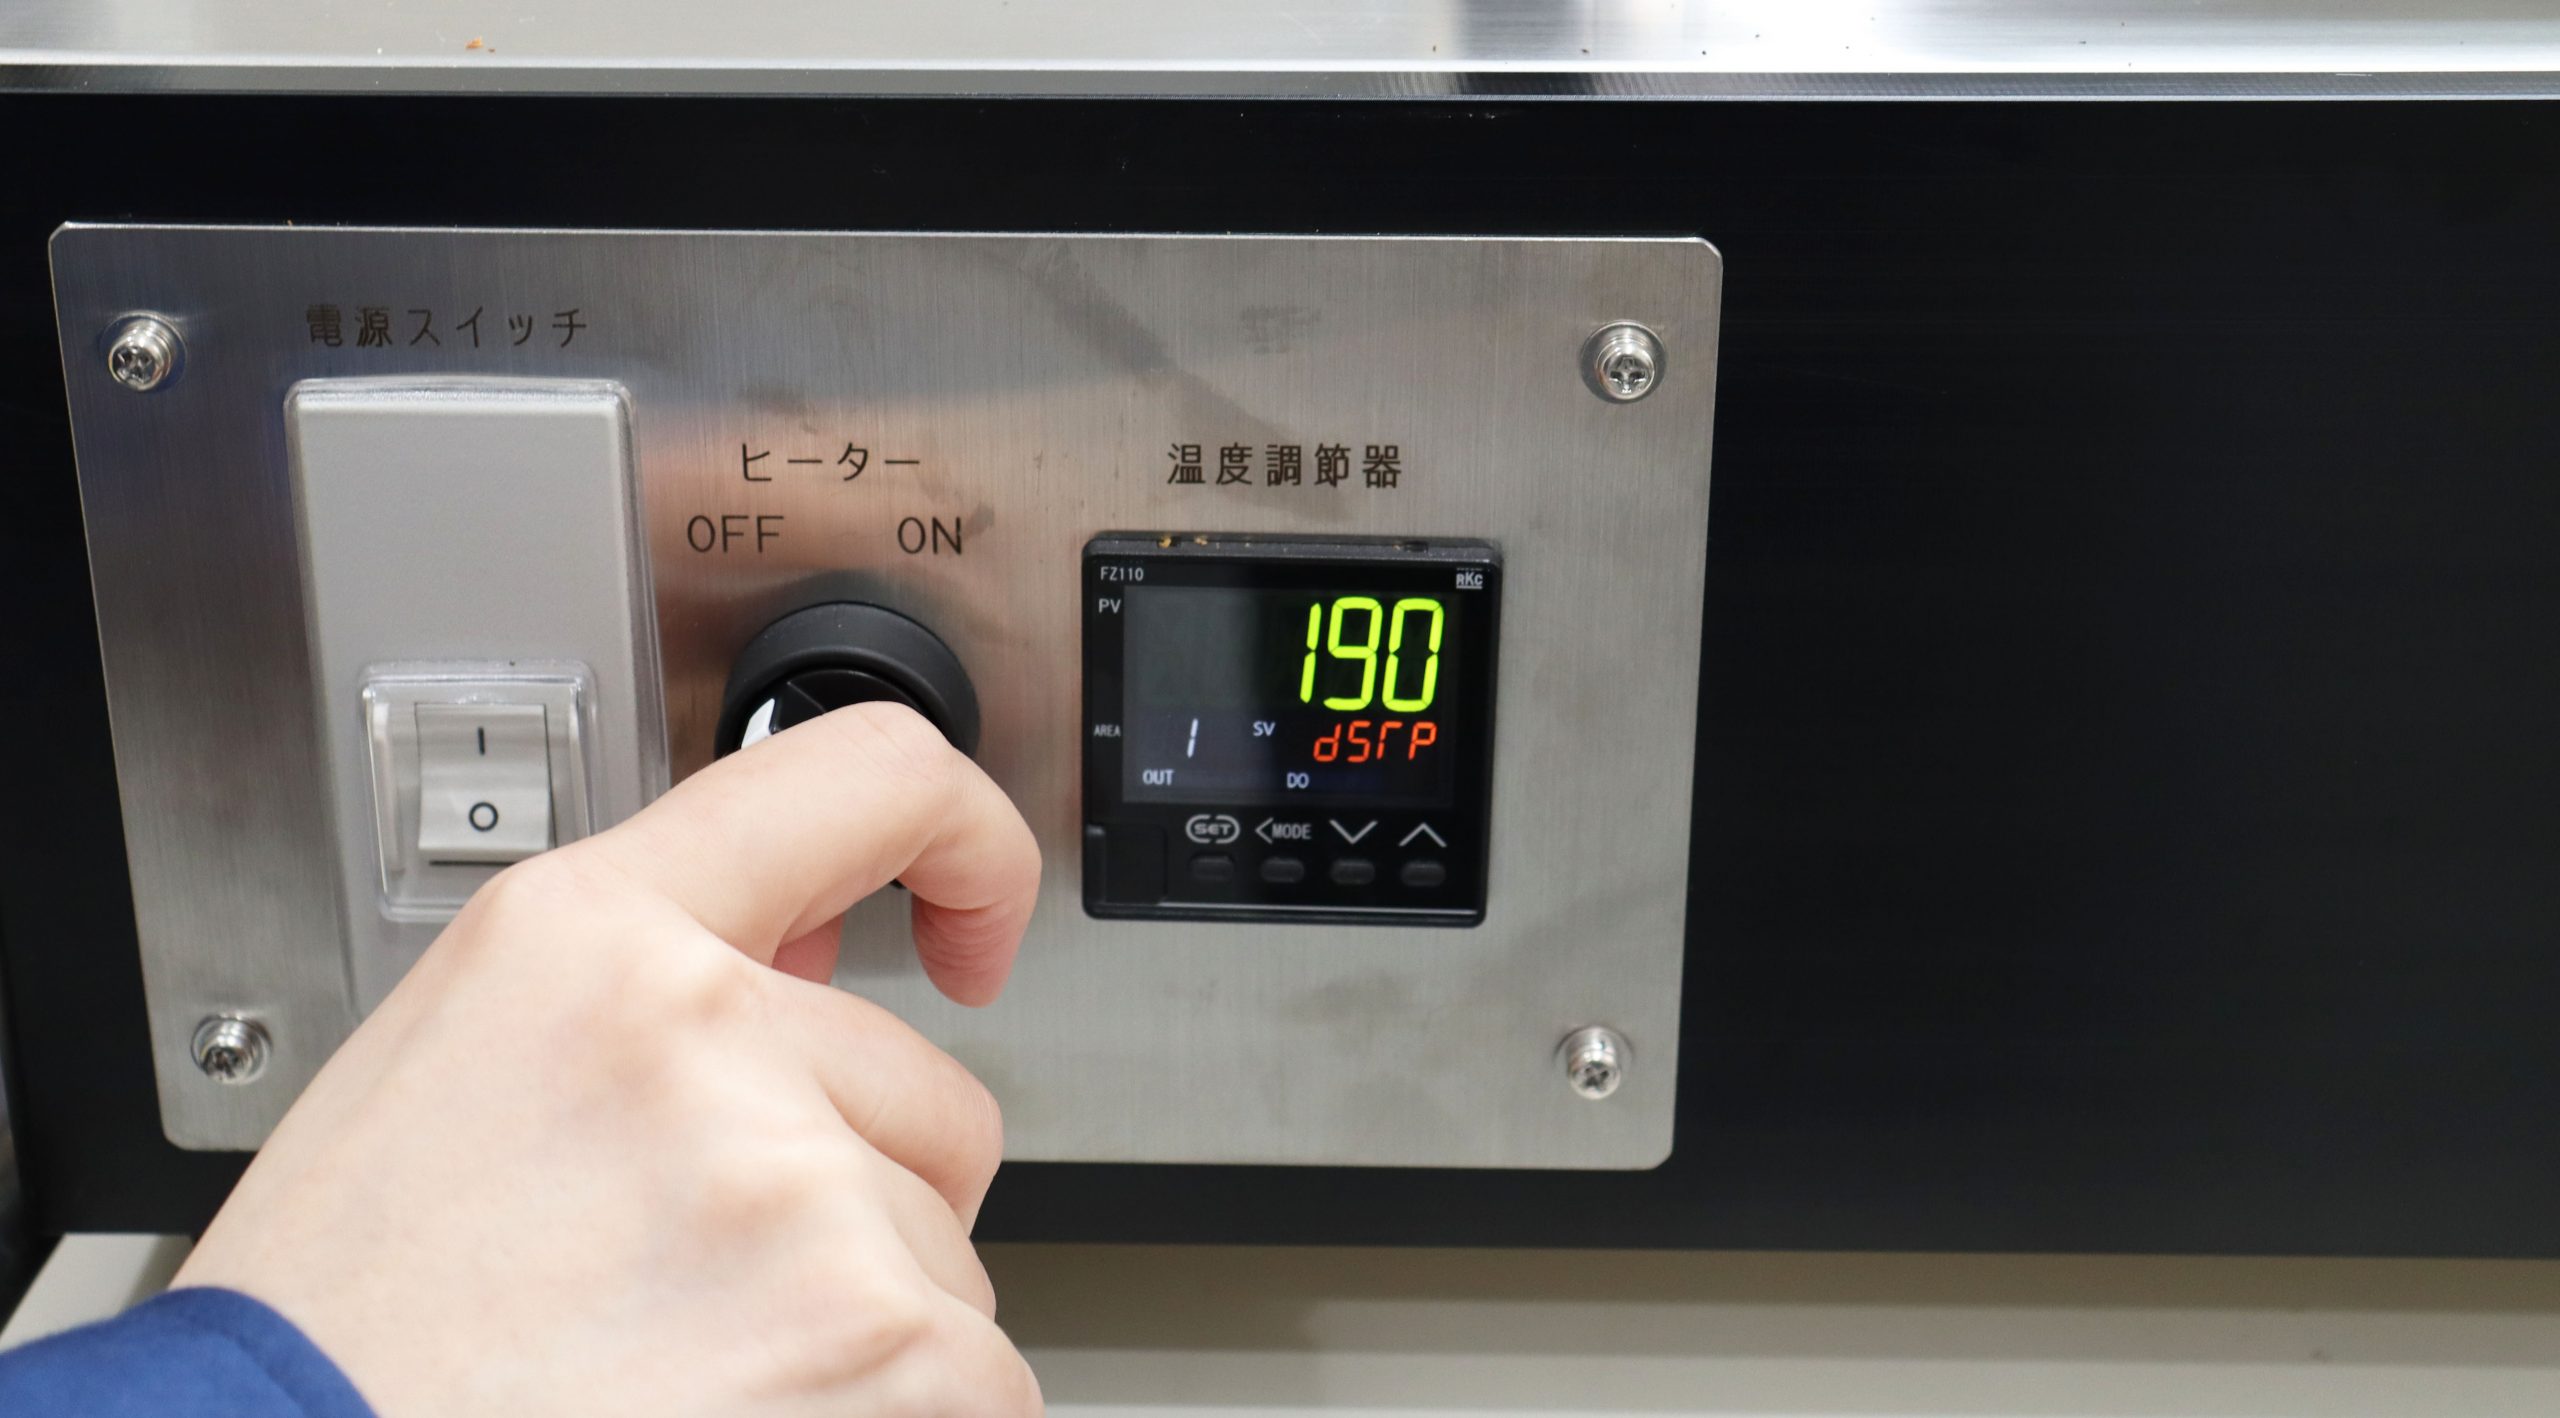
Turn the heater’s power “OFF”.
Note: Do not turn off the leftmost power switch until the copper plate temperature drops below 60℃. (When the fan stops, it is difficult for the temperature of the copper plate to drop.)
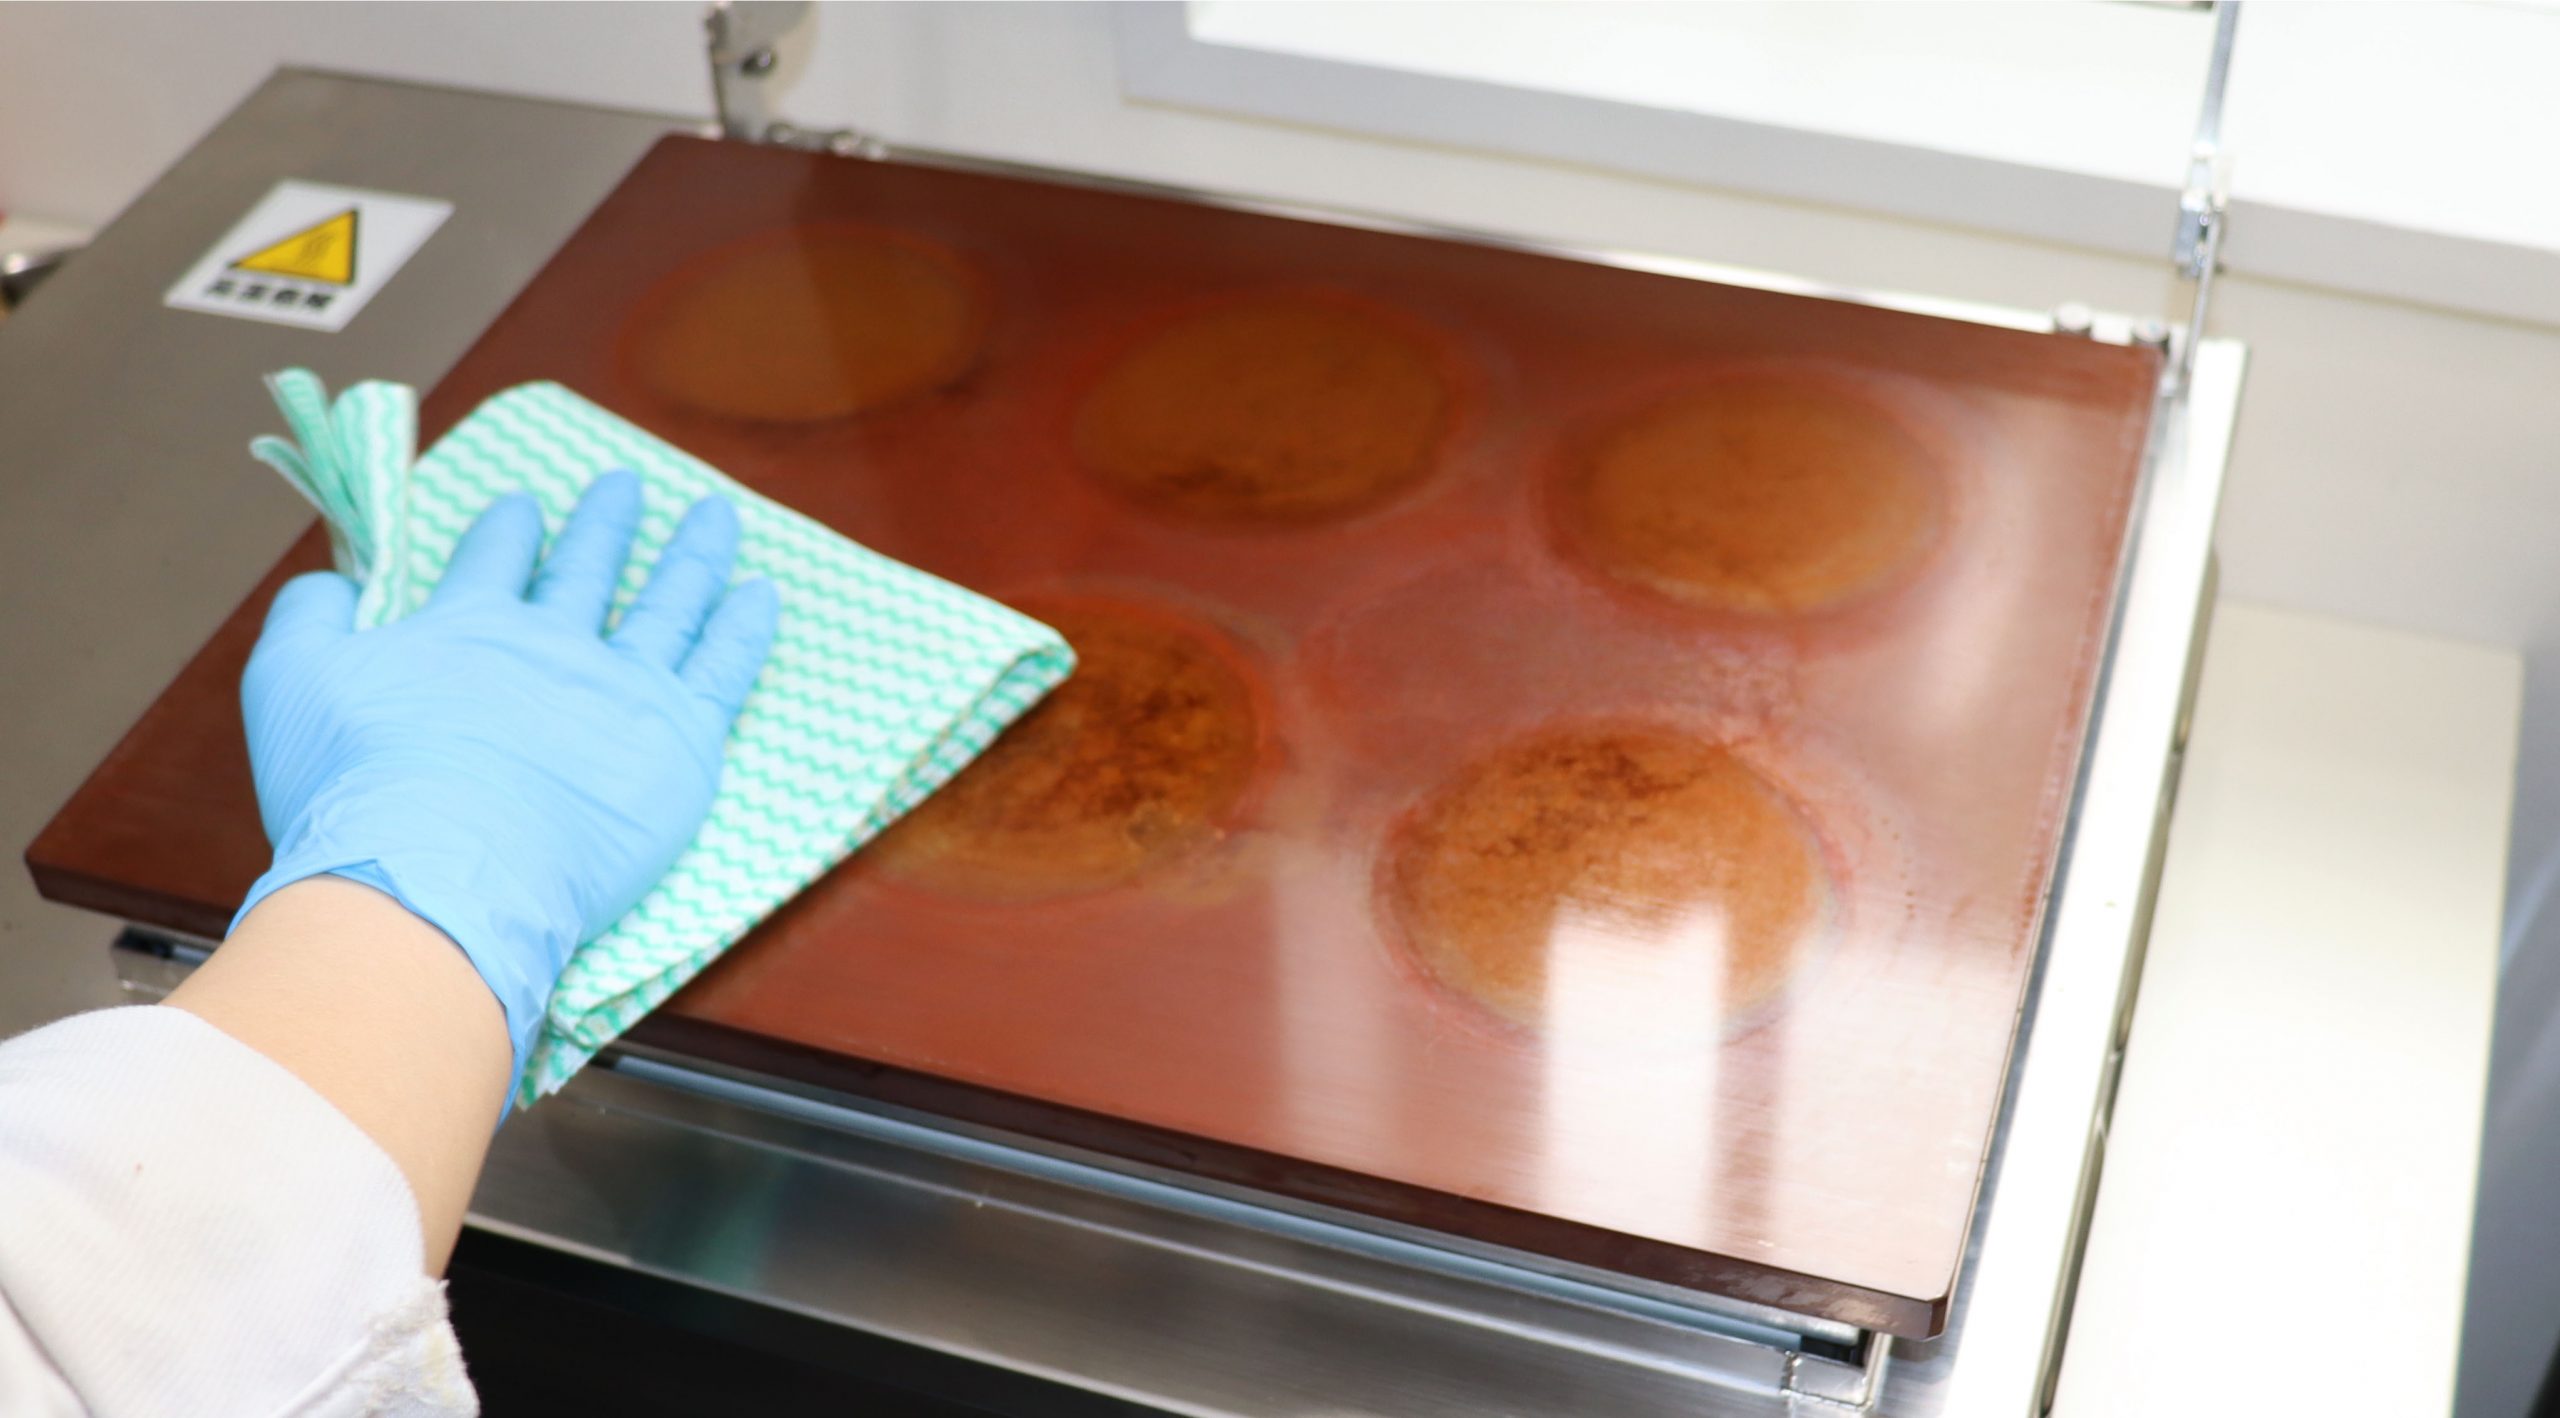
【Dirt on the copper plate】
You don’t need to clean or remove the copper plate daily during production. If it accumulates black dirt, clean it with detergent, etc.
